To ensure optimal growth of your Alocasia plants, provide them with bright, indirect light, high humidity, and well-draining soil. Regular watering, balanced fertilization, and careful pest management are also essential for maintaining their health and vibrancy.
Table of Contents
Understanding Alocasia Plants
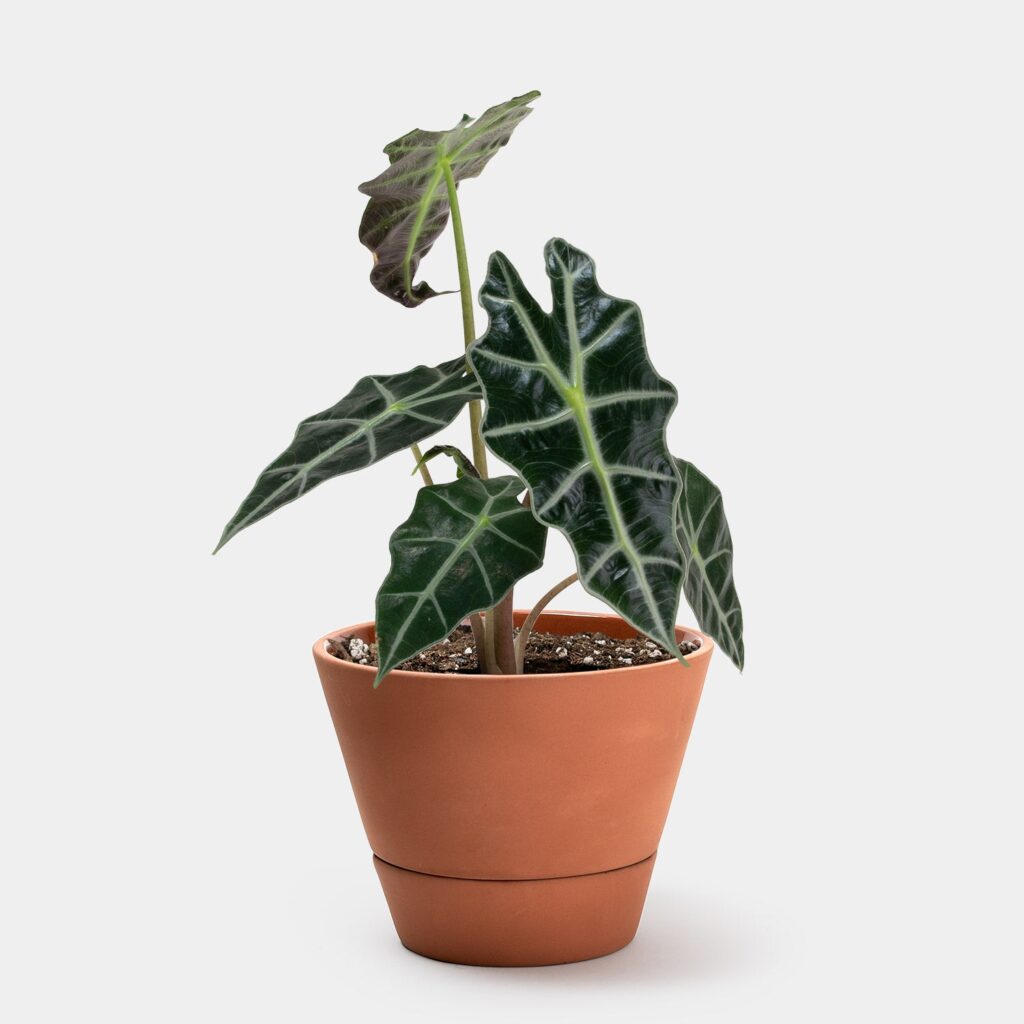
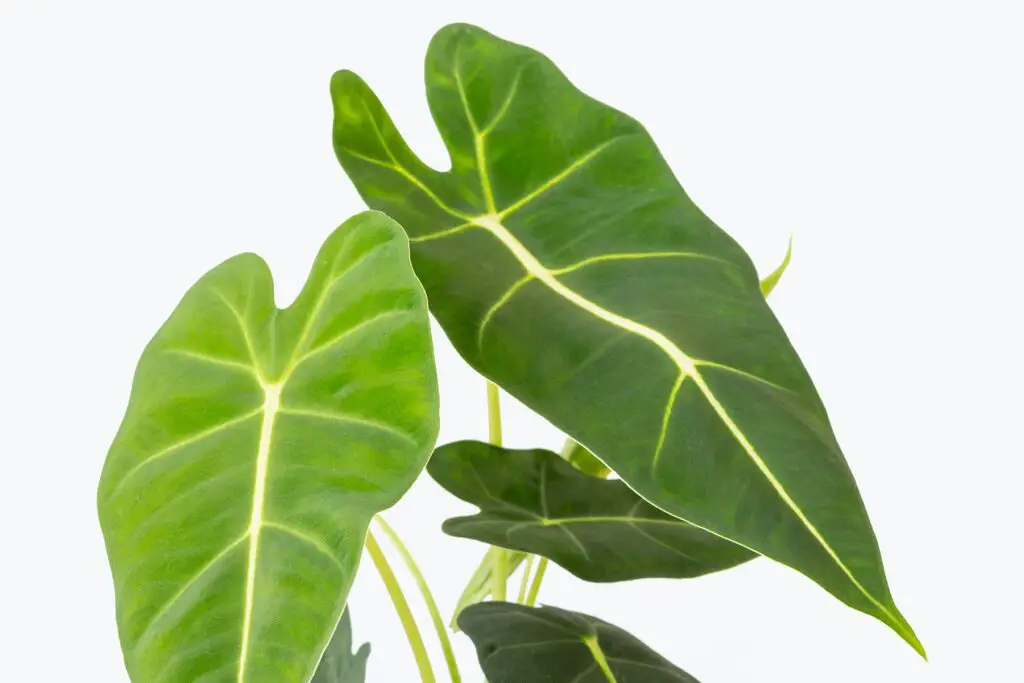
Alocasia, commonly known as elephant ear plants, belong to the family Araceae and are native to tropical regions of Asia and Australia. These striking plants are famous for their large, arrow-shaped leaves, which can create a dramatic focal point in any indoor or outdoor space. Their unique appearance and lush greenery make them popular among houseplant enthusiasts.
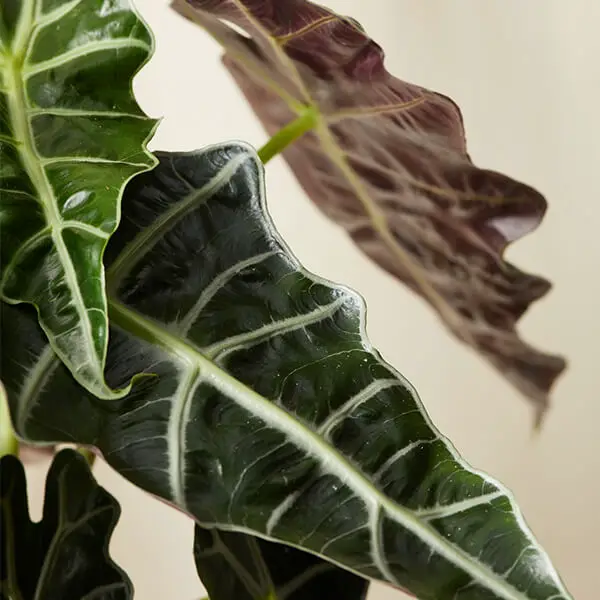
Alocasia plants come in various species, each with distinctive leaf shapes and sizes. Some popular varieties include Alocasia Polly, Alocasia Zebrina, and Alocasia Macrorrhiza. Understanding the specific needs of each variety can help you provide better care and promote healthy growth.
Optimal Growing Conditions
Creating the right environment is crucial for the well-being of Alocasia plants. Here are some key factors to consider:
- Light: Alocasia thrives in bright, indirect sunlight. Direct exposure can scorch their leaves. If natural light is limited, consider using grow lights.
- Temperature: These plants prefer temperatures between 65°F and 80°F (18°C to 27°C). They are sensitive to cold drafts and should be protected from temperatures below 50°F (10°C).
- Humidity: High humidity is essential for Alocasia. Aim for 60% or more humidity. You can increase humidity by misting the leaves, using a pebble tray, or placing a humidifier nearby.
Soil Requirements
The type of soil used for Alocasia can significantly impact their growth. They thrive in well-draining soil that retains some moisture without becoming waterlogged. A recommended mix includes:
- Peat moss: Provides moisture retention while allowing airflow.
- Pine bark: Enhances drainage and aeration.
- Pearlite or vermiculite: Improves the texture of the soil mix, promoting drainage.
Consider using a pre-made potting mix designed for aroids or create your own by combining these components in equal parts.
Watering Practices
Watering is one of the most critical aspects of Alocasia care. Overwatering can lead to root rot, while underwatering can cause the leaves to droop and turn yellow. Here are some guidelines to follow:
- Check soil moisture: Before watering, test the top inch of soil. If it feels dry, it’s time to water.
- Water thoroughly: When watering, ensure that water drains out of the bottom of the pot. This helps prevent salt buildup.
- Adjust frequency: Watering frequency may vary depending on the season. During the growing season (spring and summer), your plant may need watering every 1-2 weeks.
Fertilization
Fertilizing your Alocasia can boost its growth. Use a balanced liquid fertilizer diluted to half strength during the growing season. Here are some tips for effective fertilization:
- Frequency: Fertilize every 4-6 weeks during the spring and summer months.
- Avoid fertilizing: Do not fertilize in the fall and winter when the plant is dormant.
By following these best practices for light, temperature, humidity, soil, watering, and fertilization, you can create an ideal environment for your Alocasia plants to thrive. This foundational care will set you on the right path for successful growth and vibrant foliage.
Pest and Disease Management
Keeping your Alocasia healthy involves monitoring for pests and diseases. These plants can be susceptible to various issues that may hinder their growth. Early detection and proactive measures are essential for maintaining their vigor. Here are common pests and diseases to watch for:
Common Pests
- Spider Mites: These tiny pests can create webbing on the leaves, leading to stippling and discoloration. Regular misting can help prevent their presence.
- Mealybugs: These soft-bodied insects appear as white cottony masses on the plant. They can cause leaf drop and stress if not treated promptly.
- Scale: Scale insects attach themselves to stems and leaves, appearing as small bumps. They can weaken the plant by sucking sap.
Disease Prevention
In addition to pests, Alocasia plants can be affected by diseases primarily caused by overwatering or poor air circulation. Here are some common diseases:
- Root Rot: This occurs when the roots sit in waterlogged soil. Symptoms include yellowing leaves and a foul odor from the soil.
- Powdery Mildew: A fungal disease that appears as white powdery spots on leaves. It thrives in high humidity and poor air circulation.
To prevent diseases, ensure proper watering practices and improve airflow around the plant. If you notice any signs of pests or diseases, act quickly to treat the issue.
Repotting Alocasia
Repotting is an essential part of Alocasia care as it provides fresh soil and more space for roots to grow. Typically, repotting should be done every 1-2 years or when you notice roots growing out of the drainage holes. Here are steps and considerations for successful repotting:
When to Repot
Signs that your Alocasia needs repotting include:
- Roots growing out of the pot’s drainage holes.
- Soil drying out too quickly after watering.
- The plant appears top-heavy or is leaning.
How to Repot
Follow these steps for a successful repotting process:
- Select a new pot: Choose a pot that is 1-2 inches larger in diameter than the current one with drainage holes.
- Prepare fresh soil: Use a well-draining soil mix suitable for Alocasia, as discussed earlier.
- Remove the plant: Gently take the Alocasia out of its current pot, taking care not to damage the roots.
- Inspect roots: Check roots for signs of rot or damage. Trim off any unhealthy sections with clean scissors.
- Place in new pot: Position the plant in the center of the new pot and fill with fresh soil, ensuring it is at the same depth as before.
- Water thoroughly: After repotting, give the plant a good drink of water to help settle the soil around the roots.
Propagation Techniques
If you want to expand your Alocasia collection, propagation is a rewarding process. The most common methods include division and offsets. Here’s how to propagate your Alocasia effectively:
Division Method
This method involves separating the rhizomes of the plant into smaller sections. Here are steps to follow:
- Choose the right time: The best time to divide is during the spring when the plant is actively growing.
- Remove from pot: Gently take the plant from its pot and shake off excess soil.
- Separate rhizomes: Look for natural divisions in the rhizomes and use a clean knife to cut them apart, ensuring each section has at least one healthy leaf and root.
- Replant sections: Plant each division in its own pot with appropriate soil mix and water well.
Offsets Method
Offsets are smaller plants that grow at the base of the main plant. To propagate using this method, follow these steps:
- Identify offsets: Look for small plants growing near the base of the main Alocasia.
- Gently remove: Carefully separate these offsets from the main plant, ensuring they have some roots attached.
- Pot individually: Place each offset in its own pot with well-draining soil and water lightly.
By mastering pest control, repotting, and propagation techniques, you can ensure your Alocasia plants remain healthy and thrive over time. These practices will enhance both their aesthetic appeal and longevity in your home or garden.
Common Problems and Solutions
Even with the best care practices, Alocasia plants can face various challenges. Recognizing these problems early and knowing how to address them is crucial for maintaining healthy plants. Below are some common issues you may encounter along with effective solutions.
Yellowing Leaves
Yellowing leaves on your Alocasia can indicate several underlying problems. Here are the most common causes:
- Overwatering: Excess moisture can lead to root rot, causing leaves to yellow. Ensure the soil dries out slightly between waterings.
- Underwatering: On the other hand, lack of water can also lead to yellowing. Check the soil moisture regularly.
- Nutrient Deficiency: A lack of essential nutrients, especially nitrogen, may cause yellowing. Regular fertilization during the growing season can help mitigate this.
Drooping Leaves
If your Alocasia leaves are drooping, it may signal stress. Here are potential causes and solutions:
- Water Stress: Both overwatering and underwatering can cause drooping. Assess your watering routine and adjust as necessary.
- Low Humidity: Alocasia thrives in high humidity. Consider using a humidifier or misting the leaves if humidity levels are low.
- Pest Infestation: Check for pests like spider mites or mealybugs, which can stress the plant. Treat infestations promptly with insecticidal soap or neem oil.
Leaf Brown Edges
Browning edges on Alocasia leaves can be unsightly and may result from several issues:
- Low Humidity: As mentioned earlier, insufficient humidity can lead to browning. Increase humidity levels to address this issue.
- Fluoride Sensitivity: Some Alocasia varieties are sensitive to fluoride found in tap water. Using distilled or rainwater can prevent browning.
- Excess Fertilization: Over-fertilizing can lead to chemical burn, causing leaf edges to turn brown. Ensure you follow recommended fertilization guidelines.
Seasonal Care Adjustments
Your Alocasia’s care will change with the seasons. Understanding how to adjust your care routine according to seasonal changes will help your plant thrive year-round.
Spring and Summer Care
During the growing season, Alocasia plants require more attention:
- Increased Watering: With warmer temperatures and longer days, your plant will likely need more frequent watering. Keep an eye on soil moisture levels.
- Fertilization: This is the best time to fertilize your Alocasia every 4-6 weeks to support growth.
- Pest Monitoring: Increased temperatures can lead to pest infestations. Regularly check for signs of pests and treat them promptly.
Fall and Winter Care
As temperatures drop, your Alocasia’s growth will slow down:
- Reduce Watering: Decrease the frequency of watering, allowing the top inch of soil to dry out between waterings.
- Avoid Fertilization: Do not fertilize during the winter months when the plant is dormant.
- Provide Adequate Light: Ensure your plant receives enough light during shorter days. Consider moving it closer to a light source if necessary.
Tips for Long-Term Care
Car
ing for Alocasia plants can be rewarding when you know what to do. Here are some tips for ensuring their long-term health and beauty:
- Regularly Rotate Your Plant: Turning your Alocasia every few weeks can help it grow evenly and avoid leaning toward the light source.
- Clean Leaves: Dust can accumulate on leaves, hindering photosynthesis. Wipe leaves gently with a damp cloth to keep them clean.
- Avoid Toxic Chemicals: When treating pests or diseases, opt for organic solutions whenever possible to minimize harm to the plant.
The ongoing care of your Alocasia requires vigilance and adaptability, as various factors influence its health. By addressing common problems and adjusting care based on seasonal changes, you can create an environment where your Alocasia thrives beautifully throughout the year.
Additional Resources for Alocasia Care
For plant enthusiasts seeking to deepen their knowledge of Alocasia care, various resources can assist in expanding your expertise. Here are some recommended avenues for further exploration:
- Books: Look for books specifically focused on houseplants or tropical gardening. Titles like “The House Plant Expert” by Dr. D.G. Hessayon provide comprehensive insights into plant care.
- Online Forums: Websites like Reddit or specialized gardening forums have active communities where you can ask questions and share experiences with other Alocasia owners.
- YouTube Channels: Many plant enthusiasts and experts share detailed videos about plant care, including Alocasia. Channels like “Planterina” provide visual guidance on watering, repotting, and troubleshooting.
- Social Media Groups: Joining Facebook groups or Instagram pages dedicated to houseplants can offer real-time advice, tips, and inspiration from fellow plant lovers.
Common Myths about Alocasia
As
with many houseplants, several myths can cloud the understanding of Alocasia care. Debunking these misconceptions can help you provide better care:
- Myth: Alocasia is a cactus. Reality: Alocasia is a tropical plant that requires high humidity and cannot thrive in arid conditions.
- Myth: Alocasia can survive in low light. Reality: While they can adapt to lower light conditions, they thrive best in bright, indirect light.
- Myth: They are poisonous only if ingested. Reality: The sap of Alocasia can cause skin irritation, so handling should be done with care, and pets should be kept away.
Final Thoughts
Caring for Alocasia plants can be a fulfilling journey for both novice and experienced gardeners. With their striking foliage and unique appearance, these plants bring life and vibrancy to any space. Understanding their specific needs regarding light, humidity, soil, watering, and pest management is crucial for ensuring their growth and health.
As you’ve learned, creating an optimal environment for your Alocasia involves not only routine care but also adapting to seasonal changes and being proactive in managing potential problems. By incorporating regular monitoring and adjustments into your care routine, you set the stage for long-term success.
Remember that every plant is unique; observing your Alocasia closely will help you understand its specific needs. Engaging with community resources and staying informed through books and online platforms can further enhance your knowledge and skills. With the right approach, your Alocasia will flourish, offering beauty and joy for years to come.
In conclusion, whether you are a first-time owner or a seasoned enthusiast, nurturing an Alocasia can lead to a rewarding experience filled with lush foliage and the satisfaction of watching your plant thrive under your care.