Alocasia plants are stunning tropical perennials known for their large, vibrant leaves. Caring for them involves providing the right light, water, temperature, and humidity conditions to ensure healthy growth and vibrant foliage.
Table of Contents
Understanding Alocasia Plants
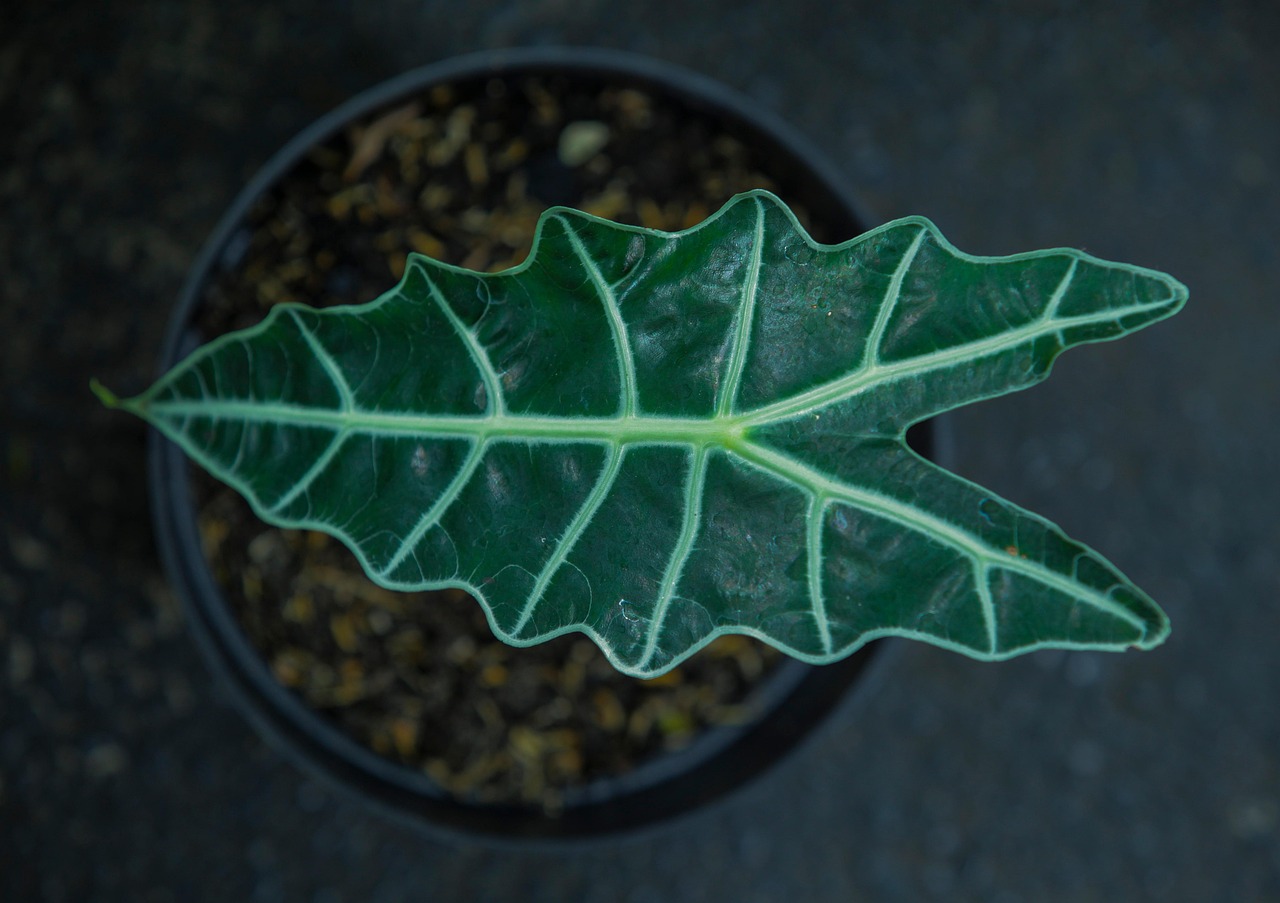
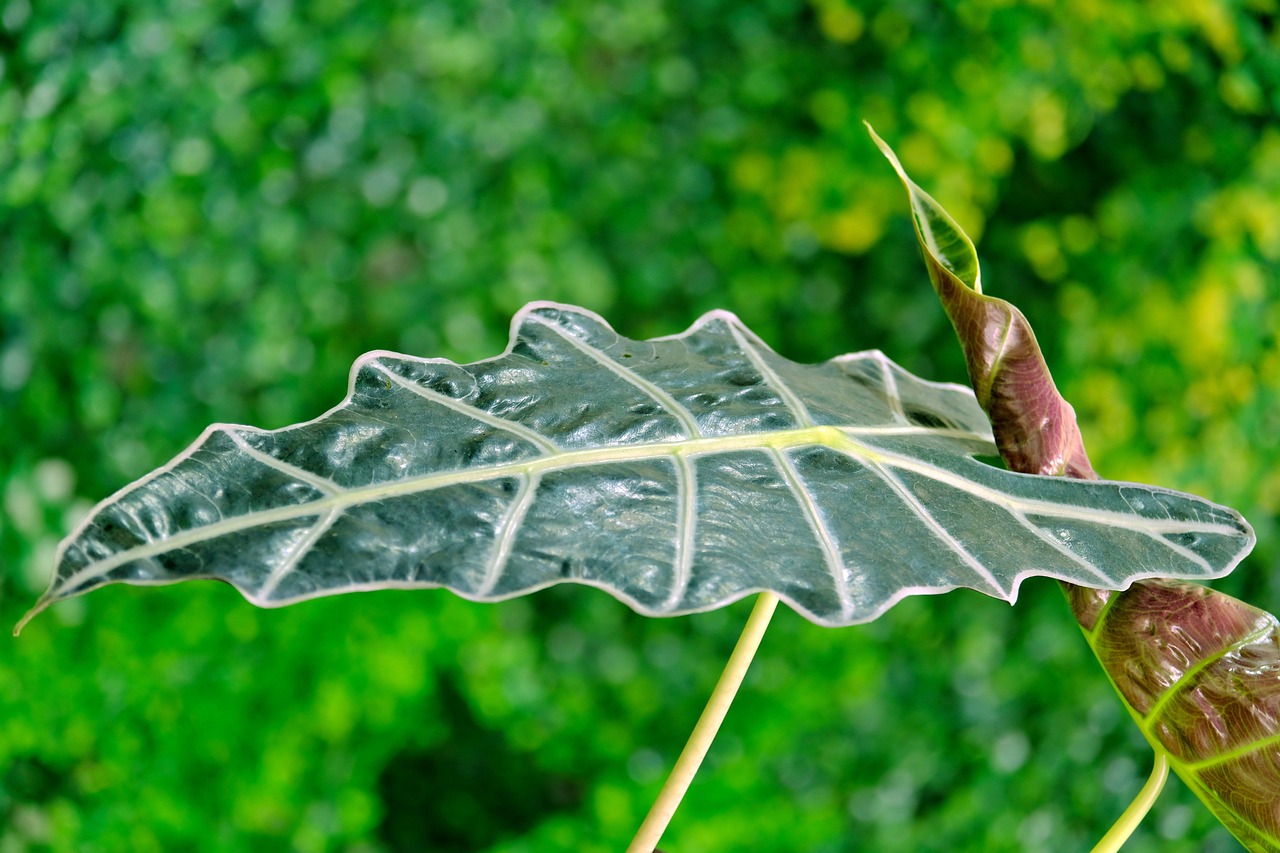
Alocasia, commonly referred to as elephant ear plants, belong to the Araceae family. These plants are native to tropical and subtropical regions of Asia and Eastern Australia. Recognized for their large, arrow-shaped leaves, Alocasia species are popular among indoor plant enthusiasts due to their dramatic appearance. However, they require specific care to thrive indoors.
There are many varieties of Alocasia, each with unique features. Some popular types include:
- Alocasia Polly: Known for its striking dark green leaves with white veins.
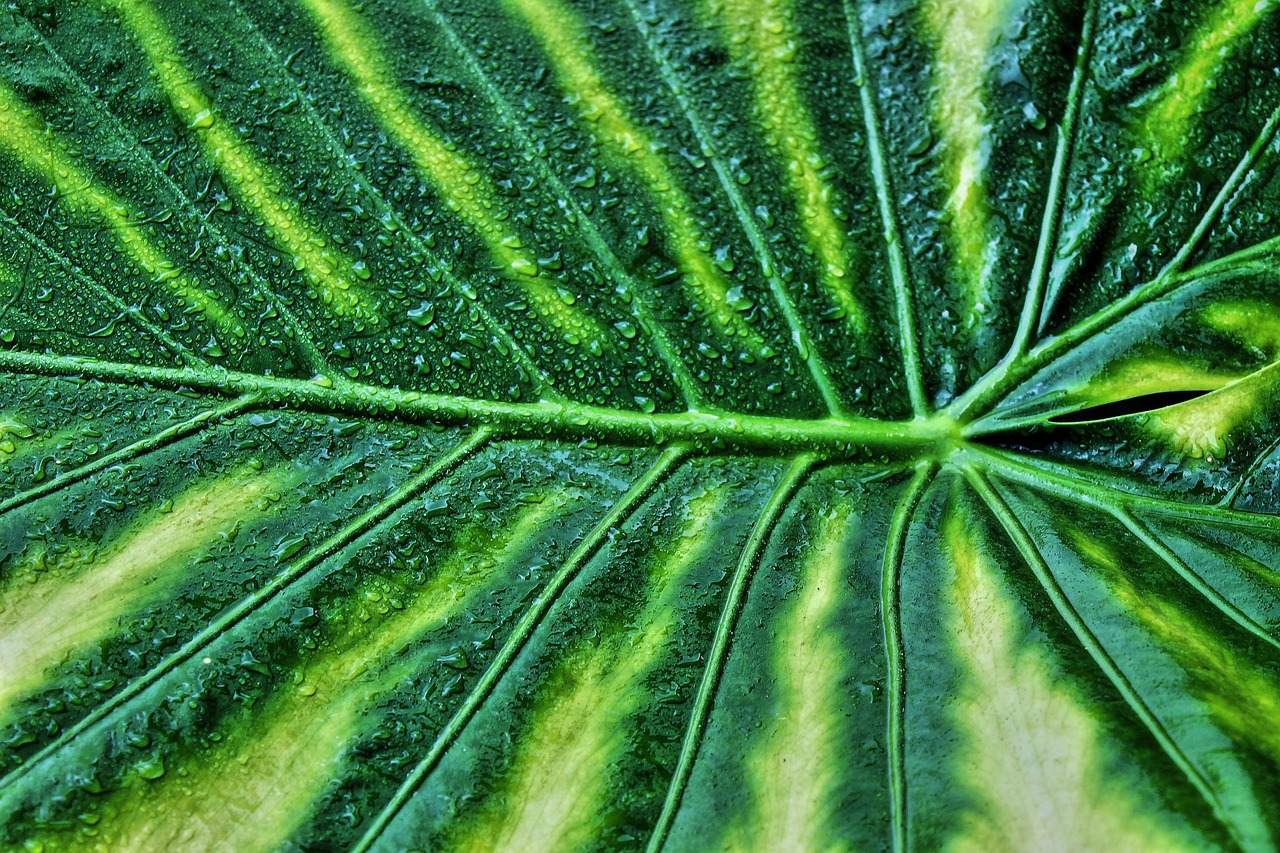
- Alocasia Zebrina: Features zebra-like striped stems and large leaves.
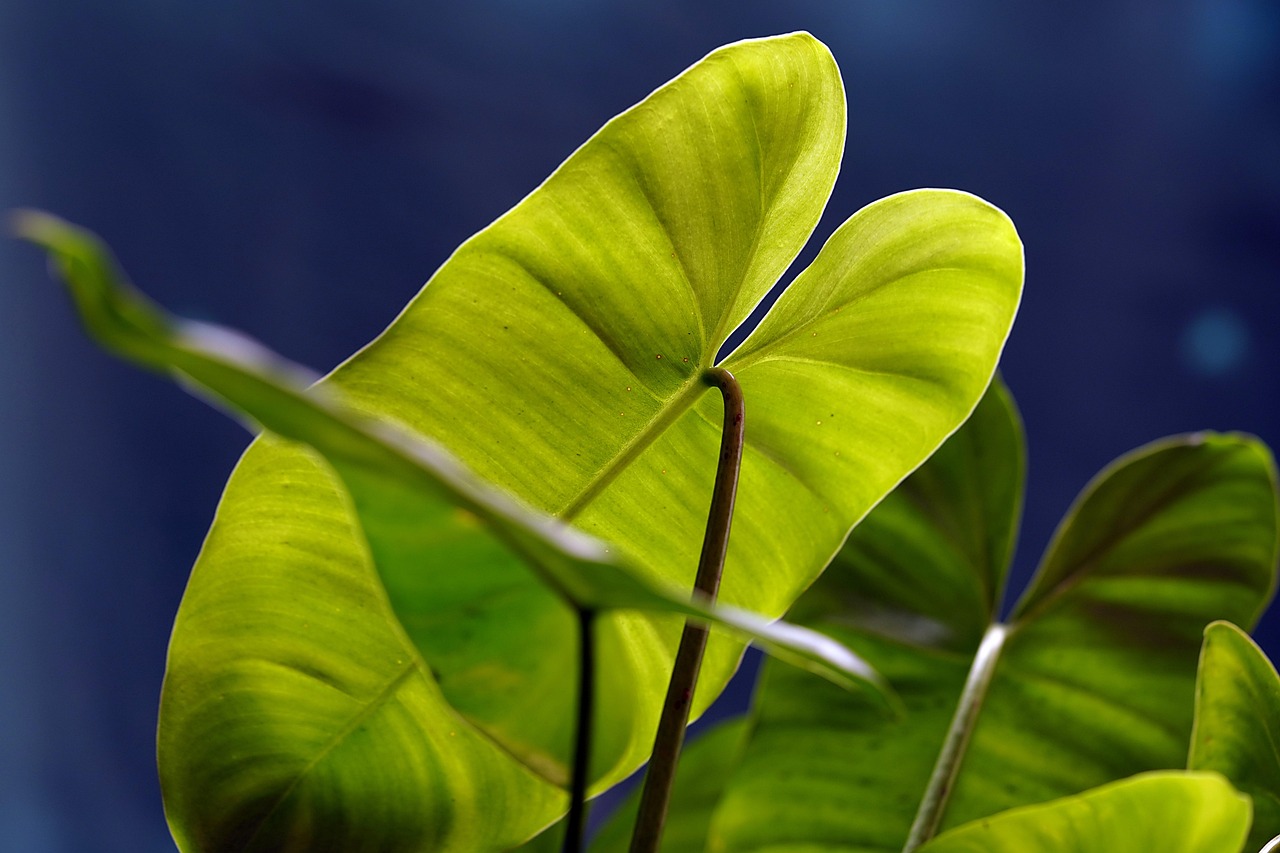
- Alocasia Micholitziana: Displays beautiful heart-shaped leaves with a glossy finish.
When considering adding an Alocasia to your collection, it’s essential to understand their basic needs. These plants can be particular about their environment. They thrive in bright, indirect light but can also adapt to lower light conditions. However, low light may slow growth and lead to leggy leaves.
Light Requirements
Providing the right amount of light is crucial for the health of your Alocasia. Here are some guidelines:
- Bright, indirect sunlight is optimal.
- Avoid direct sunlight, as it can scorch the leaves.
- If natural light is limited, consider using grow lights.
When placing your Alocasia, observe how it responds to the light in your home. If you notice yellowing leaves, it might be a sign of too much sun exposure. Conversely, if the plant appears to be stretching towards the light, it may need more brightness.
Watering Guidelines
Watering is another critical aspect of Alocasia plant care. Overwatering can lead to root rot, while underwatering can cause the leaves to droop. Here are some tips to help you find the right balance:
- Water when the top 1-2 inches of soil feel dry.
- Use room temperature water to avoid shocking the roots.
- Ensure pots have drainage holes to prevent standing water.
During the growing season (spring and summer), these plants may require more frequent watering. In contrast, during the fall and winter months, reduce watering as the plant enters a dormant phase.
Humidity and Temperature Needs
Alocasia plants are tropical by nature and enjoy high humidity levels. Ideally, humidity should be around 60% or higher. Here are some ways to maintain humidity:
- Use a humidifier in the room where your Alocasia is located.
- Mist the leaves regularly to provide moisture.
- Group your plants together to create a microclimate.
The ideal temperature range for Alocasia is between 65°F and 80°F. They do not tolerate cold drafts or temperatures below 50°F very well. Placing them away from windows that might be drafty in winter is advisable.
Nutrient Needs
To support healthy growth, Alocasia plants also require regular fertilization. A balanced liquid fertilizer diluted to half strength can be applied every four to six weeks during the growing season. Here’s a quick guide:
| Fertilizer Type | Frequency |
|---|---|
| Balanced Liquid Fertilizer | Every 4-6 weeks (spring/summer) |
| Diluted Strength | Half Strength |
Incorporating these care strategies will help keep your Alocasia healthy and thriving in indoor environments. Paying attention to their specific needs allows you to enjoy their beauty for years to come.
Pest and Disease Management
Alocasia plants, while stunning, can be susceptible to various pests and diseases. Early detection is crucial for managing these issues effectively. Understanding common pests and the diseases that may affect your plant can help you take preventive measures.
Common Pests
Several pests are known to target Alocasia. Here are the most common ones:
- Spider Mites: These tiny pests thrive in dry conditions and can cause leaf discoloration and webbing.
- Mealybugs: These appear as white, cotton-like clusters on the plant. They can weaken the plant by sucking sap.
- Scale Insects: Scale insects look like small bumps on stems and leaves. They also feed on plant sap and can cause yellowing leaves.
- Aphids: Small and green, aphids can cluster on new growth, causing stunted growth and leaf curling.
To combat these pests, consider the following methods:
- Regularly inspect your plants for signs of infestation.
- Use insecticidal soap or neem oil as a natural pesticide.
- Maintain proper humidity levels to deter spider mites.
Disease Prevention
Diseases can also affect Alocasia plants, often resulting from poor care practices. The most common diseases include:
- Root Rot: Caused by overwatering, this disease affects the roots and can lead to plant death if not addressed promptly.
- Leaf Spot: This fungal disease leads to dark spots on leaves. It usually occurs in high humidity and poor air circulation.
- Powdery Mildew: A fungal infection that appears as a white powdery substance on leaves, often due to insufficient light and air circulation.
To prevent diseases, follow these tips:
- Avoid overwatering by allowing the topsoil to dry out between waterings.
- Ensure good air circulation around your plants by spacing them appropriately.
- Keep the foliage dry by watering at the base of the plant instead of overhead.
Repotting Alocasia
Repotting is an essential part of Alocasia care, as these plants can become root-bound over time. Recognizing when to repot is important for their growth and health. Here are some signs that indicate it may be time to repot your Alocasia:
- The roots are growing out of the drainage holes.
- The plant has stopped growing or is becoming stunted.
- The soil dries out too quickly after watering.
Steps for Repotting
When you decide it’s time to repot your Alocasia, follow these steps:
- Select a New Pot: Choose a pot that is 1-2 inches larger in diameter than the current one. Ensure it has drainage holes.
- Prepare Fresh Soil: Use a well-draining potting mix, ideally one designed for houseplants or aroid mixes.
- Remove the Plant: Gently take the Alocasia out of its current pot. Be careful not to damage the roots.
- Inspect the Roots: Trim any brown or mushy roots with sterilized scissors. Healthy roots should be firm and white or light tan.
- Repot the Plant: Place the plant in the new pot, fill it with fresh soil, and tamp down gently to eliminate air pockets.
- Water Thoroughly: After repotting, water your Alocasia well to help settle the soil.
After repotting, place your Alocasia in a location with appropriate light and humidity. Monitor the plant closely for any signs of stress during this transition period.
Propagation Techniques
If you want to expand your collection or share your Alocasia with friends, propagation is a rewarding process. There are two common methods for propagating Alocasia: division and offsets.
Division Method
This method involves separating a mature plant into smaller sections, each with roots attached. Here’s how to do it:
- Choose a Healthy Plant: Select a mature Alocasia that has multiple stems.
- Remove from Pot: Gently take the plant out of its pot, taking care not to damage the roots.
- Divide the Plant: Use clean, sharp scissors or a knife to divide the root ball into sections, ensuring each division has at least one stem and healthy roots.
- Plant Each Division: Pot each section in its own container with fresh potting mix.
- Water and Care: Water each new plant thoroughly and treat them as you would a mature Alocasia.
Offsets Method
This method utilizes side shoots or offsets that develop around the base of mature plants. To propagate using offsets:
- Identify Offsets: Look for small shoots at the base of the plant during growing season.
- Carefully Remove Offsets: Gently pull them away from the main plant, ensuring they have roots attached.
- Pot Offsets: Place them in small pots with a suitable potting mix.
-
Water and Maintain: Water
Common Issues and Troubleshooting
Even with proper care, Alocasia plants can encounter some challenges. Understanding these common issues will help you address them effectively and keep your plants healthy. Here are some common problems and their solutions.
Yellowing Leaves
Yellowing leaves can indicate various issues. Here are some potential causes and solutions:
- Overwatering: If the leaves are yellowing and mushy, it may be a sign of root rot. Reduce watering and ensure the pot has proper drainage.
- Underwatering: If the leaves are yellowing and crispy, the plant may not be getting enough water. Increase your watering frequency, but avoid soggy soil.
- Insufficient Light: Yellowing can also occur if the plant is not receiving enough light. Move your Alocasia to a location with bright, indirect sunlight.
Wilting Leaves
Wilting leaves can be a sign of stress. Consider the following causes:
- Watering Issues: Both overwatering and underwatering can cause wilting. Check the soil moisture level and adjust your watering schedule accordingly.
- Pests: Infestation from pests like spider mites or aphids can lead to wilting. Inspect the leaves for signs of pests and treat accordingly.
- Temperature Stress: Sudden changes in temperature or exposure to drafts can stress the plant and cause wilting. Keep the plant in a stable environment.
Browning Leaf Edges
Browning leaf edges often indicate low humidity or environmental stress. Here’s how to address it:
- Increase Humidity: Alocasia prefers humidity levels around 60% or higher. Use a humidifier, mist the leaves, or place a tray of water near the plant.
- Avoid Direct Sunlight: Excessive direct sunlight can also cause leaf edges to brown. Ensure your plant is in bright, indirect light.
- Check for Nutrient Deficiencies: Browning can also result from a lack of nutrients. Ensure you’re fertilizing during the growing season.
Seasonal Care Adjustments
Alocasia plants may require different care during the changing seasons. Understanding these seasonal adjustments will help maintain optimal health throughout the year.
Spring and Summer Care
During the growing season, Alocasia plants thrive and may need more attention:
- Increased Watering: As temperatures rise, increase your watering frequency to keep the soil consistently moist but not soggy.
- Fertilization: Apply a balanced liquid fertilizer every 4-6 weeks to support new growth.
- Repotting: Spring is an ideal time for repotting if your plant is root-bound.
Fall and Winter Care
As temperatures drop, Alocasia plants enter a dormant phase where care should be adjusted:
- Reduce Watering: Allow the soil to dry out more between waterings to prevent root rot.
- Avoid Fertilization: Stop fertilizing during the fall and winter months, as the plant’s growth slows down.
- Maintain Temperature: Keep indoor temperatures stable and avoid exposing them to cold drafts.
Choosing the Right Potting Mix
The po

Alocasia, Leaves, Plant, Flora, Nature, Garden, Alocasia, Alocasia, Alocasia, Alocasia, Alocasia tting mix you choose for your Alocasia can significantly impact its health. A well-draining mix is essential to prevent root rot while retaining enough moisture for healthy growth. Here are some recommended ingredients for an ideal potting mix:
- Pine Bark: Provides excellent drainage while retaining moisture.
- Coconut Coir: A sustainable alternative to peat that retains moisture without becoming too soggy.
- Pearlite or Vermiculite: These materials improve aeration and drainage in the mix.
A recommended recipe for a well-draining potting mix is as follows:
- 1 part potting soil
- 1 part pine bark
- 1 part coconut coir
- 1 part perlite or vermiculite
This combination will help create a suitable environment for your Alocasia to thrive, promoting healthy root development while preventing excess moisture retention.
Final Care Tips
Caring for Alocasia plants can be both rewarding and enjoyable. Here are some final tips to keep in mind:
- Regularly Inspect Your Plants: Make it a habit to check your plants for any signs of pests, diseases, or stress.
- Be Patient: Some Alocasia varieties can be slow growers, especially during winter. Give them time to adapt to their environment.
- Research Specific Varieties: Each Alocasia species may have slightly different care needs, so familiarize yourself with your specific plant.
By following these guidelines and maintaining attentive care, you can enjoy the beauty of your Alocasia plants for years to come.
Additional Considerations for Alocasia Plants
In add
Alocasia, Leaves, Plant, Flora, Nature, Closeup, Alocasia, Alocasia, Alocasia, Alocasia, Alocasia, Leaves, Nature ition to the fundamental care practices, there are several other considerations that can enhance the health and vitality of your Alocasia plants. These factors can significantly impact their growth and overall appearance.
Seasonal Changes and Adaptations
Alocasia plants are sensitive to seasonal changes. During the transition from summer to fall, you may notice your plant’s growth slowing down. Here are some tips to help your plant adapt:
- Gradual Adjustment: As temperatures begin to drop, gradually reduce watering and avoid drastic changes in the environment.
- Maintain Light Levels: Ensure that the plant continues to receive adequate light, especially as natural light decreases in winter months.
- Temperature Consistency: Keep the plant in a stable temperature range, avoiding drastic drops during night time.
Choosing the Right Location
The placement of your Alocasia can greatly influence its health. Consider the following factors when choosing a location:
- Avoid Drafts: Keep your plant away from air conditioning vents and drafty windows, which can lead to stress.
- Bright Indirect Light: Position your Alocasia near a window that receives bright, indirect sunlight. This will help maintain vibrant foliage.
- Avoid Excessive Heat: Do not place your plant near heaters or radiators, as excessive heat can dry out the leaves and soil.
Seasonal Pruning
Pruning can help maintain the shape and health of your Alocasia. Here are some guidelines for effective pruning:
- Remove Dead Leaves: Regularly cut away any yellowing or dead leaves to promote healthy growth and improve air circulation.
- Shape the Plant: Trim back any overly long or leggy growth to encourage bushier growth.
- Sanitize Tools: Always use clean, sharp scissors or pruning shears to prevent the spread of disease.
Final Thoughts
Caring for Alocasia plants can be a fulfilling experience for any plant lover. These tropical beauties require specific conditions to thrive, but with the right knowledge and attention, they can flourish beautifully in your home. Remember to regularly inspect your plants for signs of stress or pests, and adjust your care routine according to seasonal changes.
The key takeaways for Alocasia care include providing proper light, humidity, and watering practices. Additionally, understanding how to manage pests and diseases will help you keep your plants healthy. Whether you are propagating new plants or repotting existing ones, ensuring that you use the right potting mix is vital for their success.
Ultimately, each Alocasia variety may have its unique requirements, so take the time to learn about the specific type you own. With patience and dedication, you can cultivate an impressive collection of Alocasia plants that will not only enhance your living space but also bring you joy for years to come.
Happy planting!