California Alocasia plants thrive in warm, humid environments with bright, indirect light. They require well-draining soil and regular watering, ensuring the soil remains moist but not soggy. Fertilizing during the growing season supports healthy growth and vibrant foliage.
Table of Contents
Understanding Alocasia
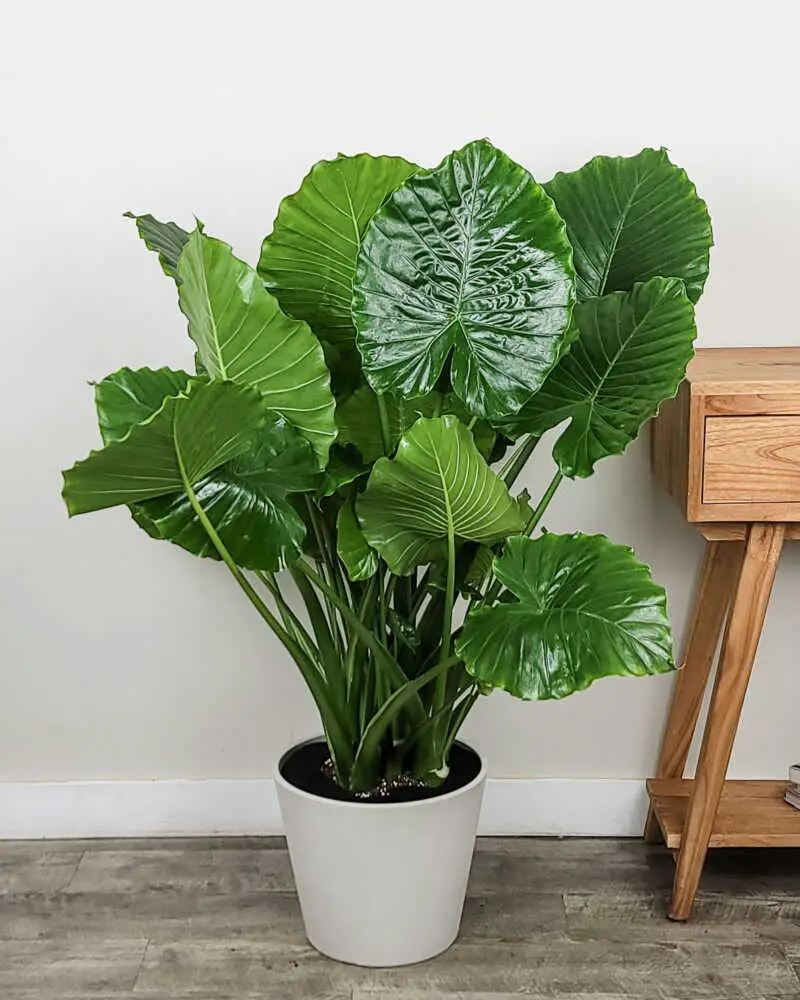
Alocasia, commonly known as elephant ear plants, are tropical and subtropical plants that belong to the Araceae family. They are known for their large, striking leaves and unique shapes. These plants are native to regions in Southeast Asia and are popular among indoor and outdoor gardeners due to their dramatic foliage.
In California, the climate can vary significantly from coastal to inland areas. This diversity allows for various Alocasia species to thrive, provided they receive the right care. Understanding their specific needs is essential for successful growth.
Key Characteristics of Alocasia Plants
Alocasia plants are recognized for several distinctive features:
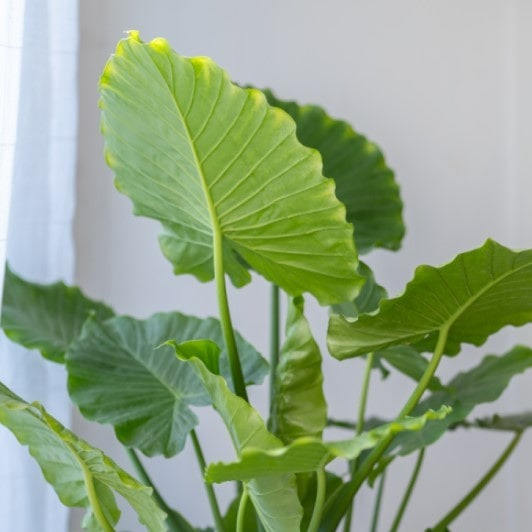
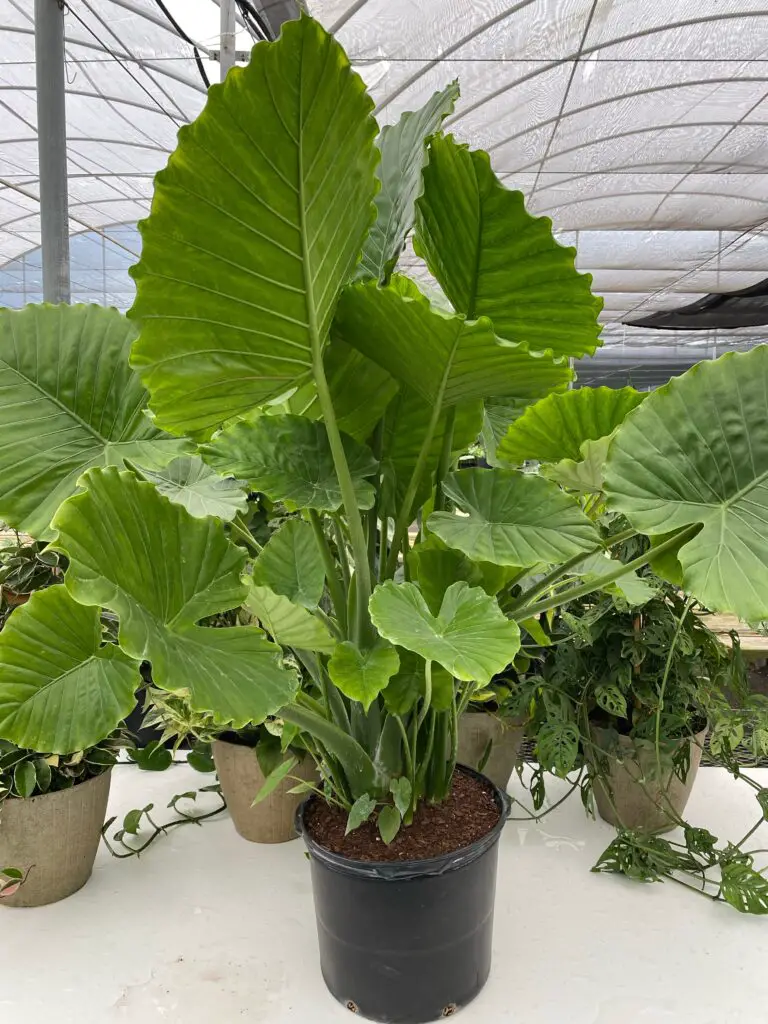
- Large Leaves: The leaves can grow quite large, creating an eye-catching display.
- Diverse Species: There are many species of Alocasia, each with unique leaf shapes and colors.
- Tropical Origin: They thrive in warm, humid climates, making them ideal for indoor settings in cooler regions.
Choosing the Right Alocasia Variety
When selecting an Alocasia for your California garden or home, consider these popular varieties:
| Variety | Description |
|---|---|
| Alocasia Amazonica | Features arrow-shaped leaves with prominent veins. |
| Alocasia Zebrina | Known for its zebra-striped stems and large leaves. |
| Alocasia Micholitziana | Displays stunning variegated foliage with dark green and yellow patterns. |
Growing Conditions for Alocasia in California
To successfully grow Alocasia in California, it is essential to mimic their natural environment as closely as possible. Here are some key growing conditions to consider:
Light Requirements
Alocasia prefers bright, indirect sunlight. Direct sunlight can scorch their leaves. Placing them near a window with filtered light is often ideal. If you notice the leaves stretching toward the light, it may be a sign that your plant needs more light.
Soil Type
A well-draining potting mix is crucial for Alocasia. A mixture containing peat moss, perlite, and orchid bark works well. This combination provides aeration and ensures that excess water drains away from the roots.

Watering Needs
These plants enjoy consistently moist soil but do not tolerate soggy conditions. Water your Alocasia when the top inch of soil feels dry. During the growing season, regular watering is vital for promoting healthy growth.
Humidity Levels
High humidity is beneficial for Alocasia plants. In California, especially during dry summers, consider using a humidifier or placing a tray of water near the plant to increase moisture levels in the air.
Pest Management
Pests can sometimes affect Alocasia plants. Common pests include spider mites and aphids. Regularly inspect your plants and use insecticidal soap or neem oil as needed to control any infestations.
Fertilizing Alocasia
Fertilizing is an essential part of caring for Alocasia plants. Proper nutrition helps them thrive and produce vibrant foliage. Understanding when and how to fertilize can significantly impact their growth.
Types of Fertilizers
There are several types of fertilizers suitable for Alocasia:
- Liquid Fertilizer: A balanced liquid fertilizer diluted to half strength is ideal during the growing season.
- Slow-Release Granules: These can be mixed into the soil at the beginning of the growing season for consistent feeding.
- Organic Options: Compost and worm castings provide natural nutrients and improve soil structure.
When to Fertilize
Alocasia plants benefit from regular fertilization during their active growing season, which typically runs from spring to early fall. It is best to fertilize every 4-6 weeks during this period. In winter, when the plant is dormant, reduce or stop fertilizing altogether.
Application Tips
To effectively apply fertilizer, follow these guidelines:
- Water the plant thoroughly before applying fertilizer. This helps prevent root burn.
- Apply fertilizer evenly around the base of the plant, avoiding direct contact with the stem.
- After application, water again to help distribute the nutrients into the soil.
Repotting Alocasia
Repotting is necessary for Alocasia plants as they grow. This process provides fresh soil and more space for root development.
When to Repot
Signs that your Alocasia needs repotting include:
- The roots are visible through the drainage holes.
- The plant has outgrown its pot and appears top-heavy.
- Water is not absorbing well, indicating compacted soil.
Repotting Steps
Follow these steps to successfully repot your Alocasia:
- Choose a pot that is one size larger than the current one, ensuring it has drainage holes.
- Prepare fresh potting mix that retains moisture but drains well.
- Gently remove the plant from its current pot. Be careful not to damage the roots.
- Place the plant in the new pot and fill in around the roots with fresh soil.
- Water thoroughly after repotting to help settle the soil and remove air pockets.
Pruning Alocasia
Pruning helps maintain the health and appearance of your Alocasia. Regularly removing dead or damaged leaves encourages new growth and prevents pests and diseases.
When to Prune
The best time to prune Alocasia is during the growing season, in spring or summer. This timing promotes healing and new growth.
Pruning Techniques
Use these techniques for effective pruning:
- Clean Tools: Always use sharp, clean scissors or pruning shears to avoid transferring disease.
- Remove Dead Leaves: Cut leaves at their base to prevent any decay from affecting healthy parts of the plant.
- Shape the Plant: Trim back overly long stems to encourage bushier growth.
Pest and Disease Prevention
Preventing pests and diseases is crucial for maintaining healthy Alocasia plants. Here are some strategies to keep your plants safe:
Cultural Practices
Adopting good cultural practices can greatly reduce the risk of infestations:
- Avoid Overwatering: This can lead to root rot, a common issue that weakens plants and makes them more susceptible to pests.
- Increase Air Circulation: Ensure adequate spacing between plants to prevent mold and mildew growth.
- Regular Inspections: Check your plants frequently for signs of pests or disease, allowing for early intervention.
Treatment Options
If pests do appear, consider these treatment options:
- Natural Remedies: Use neem oil or insecticidal soap as a safe treatment for many common pests.
- Pesticides: In severe cases, chemical pesticides may be necessary; however, they should be used as a last resort.
Winter Care for Alocasia
During the winter months, Alocasia plants require special attention to ensure their survival and health. The cooler temperatures and reduced light can stress these tropical plants, making it essential to adjust care routines accordingly.
Temperature Management
Alocasia plants thrive in warm conditions, ideally between 65°F and 80°F (18°C to 27°C). In California, winter temperatures can drop significantly. Here are some tips for managing temperature:
- Indoor Placement: Keep your Alocasia indoors in a warm room away from drafts, heaters, or air conditioning vents. These can cause sudden temperature fluctuations.
- Use a Thermometer: Monitor the temperature regularly to ensure it stays within the ideal range.
Watering Adjustments
As temperatures drop, Alocasia’s growth slows down, and its water requirements decrease. Adjust your watering schedule by:
- Reducing the frequency of watering. Allow the top 2-3 inches of soil to dry out before watering again.
- Monitoring humidity levels, as dry indoor air can lead to stress. Consider using a humidifier if the air is particularly dry.
Propagation of Alocasia
Propagating Alocasia can be a rewarding process. It allows you to expand your collection or share plants with friends. The most common method is division, which is best done during the spring.
Methods of Propagation
There are two primary methods to propagate Alocasia:
- Division: This involves separating a mature plant into smaller sections, each with roots and leaves.
- Offsets: Some species produce offsets or “pups” around the base that can be removed and planted separately.
Steps for Successful Division
To propagate through division, follow these steps:
- Choose a healthy, mature Alocasia plant that has outgrown its pot.
- Gently remove the plant from its pot and shake off excess soil to reveal the roots.
- Identify natural divisions in the root system. Use clean, sharp scissors or a knife to separate these sections.
- Replant each division in its own pot with fresh potting mix.
- Water thoroughly and place in a warm, bright location until established.
Common Problems and Solutions
Eve
n with proper care, Alocasia plants can encounter various issues. Recognizing problems early and applying effective solutions is key to maintaining healthy plants.
Yellowing Leaves
If you notice yellowing leaves, it could indicate several issues:
- Overwatering: Check the soil moisture. If overly saturated, reduce watering to prevent root rot.
- Nutrient Deficiency: Consider fertilizing if you haven’t done so recently.
- Pests: Inspect for signs of pests like spider mites or aphids that might be affecting leaf health.
Browning Leaf Tips
Browning leaf tips can be caused by:
- Low Humidity: Increase humidity levels around the plant.
- Underwatering: Ensure consistent moisture without letting the soil dry out completely.
Drooping Leaves
Drooping leaves may indicate stress due to various factors:
- Watering Issues: Check if the plant is too dry or overwatered.
- Lack of Light: Ensure the plant is receiving adequate indirect sunlight.
Seasonal Considerations
Caring for Alocasia requires adapting practices based on seasonal changes. Here’s how to adjust your care throughout the year:
Spring and Summer Care
The growing season is when Alocasia thrives. In these warmer months:
- Increase Fertilization: Feed regularly to support new growth.
- Monitor Watering: Maintain consistent moisture as the plant actively grows.
Fall and Winter Care
<pAs temperatures drop, focus on:
- Lesser Watering Needs: Reduce watering frequency as growth slows down.
- Pest Monitoring: Keep an eye out for pests that may invade as indoor conditions change.
Additional Tips for Alocasia Care
In addi
tion to the core care practices discussed, there are several other tips that can enhance the health and appearance of your Alocasia plants. These small adjustments can make a significant difference in their growth and vitality.
Choosing the Right Pot
Selecting the correct pot for your Alocasia is crucial for healthy root development. Here are some considerations:
- Drainage: Always choose pots with drainage holes to prevent water from accumulating at the bottom.
- Material: Clay pots provide excellent aeration, while plastic pots are lightweight and retain moisture better.
- Size: Ensure the pot is not too large. A pot that is one size bigger than the previous one is ideal for repotting.
Improving Soil Quality
Soil quality can greatly affect the health of your Alocasia. To enhance soil conditions:
- Add Organic Matter: Incorporating compost or worm castings can provide essential nutrients and improve soil structure.
- Check pH Levels: Alocasia prefers slightly acidic to neutral soil (pH 6.0 to 7.0). Testing soil pH can help you adjust accordingly.
Using Mulch
Applying a layer of mulch on top of the soil can offer several benefits:
- Moisture Retention: Mulch helps retain moisture, reducing the frequency of watering.
- Temperature Regulation: It can help maintain consistent soil temperatures, protecting roots from temperature fluctuations.
Final Thoughts
Caring for Alocasia plants in California can be a fulfilling endeavor. With their striking foliage and tropical appeal, these plants can enhance any indoor or outdoor space. Key factors for success include understanding their light, humidity, and watering needs.
By following proper fertilization, repotting, and pest management practices, you can ensure that your Alocasia remains healthy and vibrant throughout the year. Remember to adapt care routines based on seasonal changes, as this will help your plants thrive in varying conditions.
Whether you are a seasoned plant enthusiast or a beginner, growing Alocasia can be a rewarding experience. With patience and care, you will enjoy the beauty and elegance that these stunning plants bring to your home or garden.