Canna lilies are vibrant, tropical plants that thrive in warm climates. To grow stunning flowers, provide them with well-drained soil, full sun, and consistent moisture. Fertilizing regularly and removing dead leaves will promote healthy growth and abundant blooms.
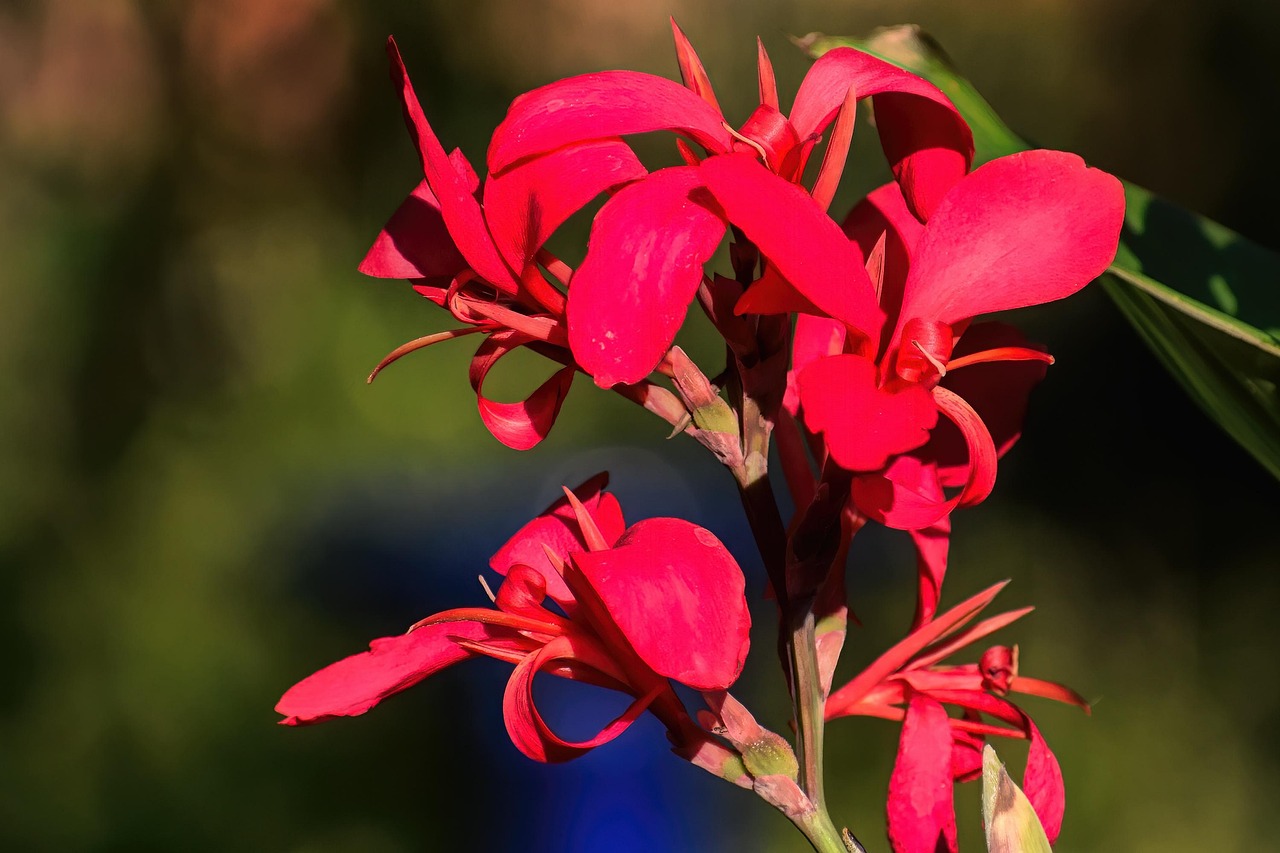
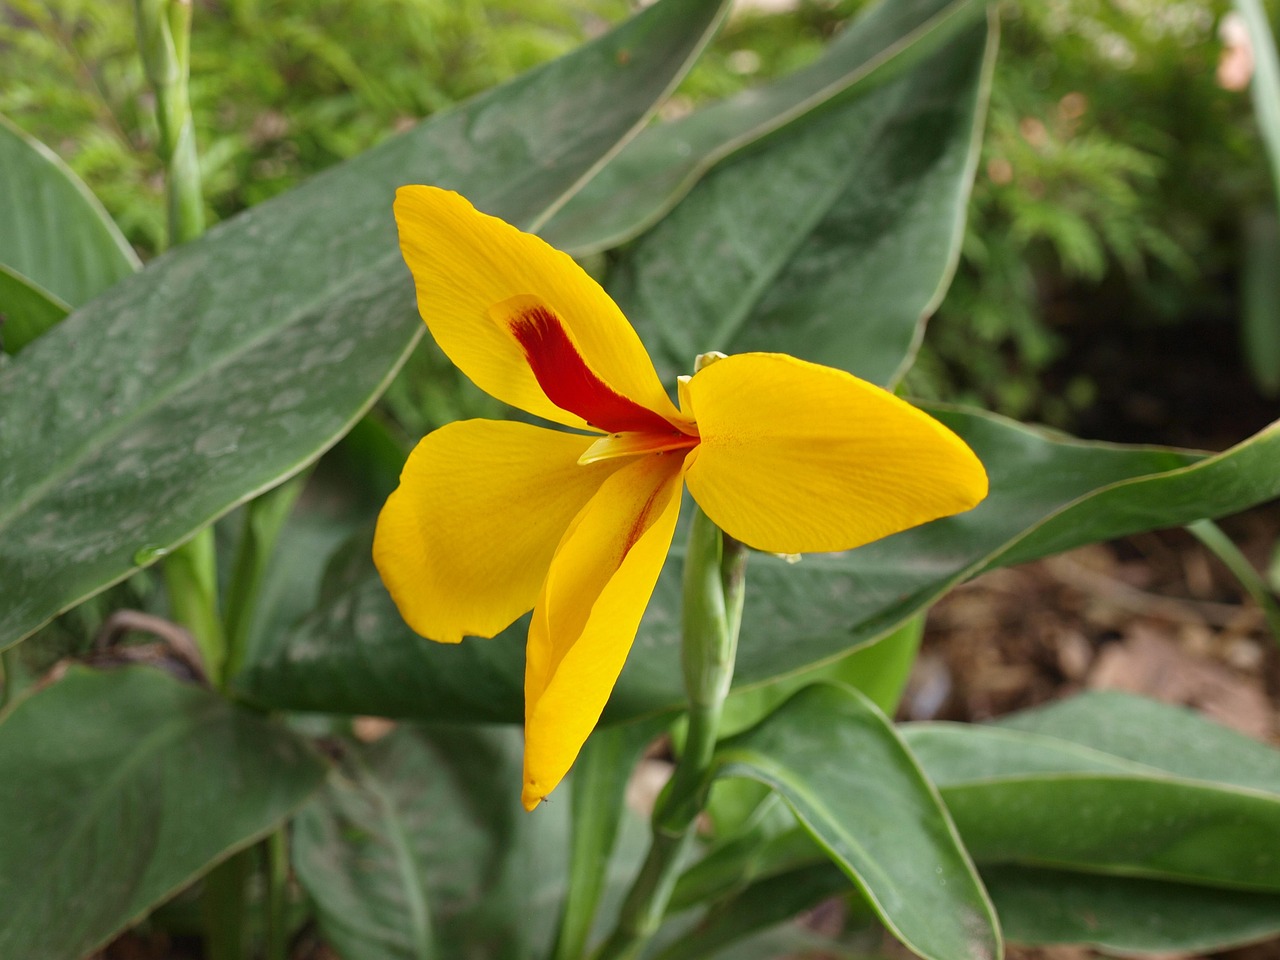
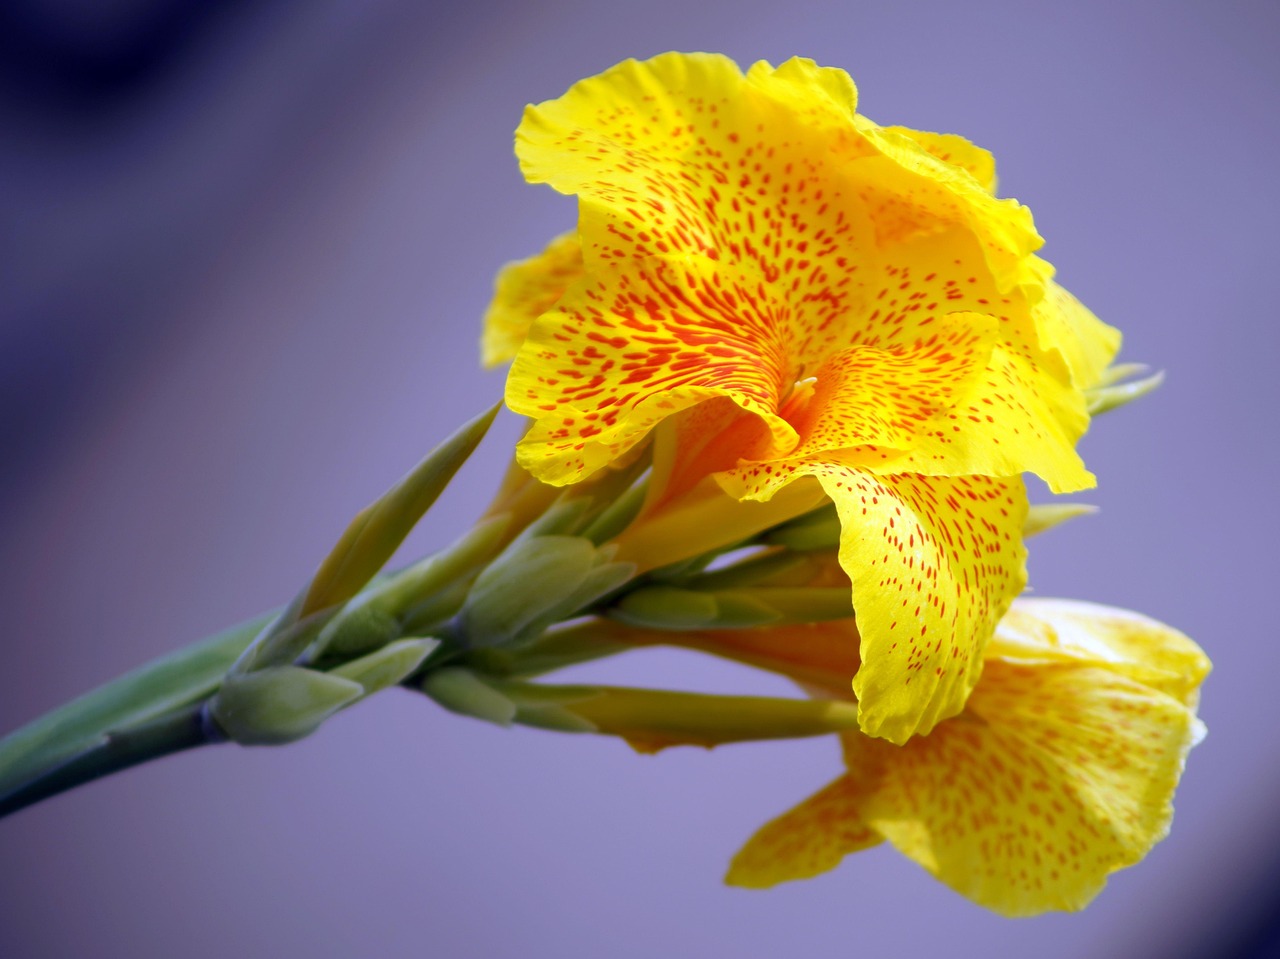
Canna lilies, known for their large, colorful flowers and lush foliage, are a popular choice among gardeners. These plants belong to the Canna genus, which includes several species native to tropical regions of the Americas. Canna lilies can reach heights of 3 to 6 feet and come in various colors, including red, orange, yellow, and pink. Their exotic appearance makes them ideal for borders, garden beds, and even containers.
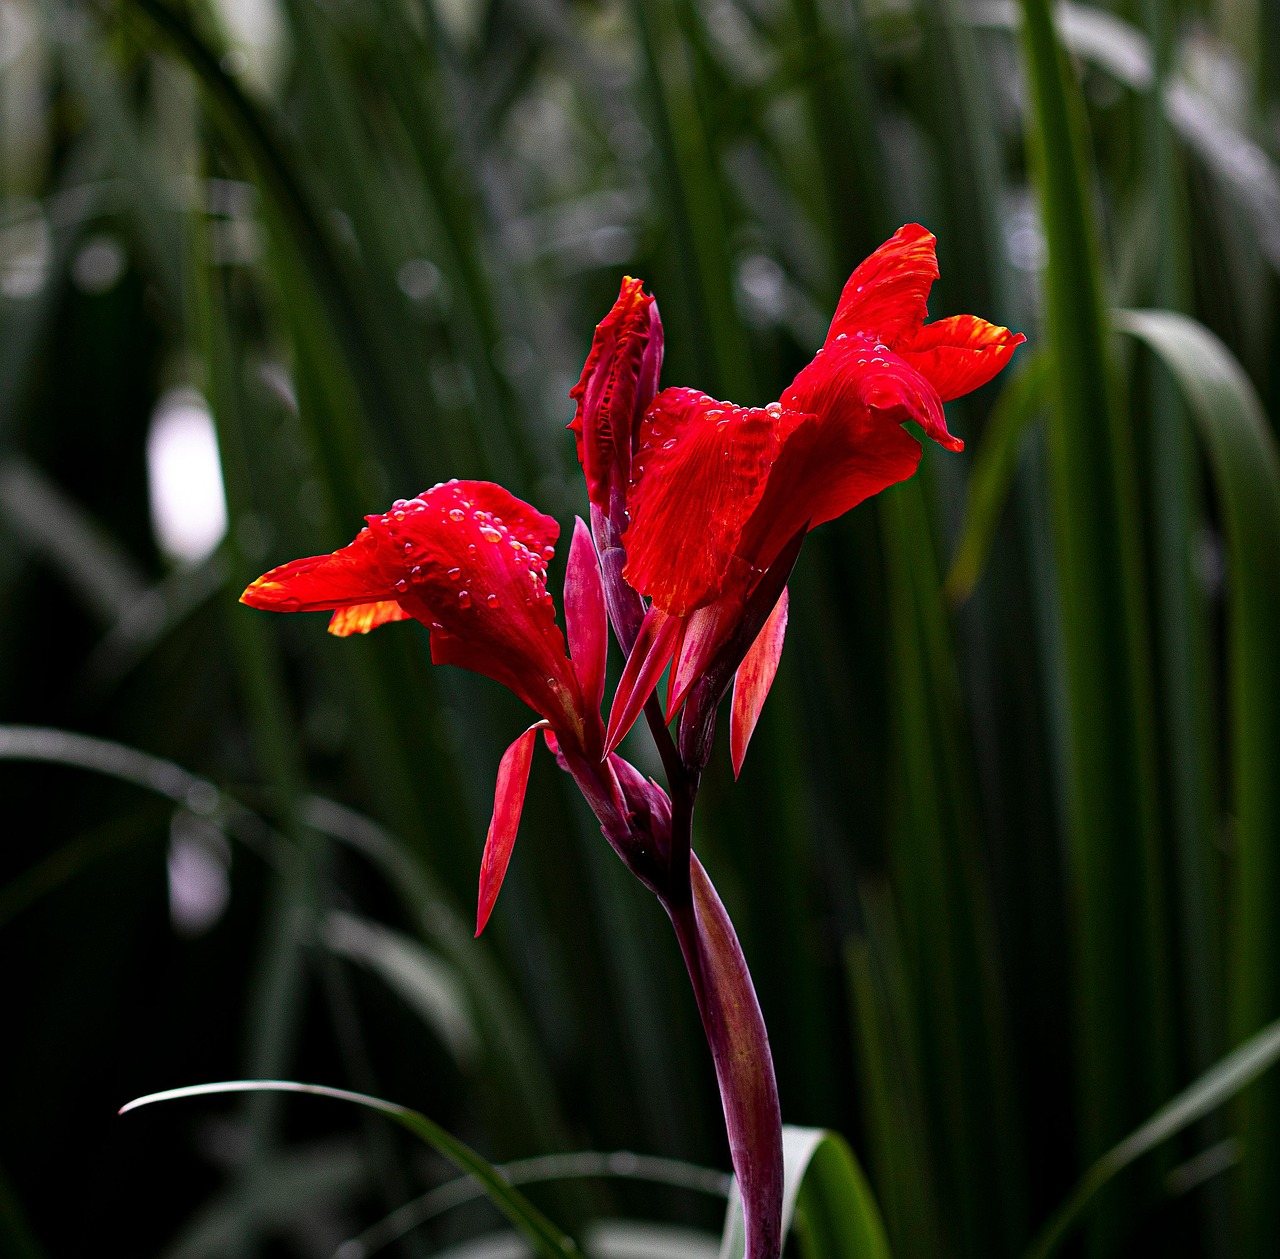
One of the appealing aspects of canna lilies is their ability to attract pollinators such as bees and butterflies. This not only enhances the beauty of your garden but also supports local ecosystems. Growing canna lilies can be a rewarding experience, as they produce stunning blooms throughout the summer and into early fall.
Understanding Canna Lily Growth Requirements
To ensure your canna lilies flourish, it is essential to understand their specific growth requirements. Here are the key factors to consider:
| Growth Factor | Description |
|---|---|
| Sunlight | Canna lilies require full sun for at least 6 hours a day to bloom effectively. |
| Soil Type | They prefer rich, well-drained soil with good organic matter. |
| Watering | Regular watering is crucial. Keep the soil consistently moist but not soggy. |
| Fertilization | Use a balanced fertilizer every 4-6 weeks during the growing season. |
Understanding these growth factors is vital for successful cultivation. The right conditions will not only promote healthy plants but also enhance the size and vibrancy of the flowers produced.
Planting Canna Lilies
Planting canna lilies is straightforward, but timing and technique are important for optimal growth. Here’s how to do it:
- Select a location that receives full sun and has well-drained soil.
- Prepare the soil by loosening it to a depth of about 12 inches. Incorporate compost or aged manure to improve soil quality.
- Dig holes that are approximately 4-6 inches deep and spaced about 12-24 inches apart, depending on the variety.
- Place the rhizomes in the holes with the growing tips facing upward.
- Cover them with soil and water thoroughly to settle the soil around the rhizomes.
The best time to plant canna lilies is in spring after the last frost date. This ensures that the soil has warmed up enough for the rhizomes to begin growing actively. If you live in a cooler climate, consider starting them indoors to get a head start before transplanting them outside.
Watering and Fertilizing Canna Lilies
Proper watering and fertilization are critical components of canna lily care. Here are some tips to keep your plants healthy:
- Water regularly, especially during dry spells. Canna lilies thrive in consistently moist conditions.
- Avoid waterlogging, as this can lead to root rot. Ensure proper drainage in pots or garden beds.
- During the growing season, apply a balanced fertilizer every 4-6 weeks. This will support vigorous growth and abundant flowering.
By following these guidelines, you will create an environment where your canna lilies can thrive, leading to stunning blooms that will brighten your garden throughout the summer months.
Pest and Disease Management for Canna Lilies
While canna lilies are relatively hardy, they can be susceptible to certain pests and diseases. Effective management is essential to keep your plants healthy and vibrant. Here are some common issues you may encounter:
- Aphids: These small insects can cluster on new growth, sucking sap and leading to wilting. Regularly inspect the undersides of leaves and remove them by hand or with a strong stream of water.
- Spider Mites: These tiny pests create fine webbing and cause leaf discoloration. Increasing humidity around the plants can help deter them. A mixture of water and mild soap can also be effective.
- Fungal Diseases: Powdery mildew and root rot are common fungal issues. Ensure proper air circulation and avoid overhead watering to minimize these risks.
- Snails and Slugs: These pests can chew holes in leaves. Handpicking or using bait traps can help control their population.
Preventive Measures
Taking preventive measures is the best way to protect your canna lilies from pests and diseases. Here are some strategies to consider:
- Maintain healthy plants by following proper watering, fertilization, and pruning practices.
- Regularly inspect your plants for any signs of pests or diseases.
- Introduce beneficial insects, such as ladybugs, which can naturally control pest populations.
- Practice crop rotation if you are planting different flowers or vegetables in the same area.
Pruning and Deadheading Canna Lilies
Pruning and deadheading are important practices that can enhance the appearance and health of your canna lilies. Here’s how to do it effectively:
Deadheading
Deadheading involves removing spent flowers to encourage new blooms and prevent the plant from expending energy on seed production. Here are the steps for effective deadheading:
- Use clean, sharp scissors or pruning shears for cuts.
- Identify spent flowers that have wilted or faded in color.
- Cut the flower stem just above the nearest leaf node to promote further growth.
Pruning Foliage
In addition to deadheading, trimming back foliage can help maintain the plant’s overall health. Follow these tips:
- Remove any yellow or brown leaves to improve air circulation.
- Prune back any overgrown stems to maintain a tidy appearance and promote bushier growth.
- In late fall, after the first frost, cut back the entire plant to ground level if you live in a region with cold winters.
Winter Care for Canna Lilies
If you live in a region with cold winters, special care is needed to protect your canna lilies during the off-season. Here are some methods to ensure their survival:
In-Ground Canna Lilies
If your canna lilies are planted directly in the ground, consider these steps:
- Cut back foliage to about 4-6 inches above ground after the first frost.
- Apply a thick layer of mulch over the root zone to insulate against freezing temperatures.
- If extremely cold weather is expected, cover the area with burlap or frost cloth for additional protection.
Potted Canna Lilies
If your canna lilies are in pots, follow these guidelines:
- Move pots indoors to a cool, frost-free location such as a garage or basement during winter.
- Water sparingly while they are dormant, ensuring the soil does not completely dry out.
- If you prefer, you can also lift the rhizomes from the pots, allow them to dry, and store them in a cool, dry place until spring.
Taking these precautions will help ensure that your canna lilies return healthy and vibrant when spring arrives again.
Common Canna Lily Varieties
Canna lilies come in numerous varieties, each offering unique colors and growth habits. Understanding the different types can help you choose the best ones for your garden. Here are some popular varieties:
| Variety | Description |
|---|---|
| Canna ‘Tropicana’ | This variety features striking orange and yellow flowers with variegated leaves, making it a standout in any garden. |
| Canna ‘Australia’ | Known for its bright red flowers and tall stature, ‘Australia’ is perfect for creating a bold focal point. |
| Canna ‘Pink Sunset’ | This variety boasts soft pink flowers and lush green foliage, ideal for adding a gentle touch to flower beds. |
| Canna ‘Lily Canna’ | Featuring vibrant yellow blooms and dark green leaves, this variety is well-suited for sunny spots. |
Selecting the right variety depends on your garden’s color scheme and the height you desire. Some canna lilies grow taller than others, so consider your landscape design when choosing.
Companion Plants for Canna Lilies
Companion planting can enhance the beauty of your garden while also benefiting plant health. Canna lilies pair well with various other plants. Here are some excellent companion options:
- Ornamental Grasses: Grasses like Pennisetum or Miscanthus create a lovely contrast with the broad leaves of canna lilies.
- Salvia: The spikes of salvia flowers complement canna blooms and attract pollinators.
- Marigolds: These flowers help deter pests and add cheerful colors that enhance the canna lily display.
- Hostas: The lush foliage of hostas provides a beautiful backdrop to the vibrant blooms of canna lilies.
When selecting companion plants, consider their growth habits, color combinations, and light requirements to ensure a harmonious garden environment.
Creating a Stunning Canna Lily Display
To make the most of your canna lilies, consider these tips for creating a visually appealing display:
Layering Heights
Planting canna lilies at different heights can create depth and interest in your garden. Taller varieties should be placed at the back of borders or in the center of circular beds, while shorter varieties can fill in the front. This approach allows each plant to shine without overshadowing others.
Color Schemes
Choose a color scheme to enhance the overall aesthetic of your garden. Here are some ideas:
- Monochromatic: Select canna lilies in various shades of one color for a sophisticated look.
- Contrasting Colors: Pair complimentary colors, such as orange and blue, for a vibrant contrast.
- Harmonious Tones: Choose colors that are next to each other on the color wheel, like red and pink, for a more subtle blend.
Incorporating Texture
The lush foliage of canna lilies provides texture to your garden. Combine them with plants that have different leaf shapes and sizes to create a more dynamic look. For instance, pairing them with spiky or fine-leaved plants can enhance their bold presence.
Canna Lily Propagation Techniques
Propagating canna lilies can be an exciting way to expand your collection or share them with friends. Here are two main methods to propagate these beautiful plants:
Division of Rhizomes
The most common method of propagation is dividing their rhizomes. This is typically done in spring or fall. Follow these steps:
- Carefully dig up the rhizomes from the soil using a spade or garden fork.
- Clean the rhizomes and inspect them for any signs of disease or damage.
- Using a sharp knife, divide the rhizomes into sections, ensuring each section has at least one growing eye.
- Replant the sections immediately or store them in a cool, dry place until ready to plant.
Seed Propagation
Canna lilies can also be grown from seeds, although this method takes longer. Here’s how to do it:
- Collect seeds from mature flowers once they have dried on the plant.
- Soak seeds in water for 24 hours before planting to help improve germination rates.
- Sow seeds in seed trays filled with seed-starting mix, covering them lightly with soil.
- Keep the trays in a warm location with bright, indirect light and maintain moisture.
This method may take longer to produce blooms compared to growing from rhizomes but can be rewarding for those interested in experimenting with different varieties.
Designing with Canna Lilies
Canna lilies are not only beautiful on their own but can also be used creatively to enhance your garden design. Here are some ideas for incorporating canna lilies into your landscaping:
Creating Focal Points
Use canna lilies as focal points in your garden. Their tall stature and vibrant colors draw the eye, making them perfect for placement in the center of a flower bed or at the back of a border. Consider grouping several plants together for maximum impact.
Border Planting
Planting canna lilies along pathways or garden borders can provide a lush, tropical feel. Their large, broad leaves can create a stunning backdrop for smaller flowering plants. Pair them with shorter perennials or annuals to create layers of color and texture.
Container Gardening
Canna lilies thrive in containers, making them an excellent choice for patios, balconies, or entryways. Choose large pots to accommodate their root systems and ensure proper drainage. Mixing canna lilies with other container plants can create a dynamic display.
Maintaining Soil Health
Healthy soil is vital for the growth of canna lilies. Here are some tips to maintain soil health:
- Regular Testing: Conduct soil tests to monitor pH and nutrient levels. Adjust accordingly to ensure optimal conditions for growth.
- Organic Matter: Incorporate organic matter such as compost or well-rotted manure into the soil before planting and throughout the growing season.
- Mulching: Apply mulch around the base of your plants to retain moisture, suppress weeds, and add nutrients as it breaks down.
Seasonal Care Tips
Throughout the seasons, different care techniques can help ensure your canna lilies remain healthy:
- Spring: Begin with soil preparation and planting. Fertilize with a balanced slow-release fertilizer to kickstart growth.
- Summer: Monitor for pests and diseases, and ensure consistent watering to keep the soil moist.
- Fall: As temperatures drop, focus on cleaning up dead foliage and preparing your plants for winter.
- Winter: If you live in colder climates, follow the winter care guidelines outlined earlier to protect your plants from frost.
Final Thoughts
Canna lilies are a fantastic addition to any garden, offering vibrant colors and lush foliage that can elevate the beauty of your outdoor space. With proper care, including appropriate watering, fertilization, pest management, and winter protection, these plants can thrive year after year.
Whether you choose to propagate them through rhizomes or seeds, the process is rewarding. Additionally, incorporating companion plants and thoughtful design elements can enhance their visual appeal in your landscape. Remember to regularly assess your soil health and adjust your gardening practices according to seasonal changes.
By following the tips and guidelines discussed in this article, you will undoubtedly enjoy stunning blooms and a flourishing garden filled with the exotic charm of canna lilies. Happy gardening!