Caring for Alocasia plants involves providing the right amount of light, humidity, water, and temperature. These tropical plants thrive in bright, indirect light and need consistent moisture without becoming waterlogged. Proper care will result in lush, vibrant foliage.
Understanding Alocasia Plants
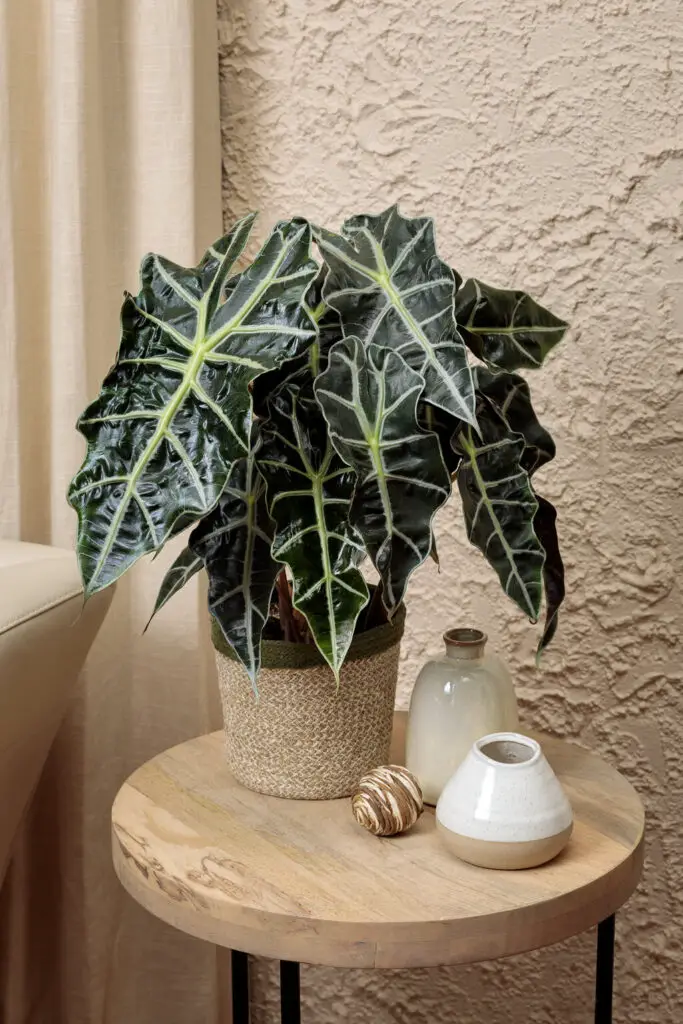
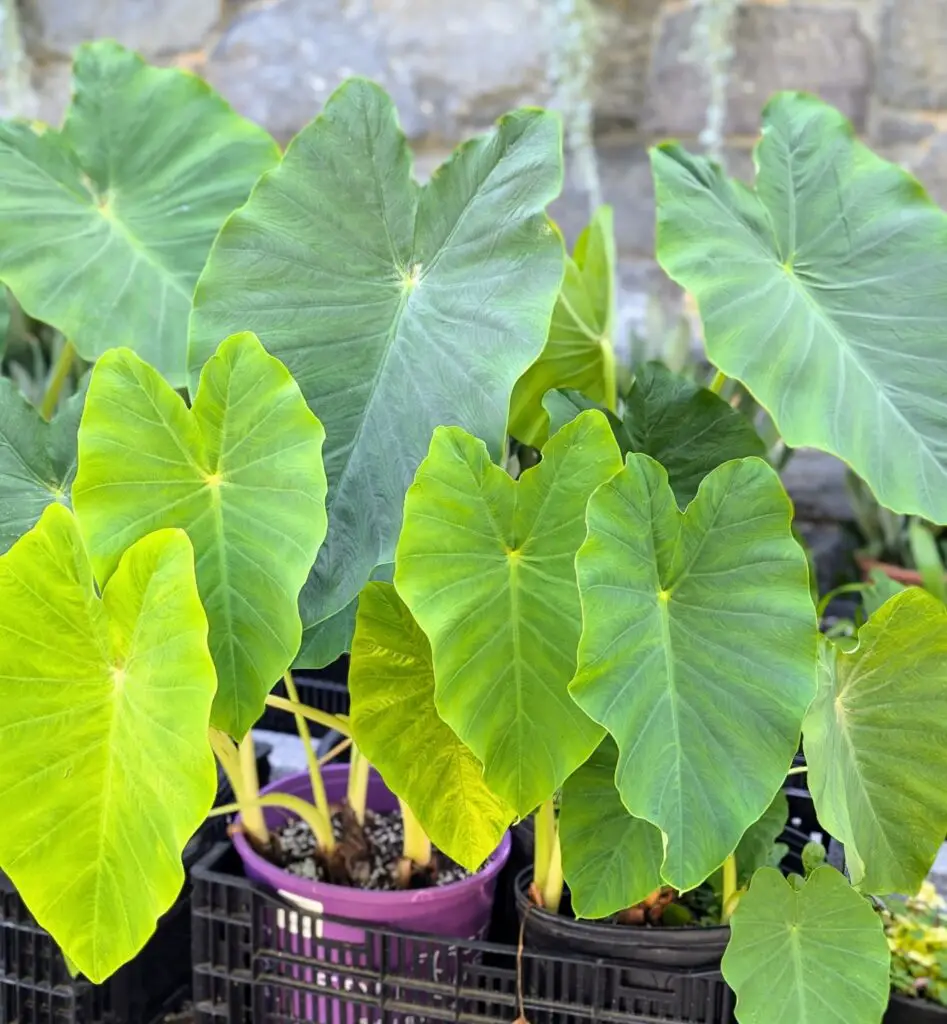
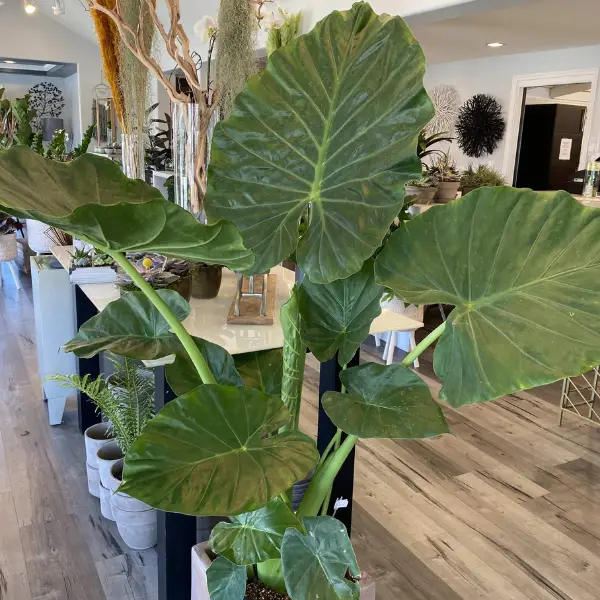
Alocasia, commonly known as elephant ear plants, are popular houseplants appreciated for their stunning foliage. Native to tropical regions of Asia and eastern Australia, these plants are characterized by their large, arrow-shaped leaves. They come in various species, each with unique leaf shapes and colors.
One of the most appealing aspects of Alocasia plants is their dramatic appearance. The leaves can grow quite large, making them a focal point in any room. However, their beauty comes with specific care requirements that must be met to keep them healthy and thriving.
Key Features of Alocasia Plants
- Leaf Shape: The leaves are typically large and glossy, with a prominent vein structure.
- Growth Habit: They can grow upright, adding height to your plant collection.
- Varieties: There are numerous varieties of Alocasia, including Alocasia Polly and Alocasia Zebrina.
When caring for Alocasia plants, it is essential to understand their natural habitat. In the wild, these plants thrive in warm, humid environments with rich, well-draining soil. Replicating these conditions in your home will help your Alocasia flourish.
Essential Care Requirements
To ensure your Alocasia remains healthy, consider the following care requirements:
| Care Aspect | Requirements |
|---|---|
| Light | Bright, indirect sunlight |
| Water | Keep soil consistently moist but not soggy |
| Humidity | High humidity (50% or higher) |
| Temperature | Warm temperatures (65°F to 80°F) |
Understanding these requirements is crucial for successful plant care. Each aspect plays a significant role in the overall health of your Alocasia plant.
Watering Practices
Watering is one of the most critical aspects of caring for Alocasia plants. These plants prefer consistently moist soil but dislike standing water. Overwatering can lead to root rot, so it is essential to allow the top inch of soil to dry out between waterings.
A good practice is to check the moisture level by sticking your finger into the soil. If it feels dry an inch down, it’s time to water. When watering, ensure that excess water drains out of the pot’s bottom to prevent sogginess.
Lighting Conditions
Alocasia plants thrive in bright, indirect light. Too much direct sunlight can scorch their leaves, while too little light can hinder growth. Placing them near a window with filtered light is usually ideal.
If your plant starts showing signs of leggy growth or yellowing leaves, it may not be receiving enough light. Conversely, if the leaves become crispy or develop brown spots, they may be getting too much direct sunlight.
Caring for Alocasia plants requires attention to detail and an understanding of their unique needs. By providing the right environment and care practices, you can enjoy their stunning beauty for years to come.
Soil and Potting Needs
The right soil and potting conditions are crucial for the health of Alocasia plants. They require a well-draining potting mix to prevent waterlogging, which can lead to root rot. A mixture that retains some moisture while allowing excess water to escape is ideal.
Choosing the Right Soil
When selecting soil for your Alocasia, consider a blend that includes:
- Pine bark: Helps improve drainage and adds aeration.
- Coconut coir: Retains moisture while providing excellent drainage.
- Perlite or pumice: Enhances aeration and prevents soil compaction.
A common recipe for Alocasia potting mix involves combining equal parts of potting soil, perlite, and orchid bark. This combination allows for moisture retention while ensuring good drainage.
Pot Selection
The choice of pot is equally important. Here are some tips for selecting the right pot for your Alocasia:
- Drainage holes: Always choose a pot with drainage holes to allow excess water to escape.
- Size: A pot that is too large may hold excess water. Choose one that allows for a few inches of growth.
- Material: Terracotta pots are breathable, helping to prevent overwatering, but plastic pots retain moisture better.
Humidity Requirements
Alocasia plants thrive in high humidity environments, making humidity a crucial factor in their care. In their native tropical habitats, they enjoy moisture-rich air. Therefore, replicating these conditions at home will encourage healthy growth.
Ways to Increase Humidity
If your home has dry air, especially during winter months, consider the following methods to increase humidity:
- Humidifiers: Using a humidifier in the room where your Alocasia is located can significantly boost moisture levels.
- Grouping plants: Placing multiple plants together can create a micro-humid environment as they release moisture through transpiration.
- Pebble trays: Fill a shallow tray with water and pebbles, then place your plant on top. As the water evaporates, it increases humidity around the plant.
Signs of Low Humidity
If your Alocasia is not getting enough humidity, it may show signs such as:
- Crispy leaf edges
- Browning tips on leaves
- Leaves curling or drooping
If you notice these signs, it’s essential to address the humidity levels promptly to prevent further stress on the plant.
Fertilizing Your Alocasia
Proper fertilization supports the growth and overall health of Alocasia plants. They enjoy nutrient-rich soil and benefit from regular feeding during the growing season.
Best Fertilizer Types
When choosing fertilizer for your Alocasia, look for options that provide balanced nutrition. Here are some recommendations:
- Liquid fertilizers: A balanced fertilizer diluted to half strength can be applied every month during the growing season (spring and summer).
- Slow-release fertilizers: These can be mixed into the soil at the beginning of the growing season for continuous nourishment.
Application Tips
To effectively fertilize your Alocasia:
- Apply fertilizer when the plant is actively growing, usually in spring and summer.
- Avoid fertilizing during the fall and winter months when the plant is dormant.
- Always water the plant before applying fertilizer to avoid root burn.
By following these fertilization tips, you can ensure that your Alocasia receives the nutrients it needs for lush foliage and healthy growth.
Common Pests and Diseases
Like many houseplants, Alocasia plants can be susceptible to pests and diseases. Being aware of potential issues is essential for keeping your plant healthy. Early detection and intervention can prevent more significant problems down the line.
Common Pests
Several pests are known to affect Alocasia plants. Here are some of the most common ones:
- Spider mites: These tiny pests thrive in dry conditions and can cause yellowing leaves and webbing on the plant.
- Mealybugs: These small, cotton-like insects feed on plant sap, leading to stunted growth and leaf drop.
- Scale: Scale insects appear as small bumps on stems and leaves. They can weaken the plant by sucking out its nutrients.
- Aphids: These soft-bodied insects can cluster on new growth, causing leaves to curl and distort.
Identifying Infestations
To effectively manage pests, it is crucial to know the signs of infestation:
- Look for discolored or distorted leaves.
- Check for sticky residue (honeydew) on leaves, which indicates aphid or mealybug activity.
- Inspect for webbing or tiny specks that may indicate spider mites.
Treatment Options
If you notice any of these pests on your Alocasia, prompt action is necessary. Here are some treatment options:
- Insecticidal soap: This is effective against many soft-bodied insects like aphids and mealybugs. Spray it directly on the affected areas.
- Neem oil: A natural pesticide that can deter a range of pests. Dilute it according to package instructions and apply it to the plant.
- Manual removal: For larger pests like scale, you can remove them manually by wiping them off with a cotton swab dipped in alcohol.
- Increase humidity: Raising humidity levels can help deter spider mites, which prefer dry conditions.
Diseases Affecting Alocasia Plants
Alocasia plants can also suffer from various diseases, often related to overwatering or poor air circulation. Recognizing symptoms early can mitigate damage.
Common Diseases
- Root rot: Caused by overwatering, this disease leads to mushy roots and wilting leaves. It often results in plant death if not addressed quickly.
- Leaf spot: This fungal disease presents as brown spots on leaves. It can be caused by excessive moisture or poor air circulation.
- Powdery mildew: A white, powdery fungus that appears on leaves, often due to high humidity and low airflow.
Prevention Strategies
Preventing diseases is often easier than treating them. Here are some strategies:
- Avoid overwatering: Always ensure that the potting mix is well-draining and allow the top inch of soil to dry out before watering again.
- Improve air circulation: Avoid crowding your Alocasia plants with other plants. Good airflow helps reduce humidity around the leaves.
- Inspect regularly: Check your plant for early signs of disease or pests. Early intervention can save your plant from significant damage.
Repotting Your Alocasia
Repotting is an essential part of Alocasia care that allows the plant to grow and thrive. As they grow, they may outgrow their current pots, leading to root crowding and nutrient depletion.
When to Repot
You should consider repotting your Alocasia under the following circumstances:
- The plant has outgrown its current pot, with roots growing out of the drainage holes.
- The soil has become compacted or degraded, affecting drainage.
- The plant shows signs of stunted growth despite adequate care.
Repotting Steps
When you decide to repot your Alocasia, follow these steps for a successful transition:
- Select a new pot: Choose a pot that is one size larger than the current one, ensuring it has drainage holes.
- Prepare fresh soil: Use a well-draining potting mix as discussed earlier.
- Remove the plant: Gently take the plant out of its current pot, being careful not to damage the roots.
- Examine the roots: Trim any dead or rotten roots before placing the plant in the new pot.
- Add soil: Fill in around the roots with fresh potting mix, ensuring the base of the plant is level with the top of the pot.
- Water thoroughly: After repotting, water your Alocasia well to help settle the soil around the roots.
Repotting should typically be done during the growing season in spring or early summer for optimal results. This ensures your Alocasia has enough time to adjust to its new environment before entering dormancy in fall.
Additional Tips for Thriving Alocasia Plants
Caring for Alocasia plants goes beyond the basics of watering, lighting, and fertilizing. Here are some additional tips to ensure your plant thrives:
Seasonal Care Adjustments
As the seasons change, so do the needs of your Alocasia. It is essential to adjust your care routine accordingly:
- Spring and Summer: During the growing season, increase watering frequency and consider repotting if the plant has outgrown its pot. This is also the best time to fertilize regularly.
- Fall and Winter: Reduce watering as the plant enters dormancy. Avoid fertilizing during these months, as the plant will not be actively growing.
Monitoring for Stress
Even with the best care, Alocasia plants can experience stress. Here are signs to watch for that may indicate your plant needs attention:
- Wilting: This can signify either too little or too much water. Check soil moisture to determine the cause.
- Leaf drop: If leaves are dropping, it may be due to sudden temperature changes, drafts, or underwatering.
- Pale or yellowing leaves: This can indicate nutrient deficiencies or insufficient light.
Propagation Techniques
If you want to expand your Alocasia collection or share with friends, propagation is an exciting option. Here are two primary methods:
- Division: During repotting, you can divide the rhizome into smaller sections, ensuring each section has roots and at least one leaf. Plant these sections in separate pots with fresh soil.
- Offsets: Some Alocasia varieties produce offsets (pups) that can be separated from the mother plant when they are a few inches tall. Carefully remove them and pot them separately.
Final Thoughts
Caring for Alocasia plants can be a rewarding experience, as these stunning houseplants add a tropical touch to any space. By understanding their specific needs regarding light, humidity, soil, and watering, you can create an environment where they thrive.
Regular monitoring for pests and diseases is vital to maintaining their health. Additionally, seasonal adjustments in care will help your Alocasia adapt to changing conditions. With patience and attention, your Alocasia can grow lush and vibrant foliage that enhances your home’s decor.
Whether you are a seasoned plant enthusiast or a beginner, following these guidelines will pave the way for success in caring for your Alocasia plants. Happy planting!