Dwarf Alocasia plants thrive in bright, indirect light and require well-draining soil. Keep the soil consistently moist but not soggy. They prefer high humidity and temperatures between 65°F to 80°F. Regularly clean the leaves to remove dust and promote healthy growth.
*As an Amazon Associate we earn from qualifying purchases.
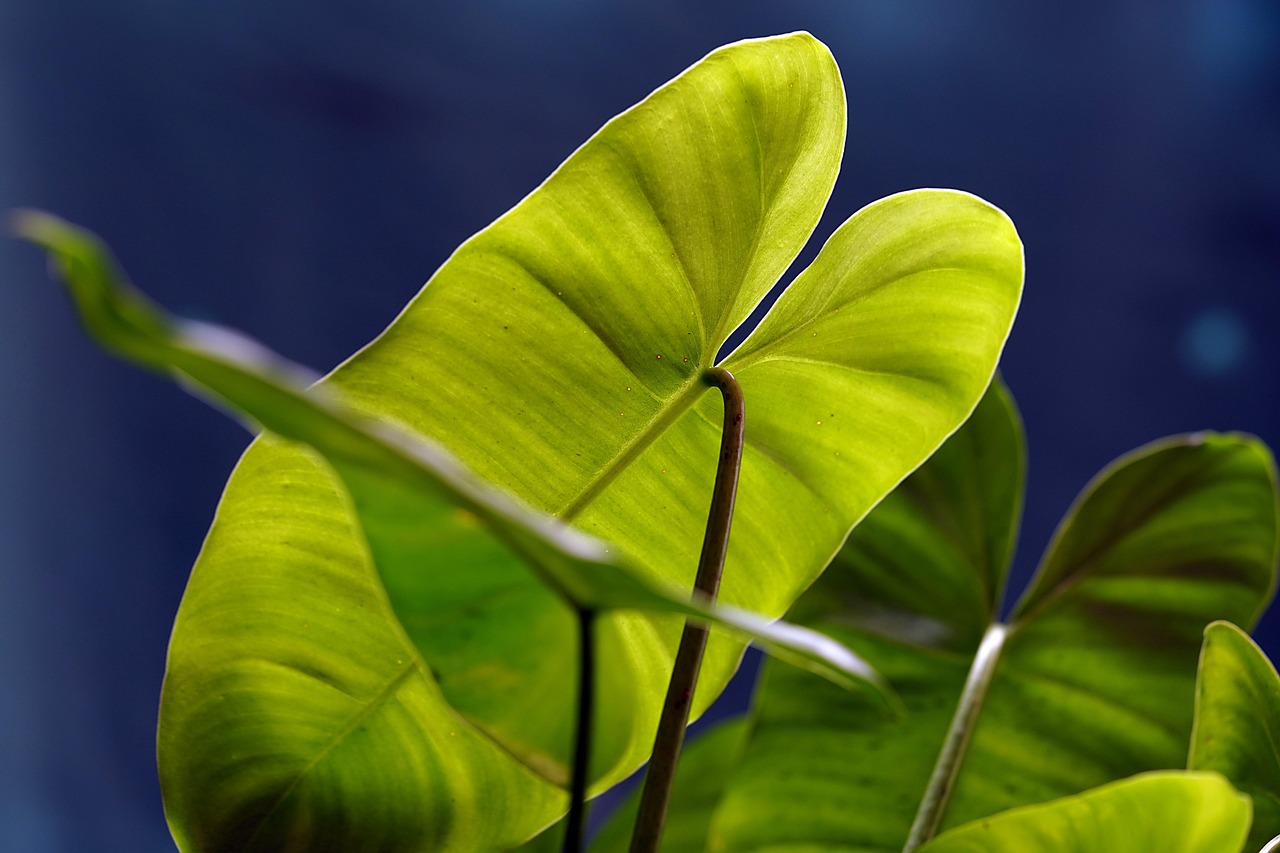
The Dwarf Alocasia, known for its striking leaves and compact size, is a popular choice among houseplant enthusiasts. This plant belongs to the Araceae family and is native to tropical regions. Its lush, heart-shaped leaves can add a touch of elegance to any indoor space. As a smaller variety of Alocasia, it is perfect for those who may not have ample room for larger plants.
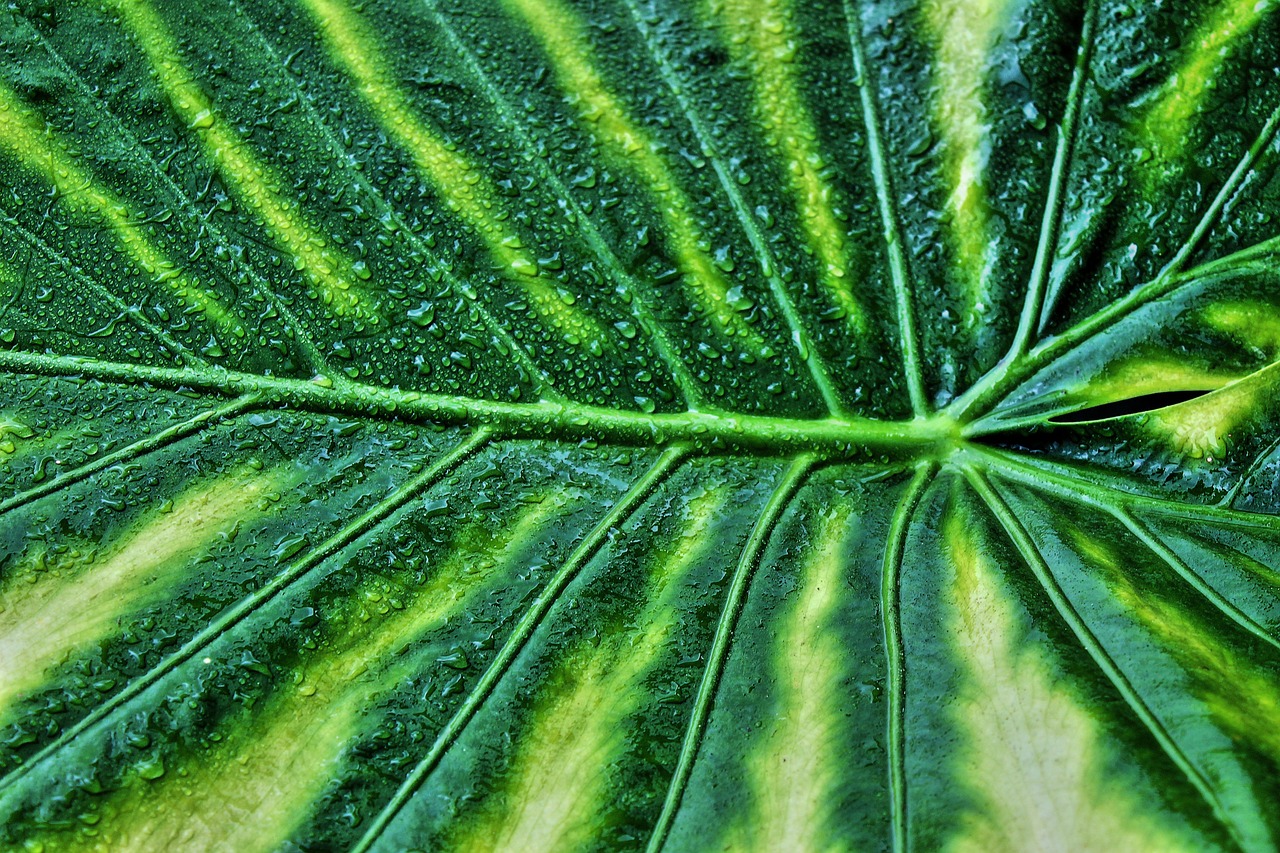
These plants are also appreciated for their unique foliage, which is often described as having a glossy finish. The Dwarf Alocasia’s leaves can vary in color, typically showcasing shades of green with prominent veins. Due to their aesthetic appeal and relatively easy care requirements, they have gained popularity in recent years.
Ideal Growing Conditions
To ensure your Dwarf Alocasia thrives, it is essential to create an environment that meets its specific needs. Here are some key factors to consider:
Factor
Requirements
Light
Bright, indirect sunlight
Temperature
65°F to 80°F (18°C to 27°C)
Humidity
High humidity (above 50%)
Soil
Well-draining potting mix
Providing the right amount of light is crucial for the Dwarf Alocasia. Too much direct sunlight can scorch the leaves, while insufficient light can hinder growth. A bright spot near a window with filtered light is ideal. Additionally, maintaining a warm temperature is vital. These plants do not tolerate cold drafts or sudden temperature changes well.
Watering and Soil Requirements
The watering needs of the Dwarf Alocasia are somewhat particular. It is important to keep the soil consistently moist but not overly saturated. Overwatering can lead to root rot, which is detrimental to the plant’s health. A good rule of thumb is to water when the top inch of soil feels dry to the touch.
Choosing the right soil mix is also essential. A well-draining potting mix is ideal for Dwarf Alocasia. Consider using a mixture that includes peat moss, perlite, and orchid bark. This combination allows for proper aeration while retaining enough moisture for the plant’s roots.
Humidity Needs
Dwarf Alocasia plants thrive in high humidity environments. They prefer humidity levels above 50%. If your home has low humidity, especially during winter months, consider the following tips to increase moisture:
Use a humidifier in the room where the plant is kept.
Group your plants together to create a microclimate.
Place a tray filled with water and pebbles below the pot.
Mist the leaves occasionally to boost humidity.
Ensuring adequate humidity will help prevent issues such as leaf browning or curling, which can occur in dry conditions. Regularly checking your plant’s environment will go a long way in maintaining its health and vibrancy.
Leaf Care and Maintenance
Caring for the leaves of your Dwarf Alocasia is important for its overall health. Cleaning the leaves helps prevent dust accumulation and allows the plant to photosynthesize effectively. Use a damp cloth to gently wipe down each leaf every few weeks.
Additionally, keep an eye out for pests such as spider mites or aphids. If you notice any pests on your plant, act quickly to remove them using insecticidal soap or neem oil. Regular monitoring will help keep your Dwarf Alocasia in optimal condition.
Fertilizing Your Dwarf Alocasia
Fertilization plays a vital role in the health and growth of your Dwarf Alocasia. Providing the right nutrients will encourage lush foliage and overall vigor. However, it is important to fertilize correctly to avoid over-fertilization, which can harm the plant.
Types of Fertilizers
There are different types of fertilizers available for houseplants. Here are some common options:
Liquid Fertilizers: These are easy to apply and can be mixed with water. They provide quick nutrient absorption.
Slow-Release Granules: These fertilizers release nutrients gradually over time, reducing the need for frequent applications.
Organic Fertilizers: Made from natural materials, these options can improve soil health and are less likely to cause fertilizer burn.
When to Fertilize
The best time to fertilize your Dwarf Alocasia is during the growing season, typically from spring to early fall. During this time, the plant is actively growing and can benefit from additional nutrients. Avoid fertilizing during the winter months when the plant’s growth slows down.
A general recommendation is to fertilize every 4 to 6 weeks during the growing season. Always follow the instructions on the fertilizer packaging for proper dilution rates and application methods.
Repotting Your Dwarf Alocasia
Repotting is an essential part of Dwarf Alocasia care. As your plant grows, it may become root-bound in its current pot. Repotting allows for fresh soil, more space, and better drainage.
When to Repot
Signs that your Dwarf Alocasia needs repotting include:
Roots are growing out of the drainage holes.
The plant has stopped growing or appears stunted.
The soil dries out too quickly after watering.
How to Repot
Follow these steps to successfully repot your Dwarf Alocasia:
Choose a New Pot: Select a pot that is 1-2 inches larger in diameter than the current one. Ensure it has drainage holes.
Prepare the New Soil: Use a well-draining potting mix suitable for tropical plants.
Remove the Plant: Gently take the plant out of its current pot, being careful not to damage the roots.
Inspect the Roots: Trim away any dead or rotting roots with clean scissors.
Place in New Pot: Fill the new pot partially with soil, position the plant, and fill around it with more soil.
Water Thoroughly: After repotting, give the plant a good watering to help settle the soil.
Pest Management
Pests can be a concern for Dwarf Alocasia plants. Regular monitoring and prompt action can help keep your plant healthy. Here are some common pests to watch for:
Spider Mites: These tiny pests thrive in dry conditions and can cause yellowing leaves. Look for webbing on the undersides of leaves.
Aphids: Aphids can cluster on new growth, sucking sap from the plant and causing wilting.
Mealybugs: Often found in leaf axils, mealybugs appear as white, cottony masses and can weaken the plant.
Treatment Options
If you notice any pests on your Dwarf Alocasia, consider these treatment options:
Insecticidal Soap: This is effective against soft-bodied insects like aphids and mealybugs. Follow label instructions for application rates.
Neem Oil: A natural pesticide that works on various pests. Dilute according to package directions before applying.
Alcohol Wipes: For mealybugs, use a cotton ball soaked in rubbing alcohol to wipe them off leaves.
Regularly inspecting your plant and taking action at the first sign of pests will help maintain its health and beauty.
Common Issues and Solutions
Dwarf Alocasia plants may encounter some common issues. Understanding these problems can help you respond effectively.
Yellowing Leaves: This can indicate overwatering or insufficient light. Check soil moisture and adjust light exposure accordingly.
Browning Leaf Tips: This often results from low humidity or underwatering. Increase humidity levels or adjust watering practices.
Stunted Growth: If your plant isn’t growing, it may need repotting or fertilization. Assess its current conditions.
Taking proactive measures and understanding your Dwarf Alocasia’s needs will contribute to a thriving indoor garden.
Propagation is a great way to expand your collection of Dwarf Alocasia plants or share them with friends. This process can be done through division or offsets, both of which are relatively straightforward. Understanding the right techniques will increase your chances of successful propagation.
Methods of Propagation
The two primary methods for propagating Dwarf Alocasia are:
Division: This method involves separating the plant into multiple sections, each containing roots and stems.
Offsets: Offsets are smaller plants that grow around the base of the main plant. These can be removed and planted separately.
Propagation by Division
To propagate by division, follow these steps:
Identify the Right Time: The best time to divide your Dwarf Alocasia is during the growing season, typically in spring.
Prepare Your Tools: Use clean, sharp scissors or a knife to prevent damage to the plant and minimize the risk of disease.
Remove the Plant from Its Pot: Gently take the plant out of its pot, taking care to avoid damaging the roots.
Separate the Sections: Look for natural divisions in the root ball. Carefully separate the sections, ensuring each has healthy roots and leaves.
Replant: Place each division into its own pot filled with fresh, well-draining soil. Water thoroughly after repotting.
Propagation by Offsets
Offsets are often easier to propagate. Here’s how to do it:
Locate Offsets: Offsets are usually found at the base of the main plant. They will have their own roots.
Gently Remove Offsets: Carefully pull or cut the offset away from the main plant without damaging it.
Plant the Offset: Place it in a new pot with suitable potting soil and water it well.
Caring for New Plants
Once you have successfully propagated your Dwarf Alocasia, proper care is essential for healthy growth. The new plants may require slightly different care than established ones.
Light Requirements
Newly propagated Dwarf Alocasia plants need bright, indirect light to thrive. Avoid direct sunlight, as young plants can be more sensitive to harsh light conditions. A spot near a window where they can receive filtered light is ideal.
Watering New Plants
Watering is crucial for new plants. Ensure that the soil remains moist but not soggy. It is important to allow the top layer of soil to dry out slightly between waterings. Overwatering can lead to root rot, especially in young plants.
Humidity and Temperature
Your newly propagated Dwarf Alocasia will also benefit from high humidity levels. Aim for humidity above 50%. You might consider using a humidity tray or a humidifier to maintain adequate moisture in the air. Additionally, keep them in a warm environment, ideally between 65°F and 80°F (18°C to 27°C).
Seasonal Care Adjustments
Caring for your Dwarf Alocasia may vary with the seasons. Understanding these seasonal changes can help you provide better care throughout the year.
Spring and Summer Care
During the growing season, focus on providing adequate light and nutrients. This is the best time to fertilize your plant regularly and ensure that it receives sufficient water. Monitor your plant for signs of pests and diseases more closely during these active months.
Fall and Winter Care
As temperatures drop and daylight decreases, Dwarf Alocasia may enter a period of dormancy. Reduce watering during this time, allowing the soil to dry out more between waterings. Avoid fertilizing in winter, as the plant will not be actively growing. Maintain higher humidity levels during winter months to prevent leaf browning.
hoose for your Dwarf Alocasia can impact its health significantly. Here are some factors to consider when selecting a pot:
Size: Choose a pot that allows room for growth without being excessively large. A pot that is 1-2 inches larger than the previous one is usually ideal.
Drainage: Ensure that the pot has sufficient drainage holes to prevent water from accumulating at the bottom, which can lead to root rot.
Material: Common materials include plastic, terracotta, and ceramic. Terracotta pots are porous and can help with moisture control, while plastic pots retain moisture longer.
Selecting an appropriate container is essential for promoting healthy root development and overall plant growth.
Common Varieties of Dwarf Alocasia
Understanding the different varieties of Dwarf Alocasia can enhance your care practices and help you choose the right plant for your space. Each variety has unique characteristics, making them appealing to different plant enthusiasts.
Popular Varieties
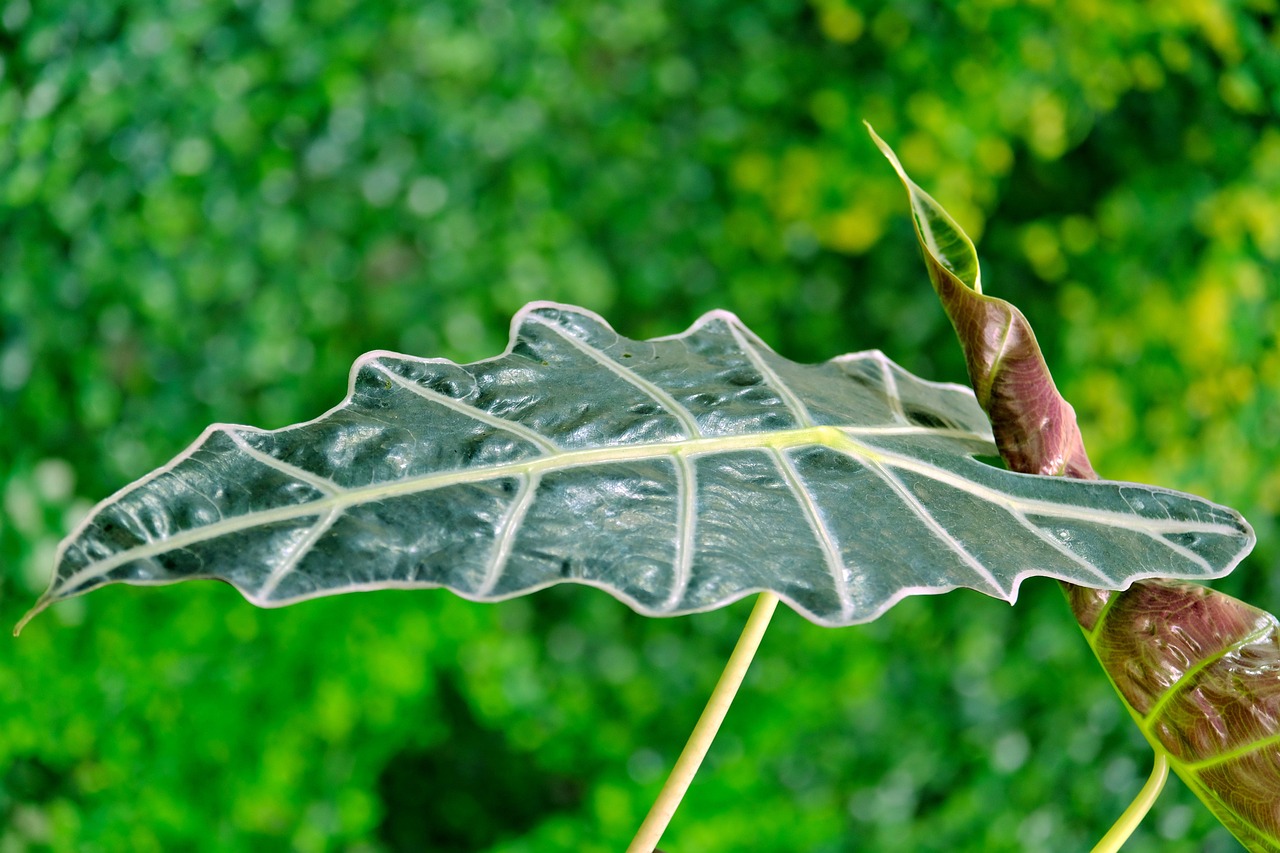
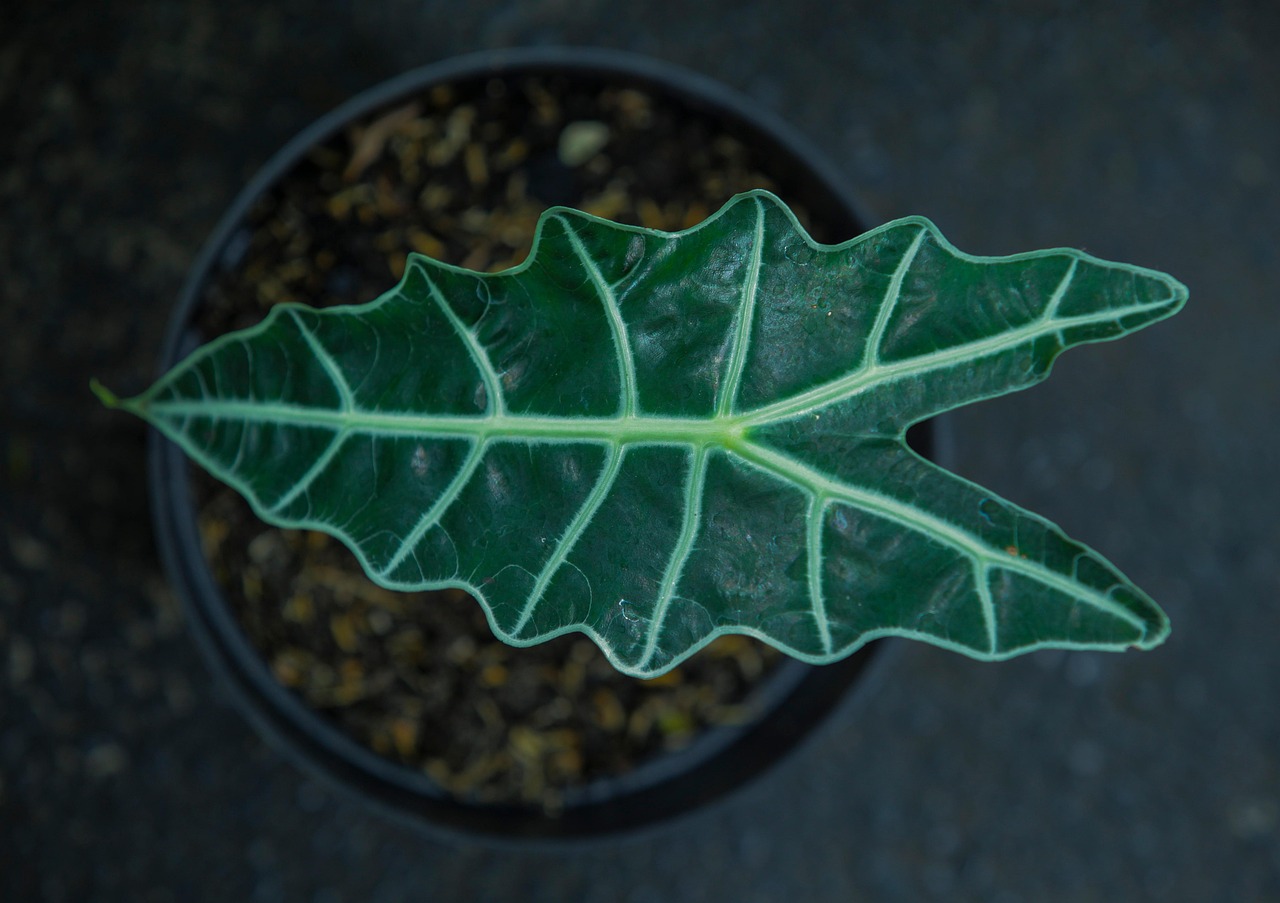
Alocasia Polly: Known for its arrow-shaped leaves and striking white veins, this variety is a favorite among collectors. It requires similar care, thriving in bright, indirect light.
Alocasia Zebrina: This variety features distinctive zebra-striped stems and large, heart-shaped leaves. It enjoys high humidity and should be monitored closely for pests.
Alocasia Frydek: With velvety dark green leaves and prominent veins, Frydek is visually stunning. It prefers slightly warmer temperatures and high humidity levels.
Each of these varieties may have specific care needs, but the general principles outlined for Dwarf Alocasia apply to them all. When selecting a variety, consider your environment and the specific care requirements of each type to ensure successful growth.
Creating a Dwarf Alocasia Care Routine
Establishing a consistent care routine will help keep your Dwarf Alocasia healthy and thriving. Here are some components to include in your routine:
Weekly Checks: Inspect the leaves for dust, pests, or signs of stress. A quick visual inspection can help you catch issues early.
Watering Schedule: Create a watering schedule based on the specific needs of your plant and your environment. Adjust based on seasonal changes.
Fertilization Plan: Plan your fertilization schedule according to the growing season. Mark your calendar for monthly fertilization during spring and summer.
Humidity Monitoring: Use a hygrometer to monitor humidity levels in your home, especially during winter months when indoor air tends to be drier.
By following a routine, you can ensure that your Dwarf Alocasia receives the consistent care it needs to flourish.
often easier than dealing with an infestation. Here are some strategies to keep pests at bay:
Regular Cleaning: Wipe down the leaves regularly to remove dust and deter pests.
Avoid Overcrowding: Give your plants enough space to breathe. Overcrowded plants can attract pests.
Quarantine New Plants: Before introducing a new plant into your home, keep it separate for a few weeks to ensure it is pest-free.
Natural Predators: Consider introducing beneficial insects like ladybugs to your indoor garden, as they can help manage pest populations naturally.
Implementing these prevention strategies can minimize the risk of pest problems and maintain the health of your Dwarf Alocasia.
Final Thoughts
Caring for Dwarf Alocasia plants can be a rewarding experience for both novice and experienced gardeners. By understanding their specific needs—such as light, humidity, watering, and fertilization—you can create an optimal environment for growth. Regular monitoring for pests and maintaining a consistent care routine will further enhance their health and beauty.
The allure of Dwarf Alocasia lies not only in their striking appearance but also in their adaptability as houseplants. With proper care, they can thrive indoors, bringing a touch of nature into your home. Remember that each variety may have its nuances, so tailor your care practices accordingly.
By following the guidelines outlined in this article, you can enjoy the beauty of Dwarf Alocasia while ensuring they remain healthy and vibrant. Happy gardening!
I'm Amelia Clark , a seasoned florist and gardening specialist with more than 15 years of practical expertise. Following the completion of my formal education, I dedicated myself to a flourishing career in floristry, acquiring extensive understanding of diverse flower species and their ideal cultivation requirements. Additionally, I possess exceptional skills as a writer and public speaker, having successfully published numerous works and delivered engaging presentations at various local garden clubs and conferences. Check our Social media Profiles: Facebook Page, LinkedIn, InstagramTumblr
The best time to plant hydrangeas is during the spring or early fall. This timing allows the plants to establish their root systems before facing the stress of summer heat or winter cold....
To successfully grow American groundnuts at home, ensure you select a well-drained, sunny location. Start with quality seeds, prepare the soil properly, and maintain consistent moisture....