To overwinter coreopsis, cut back the plants after the first frost. Add a layer of mulch to protect their roots from freezing temperatures. In spring, remove the mulch and watch for new growth to ensure a healthy start to the growing season.
Table of Contents
Understanding Coreopsis
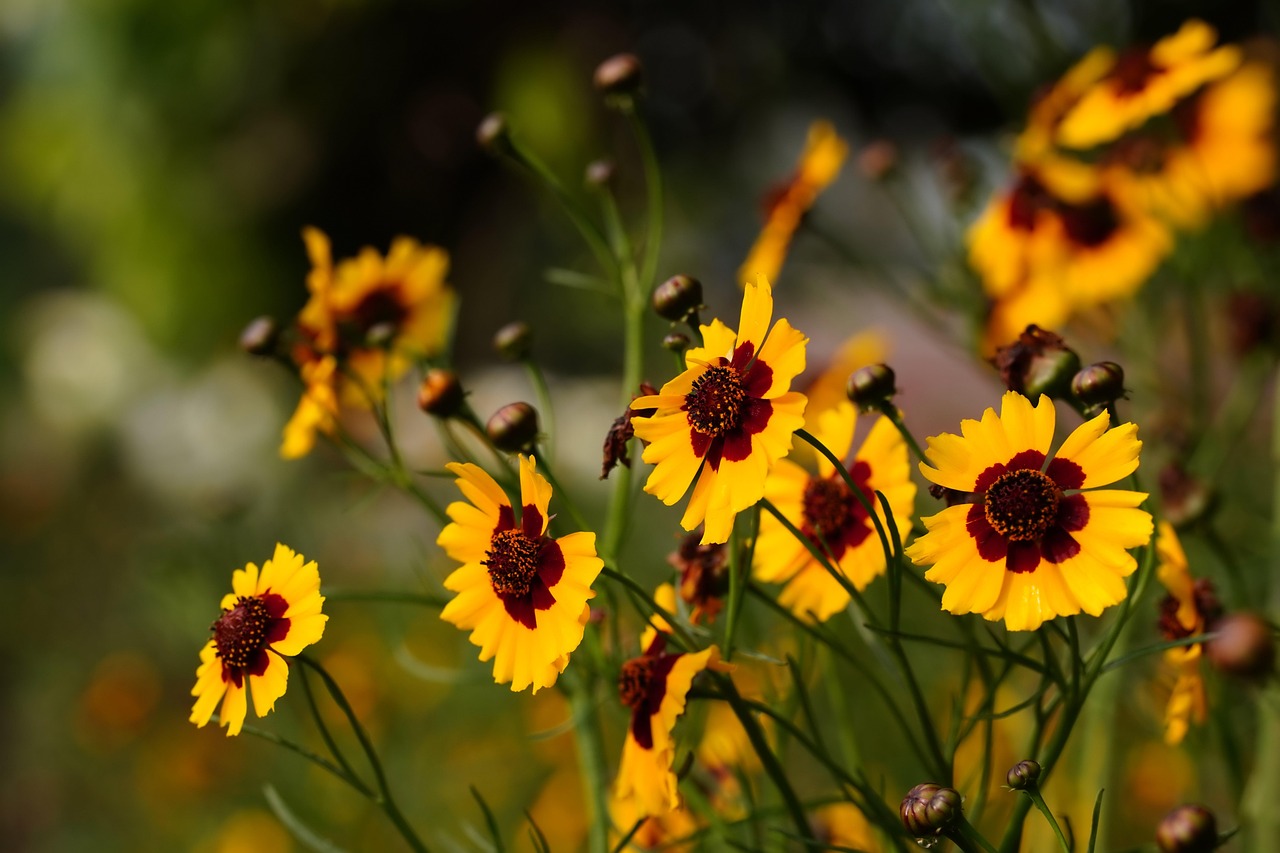
Coreopsis, also known as tickseed, is a popular perennial flower known for its vibrant blooms and resilience. These plants are native to North America and thrive in various conditions, making them a favorite among gardeners. Coreopsis comes in many varieties, with colors ranging from bright yellow to deep red. They are not only beautiful but also attract pollinators like bees and butterflies, adding life to your garden.
Despite their hardiness, coreopsis plants require special care during the winter months to survive harsh weather. Proper overwintering techniques are essential to ensure your coreopsis return robustly each spring. Understanding how to effectively prepare these plants for winter can make a significant difference in their survival and performance in the following growing season.
Why Overwintering is Important
Overwintering is crucial for perennial plants, including coreopsis, as it helps them survive cold temperatures and frost. When temperatures drop, plants go dormant, conserving energy. However, if they are not adequately protected, they can suffer from root damage or even die. Here are some reasons why overwintering is essential:
- Root Protection: Adequate insulation prevents roots from freezing.
- Moisture Retention: Mulch helps maintain soil moisture levels during dry winter months.
- Healthy Growth: Proper care leads to vigorous growth and more blooms in spring.
- Pest and Disease Prevention: Healthy plants are less susceptible to pests and diseases.
Optimal Conditions for Coreopsis
Coreopsis thrives best in well-drained soil and full sun. They prefer slightly acidic to neutral pH levels. During the growing season, these plants need regular watering, especially in dry spells. Understanding their preferred conditions will help you prepare them for winter properly.
| Condition | Optimal Requirement |
|---|---|
| Sunlight | Full sun (6-8 hours daily) |
| Soil Type | Well-drained soil |
| Soil pH | 5.5 to 7.0 (slightly acidic to neutral) |
| Watering | Regular watering during dry spells |
Step-by-Step Overwintering Process
Successfully overwintering your coreopsis involves several steps that should be followed carefully. By preparing your plants in advance, you can enhance their chances of surviving the winter. Below is a step-by-step guide to help you through the process:
- Assess the Plants: Before winter arrives, evaluate the health of your coreopsis. Look for any signs of disease or pest infestation that may need addressing.
- Cut Back Foliage: After the first frost, cut back the foliage to about 4-6 inches above the ground. This will prevent any disease and promote new growth in spring.
- Add Mulch: Apply a 2-3 inch layer of organic mulch around the base of the plants. This provides insulation against freezing temperatures.
- Avoid Overwatering: Ensure the soil is not overly wet before winter sets in. Too much moisture can lead to root rot.
- Monitor Temperature: Keep an eye on extreme cold spells. If temperatures are expected to drop significantly, consider additional protective measures like burlap wraps.
By following these steps, you can help your coreopsis thrive through the winter months and emerge healthy in the spring. Proper care during this time is key to enjoying a flourishing garden filled with beautiful blooms once again.
Common Challenges During Winter
While coreopsis is generally hardy, there are challenges that can arise during winter. Understanding these potential issues can help you take proactive measures to protect your plants. Here are some common challenges gardeners may face:
- Frost Damage: Sudden temperature drops can harm foliage and roots.
- Mice and Voles: These animals may burrow into mulch or soil, damaging roots.
- Excess Moisture: Overly wet conditions can lead to root rot or fungal diseases.
- Insufficient Mulch: Too little mulch may not provide adequate insulation against cold.
Protective Measures Against Winter Challenges
To combat the common challenges mentioned above, implementing protective measures is crucial. Below are some strategies to consider:
- Use Quality Mulch: Choose organic materials like straw, pine needles, or shredded leaves. They provide good insulation and break down over time, enriching the soil.
- Install Wire Mesh: To deter rodents, consider placing wire mesh around the base of your coreopsis plants. This can prevent them from burrowing into the mulch.
- Adjust Watering Schedule: As winter approaches, reduce watering frequency. Monitor soil moisture and only water if necessary to prevent root rot.
- Use Frost Covers: In particularly cold regions, use frost cloths or burlap to cover plants during extreme cold spells. Ensure they are loosely placed to allow air circulation.
Identifying Healthy Coreopsis in Spring
After winter, evaluating your coreopsis for health is essential. Here are signs of healthy plants, as well as indicators that they may need extra care:
| Condition | Healthy Indicators | Signs of Trouble |
|---|---|---|
| Foliage | Vibrant green leaves | Yellowing or browning leaves |
| Growth | New shoots emerging from the base | Lack of new growth or dead stems |
| Flowers | Budding flowers in spring | No blooms or stunted flower growth |
| Roots | Firm, healthy roots when inspected | Soggy or mushy roots indicative of rot |
Spring Care for Coreopsis
Once you have confirmed the health of your coreopsis in spring, it is time to provide care that supports their growth. Here are some important spring care tips:
- Remove Mulch: Once the danger of frost has passed, carefully remove the mulch layer. This allows the soil to warm up and encourages new growth.
- Fertilize: Apply a balanced, slow-release fertilizer to give your coreopsis a nutrient boost as they begin to grow actively.
- Water Regularly: Ensure the soil remains moist but not soggy. Regular watering will support robust growth throughout the growing season.
- Deadhead Flowers: As blooms fade, deadheading encourages more flowers to develop and prolongs the blooming period.
Pest and Disease Management in Spring
This time of year can also see an increase in pests and diseases. Monitoring your coreopsis for signs of trouble ensures they remain healthy. Here are common pests and diseases to watch for:
- Aphids: Small green insects that can cluster on new growth. They suck sap from plants, weakening them.
- Powdery Mildew: A fungal disease that appears as a white powdery coating on leaves, often due to high humidity.
- Slugs and Snails: These pests can eat through leaves and flowers, causing significant damage.
- Spider Mites: Tiny pests that create webbing and cause leaves to yellow and drop.
If you notice any of these issues, prompt action can save your plants. Consider using insecticidal soap for pests or improving air circulation around plants to combat fungal issues. Regular monitoring is key to maintaining a healthy garden of coreopsis.
Propagation of Coreopsis
After successfully overwintering your coreopsis, you may want to consider propagating your plants to expand your garden or share with friends. Coreopsis can be propagated through several methods, including division, seed collection, and cuttings. Each method has its own advantages and suitability based on your gardening preferences.
Propagation by Division
Division is one of the most effective ways to propagate coreopsis. It involves splitting existing plants into smaller sections, each of which can grow into a new plant. This method is best done in early spring or fall. Here are the steps to follow:
- Choose a Healthy Plant: Select a robust coreopsis with multiple stems and healthy foliage.
- Dig Up the Plant: Carefully dig around the base of the plant to avoid damaging the roots. Lift it out of the ground gently.
- Divide the Roots: Use a sharp spade or garden knife to divide the root ball into two or more sections. Each section should have healthy roots and some stems.
- Replant Immediately: Place each division into a prepared hole in well-draining soil. Water thoroughly after planting.
Seed Collection
If you prefer a more natural approach, collecting seeds from mature coreopsis flowers can be a rewarding method. This process allows you to grow new plants from seeds in later seasons. Follow these steps:
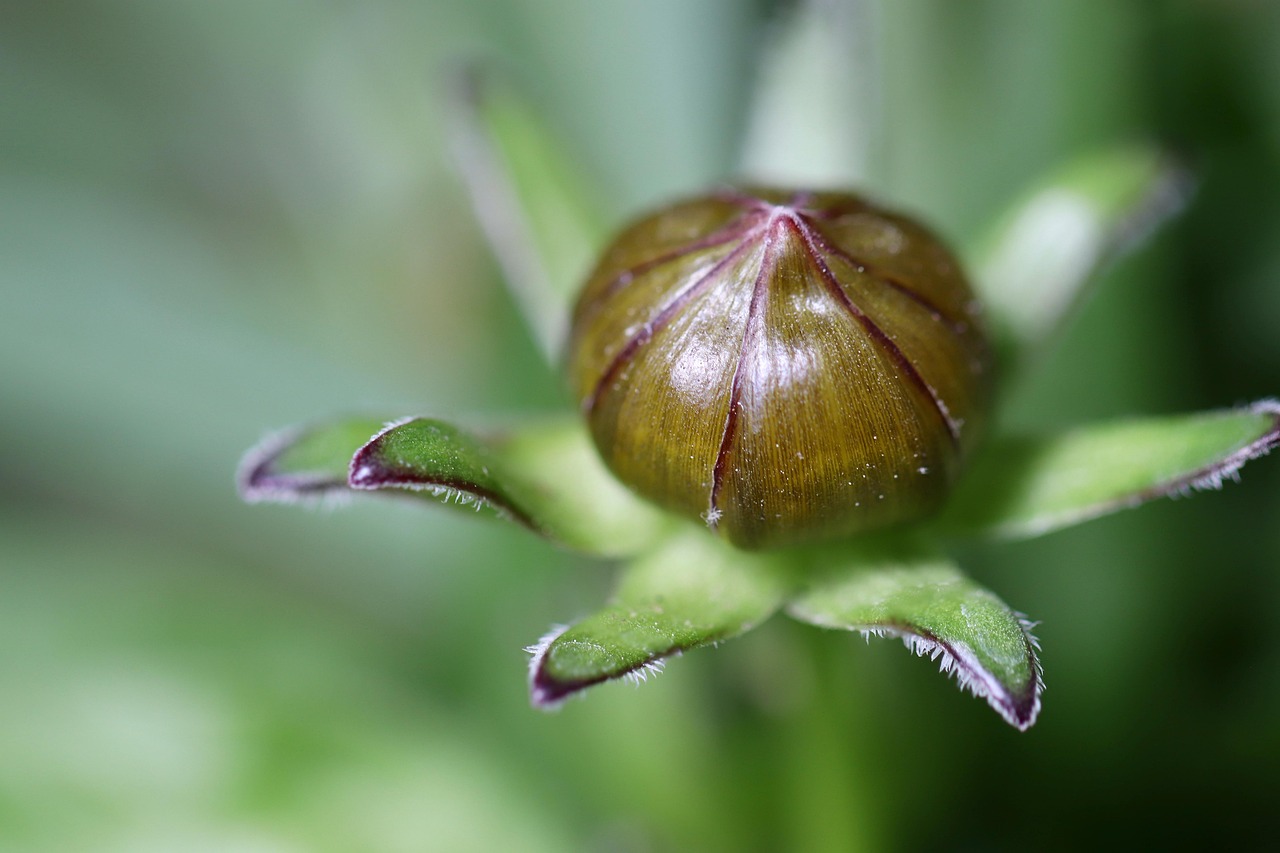
- Wait for Seed Maturity: Allow the flowers to fade and dry on the plant. The seed heads will turn brown when they are ready for harvest.
- Harvest Seeds: Gently collect the dried seed heads and place them in a paper bag. Shake lightly to release the seeds.
- Store Properly: Keep the seeds in a cool, dry place until you are ready to plant them in spring.
- Plant Seeds: In early spring, scatter the seeds in prepared garden beds or containers. Cover lightly with soil and keep moist.
Propagation by Cuttings
Another way to propagate coreopsis is through stem cuttings. This method is useful when you want to maintain specific traits from the parent plant. Here are the steps for taking cuttings:
- Select Healthy Stems: In late spring or early summer, choose vigorous stems without flowers for cuttings.
- Cut the Stems: Use clean, sharp scissors to cut 4-6 inch sections of stem just below a leaf node.
- Prepare for Planting: Remove the lower leaves from the cuttings, leaving only a few at the top.
- Rooting Hormone (Optional): Dip the cut end into rooting hormone to encourage root development.
- Plant Cuttings: Place the cuttings in pots with well-draining potting mix. Water gently and cover with plastic to maintain humidity.
Caring for Newly Propagated Coreopsis
After propagating coreopsis through any method, care is essential for their successful establishment. Here are some tips on how to care for your newly propagated plants:
- Watering: Keep the soil consistently moist but not soggy. Water regularly until the plants establish strong root systems.
- Light Conditions: Ensure that newly propagated coreopsis receive ample sunlight, as they thrive in full sun conditions.
- Fertilization: After a few weeks, apply a diluted liquid fertilizer every few weeks to promote healthy growth.
- Pest Monitoring: Regularly check for pests as new plants may be more susceptible during their early growth stages.
Understanding Coreopsis Varieties
Coreopsis comes in various species and hybrids, each with unique characteristics. Knowing these varieties helps in selecting the right type for your garden and understanding their specific needs. Below is a summary of popular coreopsis varieties:
| Variety | Description | Preferred Conditions |
|---|---|---|
| Coreopsis verticillata | Known as threadleaf coreopsis, it features fine, needle-like foliage and bright yellow flowers. | Well-drained soil, full sun |
| Coreopsis grandiflora | This variety has larger blooms and is often used as a showy garden plant. | Sandy to loamy soil, full sun |
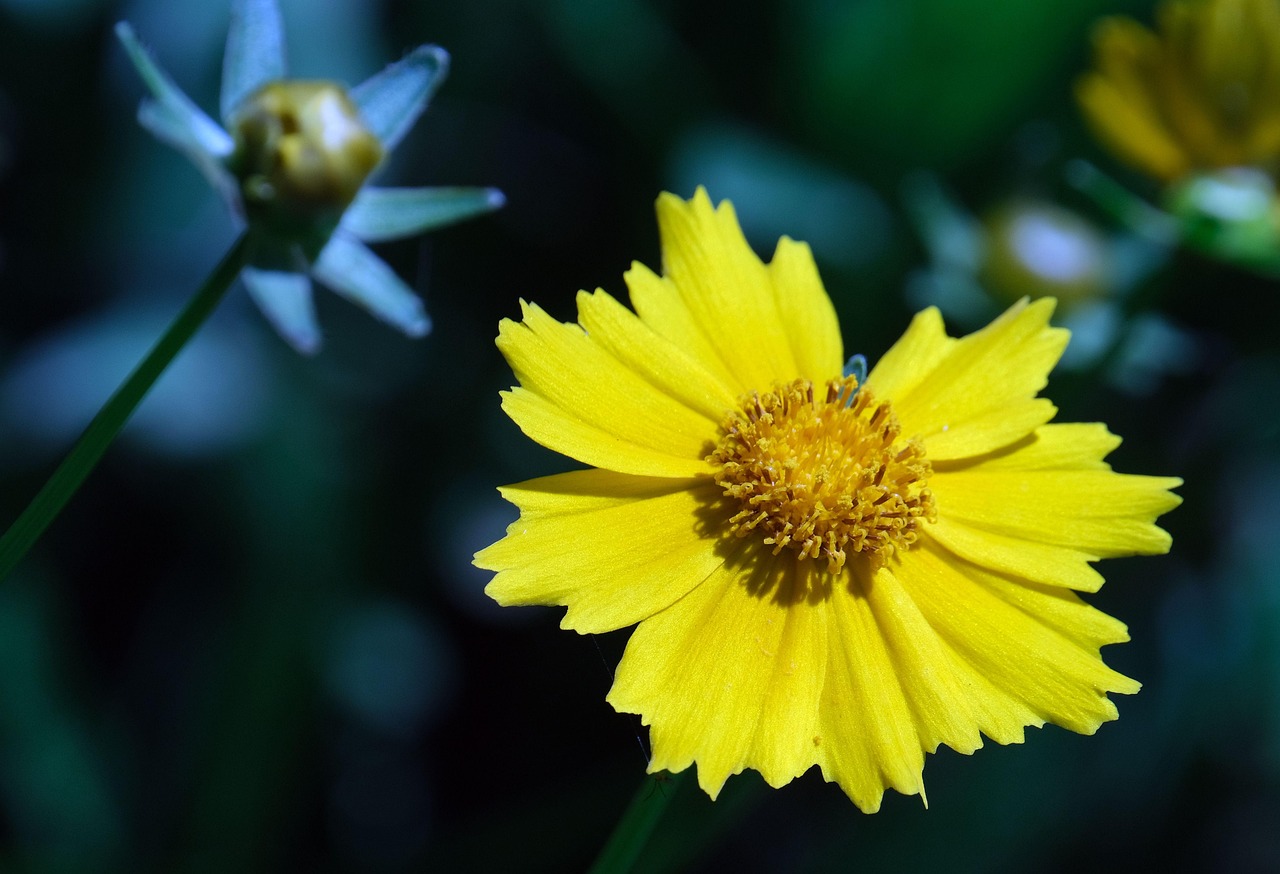
| Coreopsis lanceolata | A native species with lance-shaped leaves and cheerful yellow blooms that attract pollinators. | A variety of soil types, full sun to partial shade |
| Coreopsis tinctoria | Commonly known as plains coreopsis, this variety has daisy-like flowers and is often used in wildflower gardens. | Poor soils, full sun |
Selecting the right variety based on your garden’s conditions will ensure that your coreopsis flourish and provide beauty throughout the growing season.
Additional Tips for Successful Coreopsis Care
To ensure that your coreopsis continues to thrive throughout the growing season, consider the following additional tips. These practices help maintain plant health and enhance flowering:
- Spacing: When planting coreopsis, ensure adequate spacing between plants to promote good air circulation. This reduces the risk of fungal diseases.
- Companion Planting: Coreopsis pairs well with other perennials like coneflowers and daylilies. Companion planting can enhance biodiversity and attract beneficial insects.
- Regular Pruning: Prune dead or damaged stems throughout the growing season to keep the plant healthy and encourage new growth.
- Seasonal Cleanup: At the end of the growing season, remove any spent flowers and foliage. This helps prevent disease and prepares the plants for winter.
Understanding Coreopsis’ Role in the Ecosystem
Coreopsis plants play a vital role in their ecosystems. By understanding their benefits, you can appreciate their value in your garden even more:
- Attracting Pollinators: Coreopsis flowers are a significant source of nectar for bees, butterflies, and other pollinators, contributing to a healthy ecosystem.
- Supporting Biodiversity: By planting coreopsis, you support various wildlife species, including birds that may feed on seeds and insects that help with pollination.
- Soil Health Improvement: Coreopsis can improve soil health by adding organic matter when mulched or when dead plants decompose.
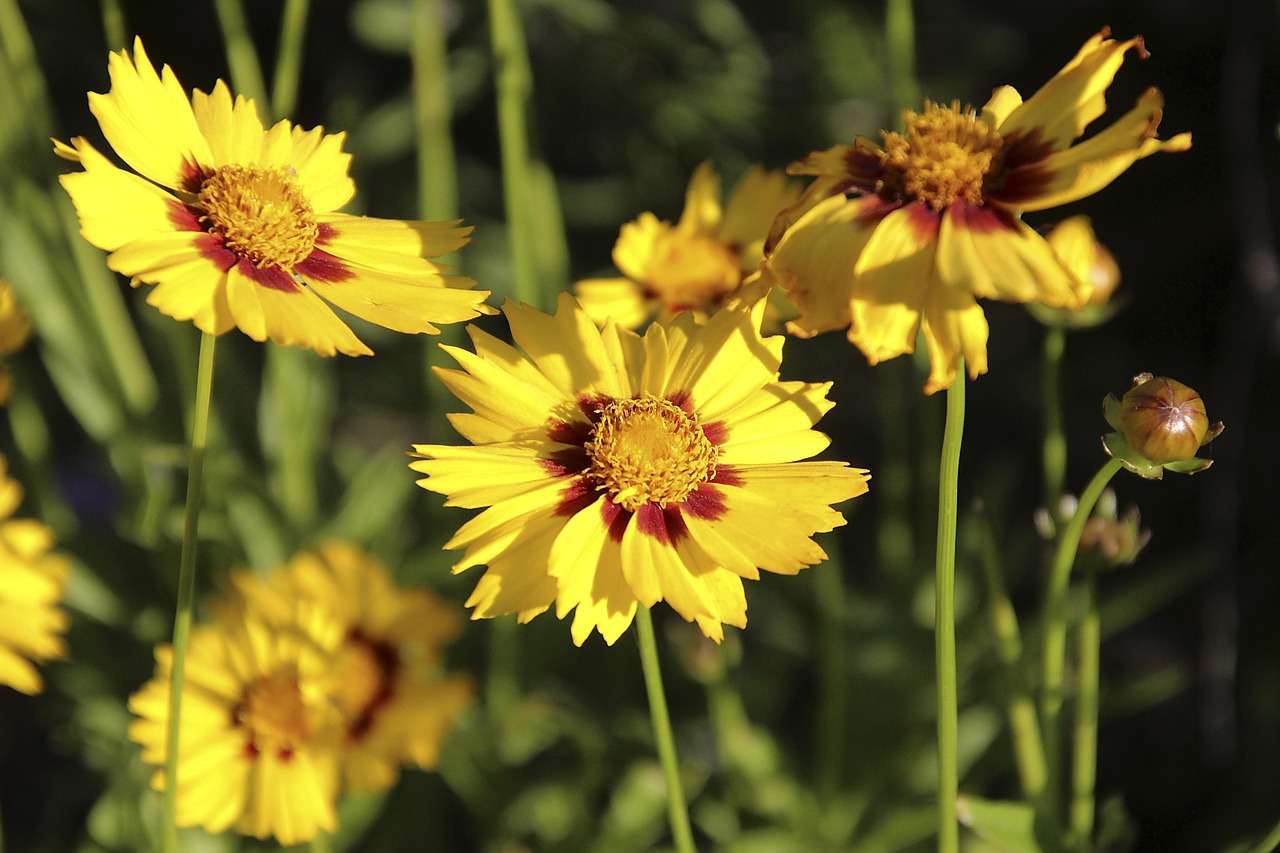
- Aesthetic Value: With their bright blooms, coreopsis adds beauty and vibrant color to gardens, enhancing the overall landscape.
Final Thoughts
Overwintering coreopsis is essential for maintaining the health and beauty of these resilient plants. By carefully following the steps outlined in this guide—such as proper pruning, mulching, and monitoring for pests—you can ensure that your coreopsis not only survives winter but thrives in spring.
Understanding the various propagation methods allows you to expand your garden and share these lovely plants with friends and family. Additionally, recognizing the diverse varieties of coreopsis helps you select the best ones suited for your garden’s conditions, ensuring a stunning display of blooms each year.
As you integrate coreopsis into your gardening practices, remember their ecological importance. They contribute to pollinator health and enrich your garden’s biodiversity. Overall, with attention to care and maintenance, coreopsis can be a rewarding addition to any garden, providing beauty and life for many seasons to come.
By implementing these strategies and insights, you can cultivate a thriving coreopsis garden that flourishes year after year. Your efforts will not only enhance your outdoor space but also promote a healthier ecosystem in your community.