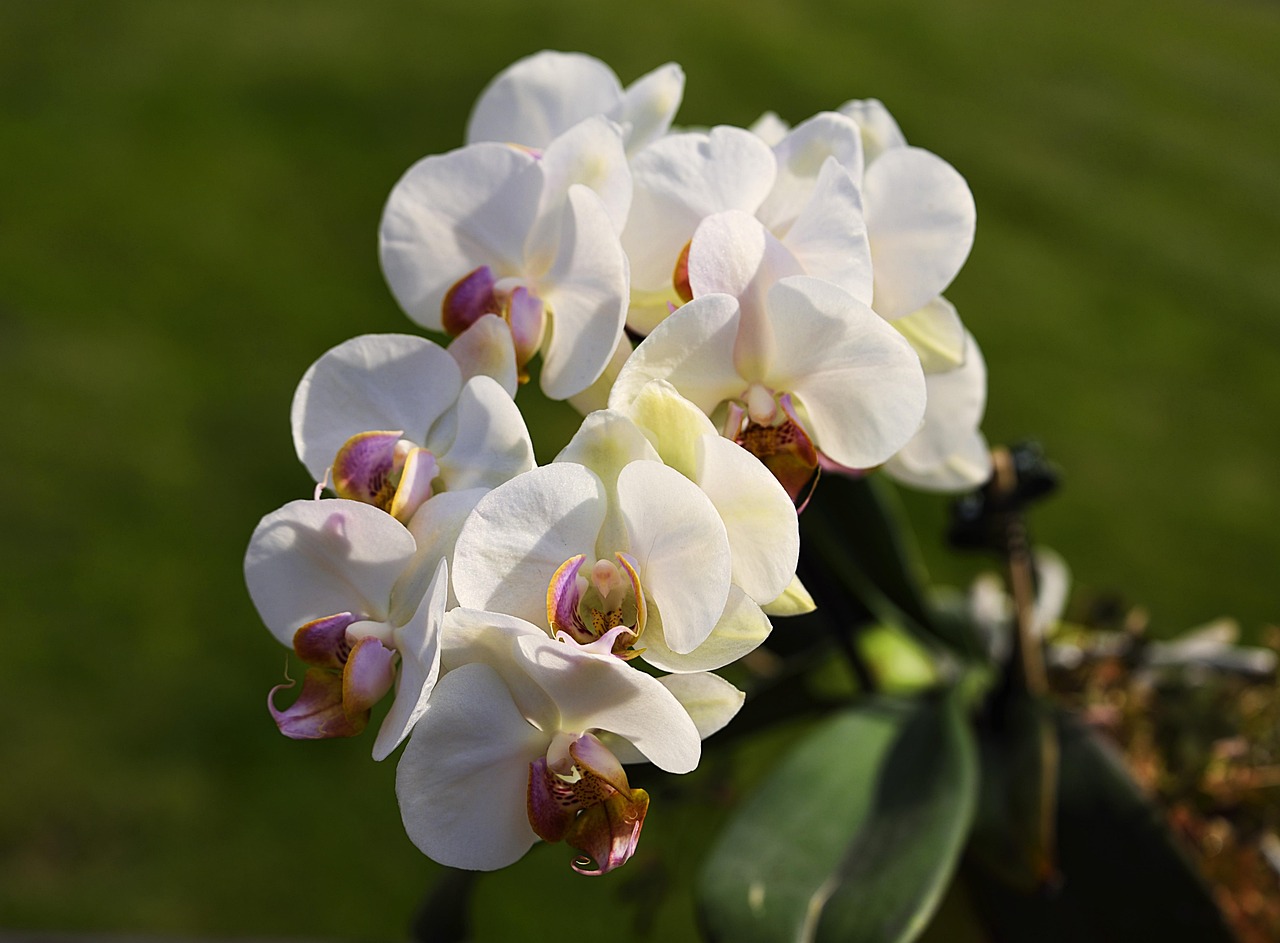
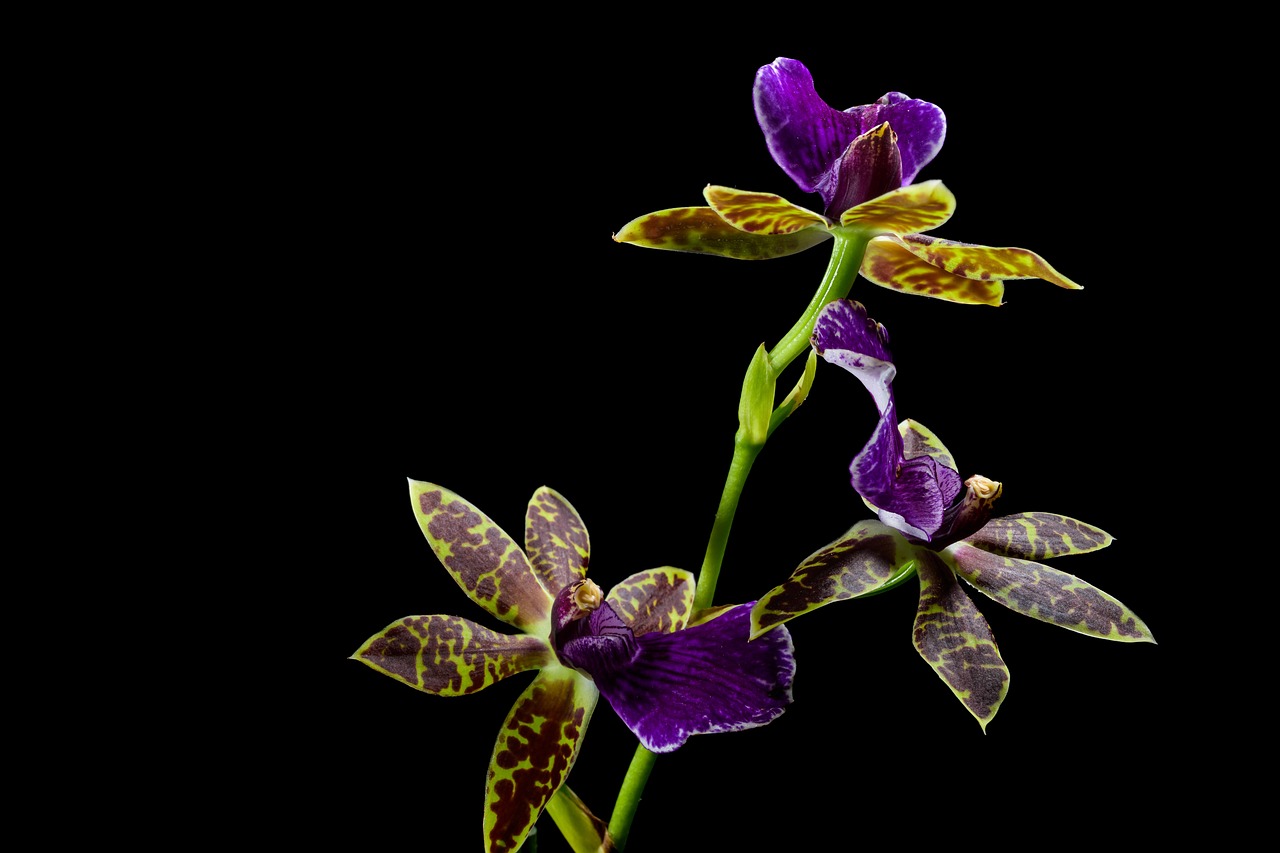
To thrive indoors, orchids need specific care, including proper light, humidity, watering, and feeding. Understanding their unique requirements ensures they remain healthy and bloom beautifully.
Orchids are some of the most captivating and diverse flowering plants. With over 25,000 species and many hybrids, they offer a range of stunning colors and shapes. Their beauty makes them popular among plant enthusiasts. However, caring for orchids can be challenging, especially if you are new to gardening. Understanding their needs is essential for successful indoor cultivation.

One of the key aspects of indoor orchid care is recognizing that these plants have specific environmental requirements. They typically come from tropical regions where they thrive in warm, humid conditions. This means that providing the right amount of light, humidity, and temperature is crucial for their growth. Many new orchid owners may not realize that these plants can be sensitive to their surroundings.
Understanding Orchid Needs
Before diving into care tips, it is important to understand what orchids need to flourish indoors. Here are some critical factors to consider:
| Factor | Requirement |
|---|---|
| Light | Bright, indirect light for 10-12 hours daily |
| Humidity | 50-70% humidity preferred |
| Temperature | Daytime: 70-80°F; Nighttime: 60-70°F |
| Watering | Water when the top inch of soil is dry; avoid overwatering |
| Fertilization | Use a balanced fertilizer monthly during growing season |
To ensure the health of your indoor orchids, it is vital to replicate their native conditions as closely as possible. Light is one of the most critical factors. Orchids require bright but indirect sunlight. Direct sunlight can scorch the leaves, while too little light can hinder blooming. A south or east-facing window is often ideal.

Humidity plays a significant role in orchid health. Most orchids thrive in environments with humidity levels between 50% and 70%. If the air in your home is too dry, especially during winter months, consider using a humidifier or placing a tray of water with pebbles beneath the pot to increase moisture levels around the plant.
Temperature is another essential factor. Orchids generally prefer daytime temperatures between 70°F and 80°F and nighttime temperatures around 60°F to 70°F. Sudden temperature changes or drafts can stress the plants, affecting their growth and blooming cycles.
Watering requires careful attention. Overwatering is one of the most common mistakes made by orchid owners. It is crucial to allow the top inch of the potting medium to dry out between waterings. A good rule of thumb is to water your orchids every week or two, depending on environmental factors such as humidity and temperature.

Fertilizing your orchids correctly can also make a significant difference in their health and blooming potential. During the growing season, which typically lasts from spring to early fall, use a balanced fertilizer diluted to half strength once a month. This will provide essential nutrients without overwhelming the plants.
By understanding these basic needs and adjusting your care routine accordingly, you can help your indoor orchids thrive. Each orchid species may have slight variations in care requirements, so it’s always beneficial to research specific types you own. This tailored approach will enhance their beauty and longevity.
Choosing the Right Potting Medium
The potting medium you choose for your orchids is crucial for their overall health. Unlike typical houseplants, orchids do not grow in soil. Instead, they thrive in a mix that allows for proper drainage and air circulation around their roots. Here are some common potting mediums suitable for orchids:

- Bark Chips: These are a popular choice, providing excellent drainage and aeration.
- Sphagnum Moss: Retains moisture well but can retain too much water if not monitored.
- Coconut Coir: A sustainable option that offers good moisture retention and drainage.
- Perlite: Often mixed with other mediums to enhance drainage.
- Charcoal: Helps with aeration and absorbs impurities in the medium.
When selecting a potting medium, consider the specific needs of your orchid type. Some orchids, like Phalaenopsis, prefer a bark-based mix, while others may thrive better in moss or coir. Regularly check the medium for signs of compaction or mold, as these can impede drainage and air circulation.
Repotting Your Orchids
Repotting is an essential part of orchid care. It helps refresh the potting medium and provides space for growth. Here are signs that indicate it might be time to repot your orchids:
- The roots are growing out of the pot.
- The potting medium has broken down or looks moldy.
- Your orchid has stopped blooming or shows signs of stress.
The best time to repot is typically after blooming, as this allows the plant to recover and focus on new growth. Follow these steps for successful repotting:
- Prepare the new pot and potting medium.
- Gently remove the orchid from its current pot, taking care not to damage the roots.
- Trim away any dead or damaged roots with sterilized scissors.
- Place the orchid in the new pot and fill with fresh potting medium, ensuring the roots are spread out.
- Water lightly after repotting to settle the medium around the roots.
Pest and Disease Management
Indoor orchids can be susceptible to pests and diseases. Early detection is crucial for effective management. Common pests include:
- Aphids: Small, soft-bodied insects that can cause leaf curling.
- Mealybugs: Cotton-like pests found in leaf joints and on stems.
- Scale: Hard, shell-like insects that attach to stems and leaves.
- Spider Mites: Tiny pests that create webbing on leaves.
If you notice any signs of pests, act quickly. You can use insecticidal soap or neem oil to treat infestations. For severe cases, consider isolating the affected plant to prevent spreading. Always monitor your plants regularly for signs of distress.
Preventing Orchid Diseases
Diseases can also affect indoor orchids, often caused by poor care or environmental stress. The most common diseases include:
- Root Rot: Caused by overwatering and poor drainage, leading to mushy roots.
- Leaf Spot: Fungal infections that appear as brown or black spots on leaves.
- Powdery Mildew: A fungal disease resulting in a white powdery coating on leaves.
To prevent diseases, ensure proper watering practices. Allow the potting medium to dry out between waterings and provide adequate air circulation. If you notice signs of disease, remove affected parts and apply a suitable fungicide if necessary.
By being proactive about pest control and disease prevention, you can maintain healthy orchids and encourage them to thrive indoors. Regular monitoring and adjustments to care practices will go a long way in keeping your plants beautiful and vibrant.
Understanding Orchid Bloom Cycles
One of the most rewarding aspects of orchid care is witnessing the beautiful blooms. However, understanding the bloom cycles of orchids can help you provide better care and improve flowering success. Most orchids have specific blooming periods that correlate with their natural growth cycles.
Typically, orchids can be categorized into two main types based on their bloom cycles:
- Sequential Bloomers: These orchids produce flowers one after another over an extended period. Examples include Phalaenopsis and Cattleya orchids.
- Simultaneous Bloomers: These species bloom all at once, displaying a full set of flowers for a shorter duration. Examples include Dendrobium and Oncidium orchids.
Recognizing the specific bloom cycle of your orchid species can help you time your care practices effectively. For example, some orchids may require a temperature drop or specific light conditions to trigger blooming.
Light Requirements for Flowering
Light is crucial for triggering the blooming process in orchids. While all orchids need light, different species have varying light requirements. Generally, orchids prefer bright, indirect sunlight. Here are some tips for providing optimal light:
- East-facing Windows: Ideal for many orchids, offering gentle morning sunlight.
- South-facing Windows: May require shading or curtains to diffuse intense midday sun.
- West-facing Windows: Can be too hot in the afternoon; consider using sheer coverings.
- Grow Lights: If natural light is insufficient, consider using full-spectrum grow lights to supplement.
Monitor your orchids closely for signs of insufficient light, such as leggy growth or yellowing leaves. Adjust their location as needed to ensure they receive adequate light for blooming.
Watering and Fertilization During Blooming
During the blooming period, the watering and fertilization routine may need adjustments to support flower development. Here are some key points to keep in mind:
Watering
While orchids generally prefer a dry-out period between waterings, during blooming, they may require more frequent watering due to increased evaporation. Consider the following:
- Check the potting medium regularly; water when the top inch feels dry.
- Avoid letting the plant sit in water, which can lead to root rot.
- Use room temperature water to avoid shocking the roots.
Fertilization
During the blooming stage, fertilization becomes particularly important. Here are some tips:
- Use a balanced fertilizer specifically formulated for orchids.
- Fertilize every two weeks during blooming to support flower production.
- Dilute the fertilizer to half strength to avoid over-fertilizing.
Adequate nutrients will promote vibrant blooms and healthy growth. Be cautious not to fertilize when the plant is not actively growing, as this can lead to nutrient buildup and damage the roots.
Caring for Orchids After Blooming
Once your orchid has finished blooming, it enters a resting phase. Proper care during this time is crucial for preparing the plant for its next bloom cycle. Here’s how to care for your orchids post-bloom:
- Trim Back Flower Stalks: Cut the flower stalk back to just above a node or leaf where it is healthy. This encourages new growth.
- Reduce Watering: Allow the potting medium to dry out more between waterings as the plant conserves energy.
- Maintain Humidity and Temperature: Continue to provide optimal humidity and temperature levels to support recovery.
This resting period is essential for recharging the plant’s energy and ensuring it has the resources needed for future blooms. Regular monitoring and adjustments will help maintain the health and vitality of your orchids through their entire life cycle.
Common Orchid Species for Indoor Cultivation
When it comes to indoor orchids, knowing which species are best suited for your environment can greatly enhance your success. Some orchids are more forgiving and easier to care for than others. Here are a few popular species known for their stunning beauty and relatively straightforward care requirements:
- Phalaenopsis (Moth Orchid): Known for its long-lasting blooms, this species thrives in low light and is often recommended for beginners.
- Cattleya: Famous for its fragrant and colorful flowers, Cattleyas prefer bright light and need a bit more care.
- Dendrobium: This type has a variety of species, some of which bloom multiple times a year. They generally enjoy bright light and moderate humidity.
- Oncidium: Recognized for their unique flower shapes and patterns, Oncidiums require bright indirect light and consistent watering.
- Paphiopedilum (Lady Slipper Orchid): These orchids are known for their unusual flower shapes and can thrive in lower light levels, making them suitable for indoor conditions.
Choosing the right orchid species based on your environment and care preferences can set you up for a rewarding experience in indoor gardening.
Seasonal Care Adjustments
As seasons change, so too do the needs of your orchids. Adapting your care routine with the changing seasons is essential for maintaining their health. Here are some seasonal tips:
Spring
Spring is a period of active growth for most orchids. During this time:
- Increase watering frequency as temperatures rise.
- Begin fertilizing with a balanced orchid fertilizer every two weeks to support new growth.
- Monitor light exposure and adjust the placement of your orchids if necessary to ensure they get enough sunlight.
Summer
In summer, the heat can stress orchids. Keep these tips in mind:
- Ensure adequate humidity levels; consider misting or using a humidity tray.
- Check for pests more frequently, as warmer temperatures may attract them.
- Maintain consistent watering but avoid overwatering, especially if temperatures are high.
Fall
As temperatures begin to drop in fall:
- Gradually reduce watering as growth slows down.
- Continue fertilizing until late fall when most orchids enter dormancy.
- Monitor light levels as days shorten; you may need to adjust their position to ensure adequate exposure.
Winter
Winter can be tough for indoor orchids due to lower light levels and dry air. During winter:
- Reduce watering frequency; many orchids require less water during their dormant phase.
- Maintain humidity using humidifiers or pebble trays to combat dry indoor air.
- Avoid placing orchids near drafts or heating vents, which can cause temperature fluctuations.
Final Thoughts
Caring for indoor orchids can be a deeply rewarding experience. With proper knowledge of their needs regarding light, humidity, watering, and feeding, you can cultivate beautiful blooms that elevate your living space. Remember that each orchid species may have unique care requirements, so it’s essential to familiarize yourself with the specifics of the types you own.
Paying close attention to their growth cycles, seasonal changes, and environmental factors can significantly impact your success in growing orchids indoors. Regular monitoring will help you catch any issues early, allowing your plants to thrive without significant stress.
The journey of orchid care is not merely about achieving blooms; it is also about developing a connection with these beautiful plants. With patience and dedication, you will not only enjoy their stunning flowers but also gain satisfaction from nurturing them through their life cycles. Embrace the learning process, and let your passion for orchids flourish!
