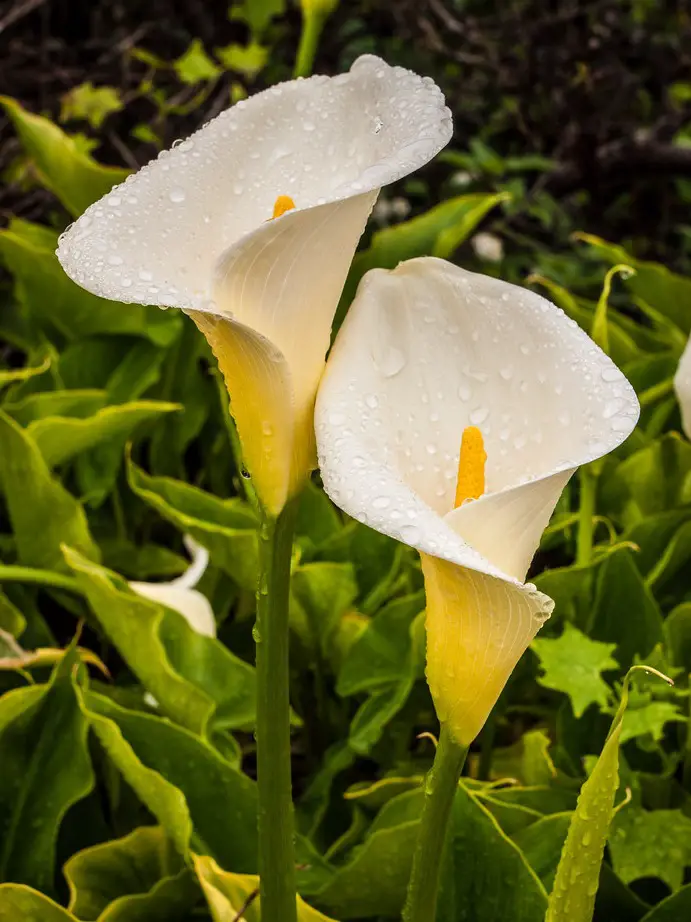
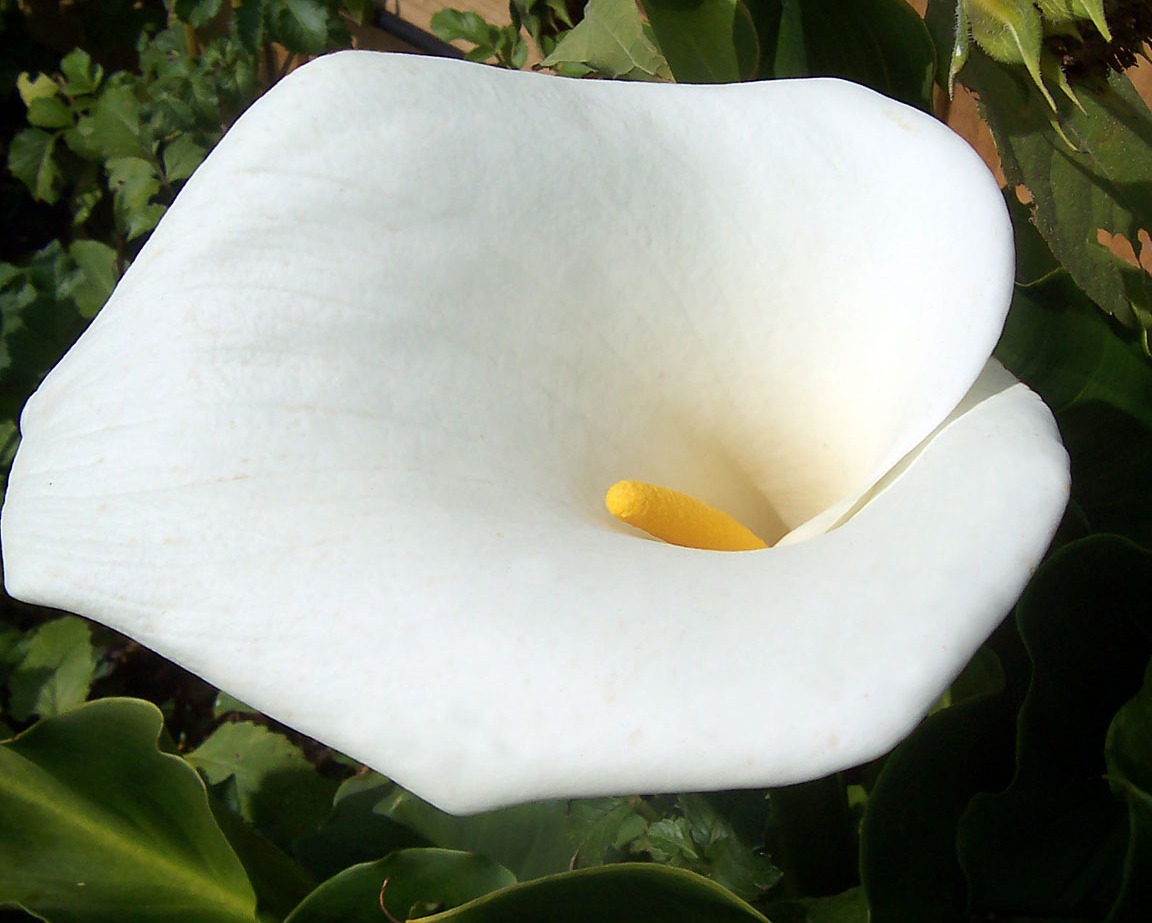
Yes, calla lilies do spread, primarily through rhizomes that produce offsets and corms. This natural propagation method allows them to form clumps over time, leading to a denser display of flowers. Understanding their spreading behavior is essential for effective garden management and cultivation.
Understanding Calla Lily Propagation
Calla lilies, known for their stunning flowers, have unique methods of propagation that significantly contribute to their ability to spread in gardens. The two main structures involved in this process are rhizomes and corms. Understanding how these structures work helps gardeners manage and encourage the growth of these beautiful plants.
Rhizomes
Rhizomes are thickened, horizontal stems that grow just beneath the soil surface. They serve as storage organs, allowing calla lilies to store nutrients and energy for future growth. As the rhizomes mature, they produce new lateral buds, often referred to as offsets or pups. These offsets are essentially clones of the parent plant and develop their own roots and foliage right next to the original plant. This clumping behavior enables calla lilies to spread gradually, creating a denser cluster of blooms over time.
Corms
Corms are another type of underground storage structure, similar to bulbs but solid and fleshy. When a corm matures, it can produce daughter corms, which are smaller versions of the parent corm. These daughter corms can grow into new plants, further expanding the calla lily population in your garden. While both corms and rhizomes facilitate propagation, rhizomes primarily contribute to the clumping formation, while corms can produce new plants more independently.
How They Contribute to Spread
The propagation methods of calla lilies enable them to spread effectively. When conditions are right—such as rich, well-draining soil and consistent moisture—these plants can multiply quickly. A single rhizome can develop multiple offsets, leading to a charming cluster of calla lilies, enhancing the visual appeal of your garden. Additionally, the growth of daughter corms means that one healthy corm can potentially yield several new plants, increasing the overall density of calla lilies in your space.
In summary, both rhizomes and corms play essential roles in the propagation and spreading behavior of calla lilies. By understanding these biological methods, gardeners can better manage their growth and enjoy the beauty of a thriving calla lily display.
How Calla Lilies Spread: Clumping vs. Running
Calla lilies primarily spread through a process known as clumping, which is quite different from the running method seen in some other plant species. Instead of sending out long stems or runners that establish new plants far away, calla lilies grow from rhizomes. These underground structures serve as storage organs that not only nourish the plant but also help it reproduce. As the rhizomes mature, they develop offsets—small, new plants that grow close to the original. This method results in a gradual expansion, leading to a dense cluster of calla lilies in one area.
The clumping nature of calla lilies means that they will slowly fill out a space without becoming excessively invasive. While the original plant can create multiple offsets, they stay tightly grouped, forming a visually appealing mass of foliage and flowers. This is particularly beneficial for gardeners who want a lush display without the worry of plants overtaking their garden beds. In fact, a healthy clump can enhance the garden’s aesthetic by providing a fuller look that highlights the beauty of the calla lily’s trumpet-shaped blooms.
The implications of this spreading method are significant for garden management. Since calla lilies do not run aggressively, you can control their growth through division. Regularly dividing the clumps every few years helps keep the plants healthy and reduces overcrowding. When flower production declines or the center of the clump begins to die out, it’s time to carefully dig up the rhizomes and separate them. This not only rejuvenates the original plant but also allows you to create new plantings elsewhere in your garden.
Soil conditions play a crucial role in the success of calla lily propagation. Well-draining soil combined with consistent moisture will encourage the rhizomes to produce more offsets, resulting in a more abundant display. If the soil is too dry or compacted, the clumping may stagnate, affecting the overall health of your calla lilies. Understanding these factors is key to managing their spread effectively.
In contrast, running plants often create new growth far from the parent plant, which can lead to more aggressive colonization and potentially invasive behavior. This is not the case with calla lilies. Their clumping growth habit means you can enjoy their beauty without the fear of them spreading uncontrollably throughout your garden. With a little care and attention, you can cultivate a stunning patch of calla lilies that thrives in your chosen space.
Factors Influencing Calla Lily Spread
The spread of calla lilies is significantly influenced by several environmental factors, which can either encourage or hinder their propagation. Understanding these elements is essential for gardeners who want to manage their growth effectively.
Soil Conditions
Calla lilies thrive in well-draining soil that is rich in organic matter. Healthy soil supports the development of rhizomes, the underground structures from which these plants grow. If the soil is too compacted or lacks nutrients, the calla lily’s ability to produce offsets, or new plants, can be stunted. Loose, loamy soil provides the best environment for these flowers to spread and multiply, allowing the rhizomes to expand and create new growth nearby.
Moisture Levels
Moisture is another critical factor affecting the spread of calla lilies. These plants prefer consistently moist soil, but not waterlogged conditions. When the soil is kept adequately hydrated, calla lilies grow robustly, producing more offsets and enhancing their clumping behavior. Conversely, if the soil dries out too much, growth can stagnate, leading to a decline in overall health and a reduction in propagation.
Climate
The climate also plays a significant role in how calla lilies spread. These plants are native to warmer regions, so they flourish in areas with mild temperatures and moderate humidity. In cooler climates, calla lilies may not propagate as effectively, especially if temperatures drop too low for their rhizomes to remain viable. Gardeners in colder regions should consider providing winter protection to their calla lilies to ensure they can survive and continue to spread in subsequent growing seasons.
Light Conditions
Light exposure is crucial for healthy calla lily growth. These flowers prefer bright, indirect sunlight. Adequate light encourages the plants to thrive and produce lush foliage, which in turn supports the production of offsets. Insufficient light can lead to weak growth and fewer flowers, ultimately affecting the plant’s ability to spread.
Fertilization
Regular fertilization can enhance the growth of calla lilies. A balanced fertilizer provides essential nutrients that promote rhizome development and offset production. When nourished properly, calla lilies can expand their clumps more rapidly. However, over-fertilizing can cause excessive foliage growth at the expense of flowers, so finding the right balance is key for effective propagation.
By paying attention to these environmental factors, gardeners can foster a thriving patch of calla lilies that not only beautifies their space but also spreads gracefully through natural means.
Encouraging Healthy Spread of Calla Lilies
To promote the healthy spread of calla lilies, understanding their specific needs is essential. These gorgeous plants thrive under certain conditions that foster their natural propagation via rhizomes and offsets. Here are some practical tips to help your calla lilies expand beautifully in your garden.
Ideal Planting Conditions
- Soil Type: Calla lilies prefer rich, well-draining soil. A mix that includes organic matter, such as compost, enhances nutrient availability, which is critical for rhizome development. The right soil conditions support the formation of new bulbs and offsets, leading to a gradual but steady spread.
- Sunlight: Aim for partial shade to full sun. While they can tolerate some shade, a few hours of direct sunlight daily will encourage robust growth and more flowers, which indirectly aids in spreading by attracting pollinators that facilitate seed production.
- Spacing: When planting, give each calla lily enough space to grow. A distance of about 12 to 18 inches allows the rhizomes to develop lateral buds without overcrowding, promoting healthy clumping rather than a tangled mess.
Watering Practices
- Consistent Moisture: Calla lilies need consistently moist soil, especially during the growing season. Regular watering encourages the rhizomes to produce offsets. However, be cautious of waterlogging, as it can lead to root rot, hindering the plant’s ability to spread.
- Drought Tolerance: While they love moisture, calla lilies can be sensitive to drought. If the soil dries out completely, their growth slows, which can delay the formation of new offsets. Aim for a balance that keeps the soil damp but not soggy.
Fertilization Techniques
- Balanced Fertilizer: Regular use of a balanced fertilizer during the growing season is vital. This provides essential nutrients that support rhizome health and offset production. Look for a fertilizer with equal parts nitrogen, phosphorus, and potassium to encourage both foliage and flower growth.
- Timing: Fertilizing in early spring as new growth emerges helps kickstart the spreading process. Avoid over-fertilizing, as this can lead to lush foliage at the expense of flowers, reducing opportunities for propagation through seeds.
Additional Care Tips
- Deadheading: Regularly removing spent flowers can redirect energy back into the plant, boosting rhizome growth and overall health. This practice can lead to more blooms in the future, increasing the chances of seed production that aids in spreading.
- Division: Every few years, consider dividing the rhizomes. This not only prevents overcrowding but also encourages the formation of new plants. When you separate the rhizomes, you can replant them to expand your calla lily display while promoting healthy growth.
By paying close attention to these aspects of care, you can create an environment conducive to the natural spreading of calla lilies, ensuring a vibrant and flourishing garden.
Managing Calla Lily Overcrowding
As calla lilies thrive, they often form dense clusters due to their natural clumping growth habit. While this can create a stunning display, it can also lead to overcrowding. Overcrowding occurs when multiple offsets, or new plants, emerge close together, competing for resources like sunlight and nutrients. This competition can hinder individual plant growth, reduce flowering, and make your garden look less tidy.
To manage calla lily overcrowding effectively, one of the best methods is through division. Dividing your calla lilies every few years allows you to separate the rhizomes, which are the underground stems that store nutrients. This practice not only prevents overcrowding but also encourages the formation of new plants. When you divide the rhizomes, you can replant them in other areas of your garden or share them with friends, effectively promoting propagation and spreading.
Here’s how to divide your calla lilies:
- Timing: The best time to divide calla lilies is during their dormant period, typically in the fall after the foliage has died back or in early spring before new shoots appear. Timing is crucial to ensure that the plants can recover and thrive after division.
- Digging Up the Clump: Use a garden fork or spade to carefully dig around the perimeter of the plant, starting about six to eight inches away from the base. This helps avoid damaging the rhizomes. Lift the entire clump out of the soil and gently shake off the excess dirt.
- Separating the Rhizomes: Examine the clump for individual rhizomes. Using a clean, sharp knife, separate the rhizomes while ensuring that each piece has healthy roots and shoots. Discard any sections that appear soft or discolored, as these may hinder growth.
- Replanting: Allow the separated rhizomes to air-dry for a day or two in a cool, ventilated area. This process helps the cut surfaces form a protective layer, minimizing the risk of diseases. Once ready, replant them in well-draining soil, spaced adequately to prevent future overcrowding.
In addition to division, it’s essential to monitor the growth of your calla lilies regularly. Keep an eye on the density of the clumps and the health of the plants. If you notice that the center of a clump begins to die out or the blooms become smaller, it’s a sign that it’s time to divide again. By staying proactive in managing their spread, you can maintain a healthy and vibrant calla lily garden that showcases their beauty without becoming overwhelming.
Remember, calla lilies spread through their rhizomes and can multiply quickly under favorable conditions. By understanding this growth behavior and taking the time to manage overcrowding, you can enjoy the full beauty of these elegant flowers while ensuring they thrive in your garden.
Identifying Healthy vs. Unhealthy Rhizomes
Assessing the health of calla lily rhizomes is crucial for their propagation and spread. Healthy rhizomes are firm and plump, indicating that they are actively storing nutrients. When you dig around the plant, look for these vibrant, robust structures. Any signs of shriveling or softness can indicate that the rhizome is unhealthy, which can significantly affect the plant’s ability to spread.
Here are a few key indicators to help you identify healthy versus unhealthy rhizomes and offsets:
- Color and Texture: Healthy rhizomes typically have a creamy white or light tan color. If you notice any dark spots or a mushy texture, this could be a sign of rot or disease. Unhealthy rhizomes might also appear discolored, which can hinder their ability to propagate effectively.
- Offsets Condition: Offsets, or the small bulbs that develop around the main rhizome, should also be examined. A healthy offset will be firm and have a good amount of soil still attached. If offsets are shriveled or dry, they may not be able to develop into new plants, limiting the spread of your calla lilies.
- Presence of Fungi or Mold: If you see white fungal growth or a moldy appearance on the rhizomes, it’s a clear sign of an unhealthy environment. This can lead to decay, making it difficult for the plant to spread. Proper soil drainage and moisture levels can help prevent these issues.
- Root Health: When examining rhizomes, check the roots as well. Healthy roots are white and spread out evenly. Brown or black roots can indicate root rot, which can severely impact the plant’s growth and its ability to produce new offsets.
- Spacing and Clumping: If your calla lilies are clumping together too tightly, it may be time to divide them. Overcrowding can lead to competition for nutrients and moisture, resulting in weaker plants. This can ultimately limit their ability to spread effectively in your garden.
Addressing these signs of health and decay is essential for encouraging the propagation of calla lilies. By carefully managing the condition of their rhizomes and offsets, you can ensure that these beautiful plants not only survive but also thrive and expand in your garden.
Best Time for Propagation and Division
When it comes to the propagation and division of calla lilies, timing is everything. Understanding the best times to divide these beautiful plants can significantly enhance their ability to spread in your garden.
Spring: The Ideal Time
Spring is the prime season for propagating and dividing calla lilies. As the weather warms and new growth begins, the plants are coming out of dormancy. This is when calla lilies are most ready to absorb nutrients and establish new roots. Dividing in early spring, just before the new shoots appear, encourages a robust spread as the plants focus their energy on growing and forming new offsets.
Fall: Another Good Option
Fall also offers a suitable window for division. After the blooms have faded and the foliage starts to die back, you can divide the calla lilies. This timing allows the rhizomes to settle in before winter, giving them a head start when spring arrives. However, it’s essential to complete this division before the first frost to ensure that the new sections have time to establish themselves in the soil.
Seasonal Considerations
Factors such as soil temperature and moisture levels play a critical role in the success of propagation. Calla lilies thrive in well-draining soil that retains some moisture. If the soil is too dry or too cold, the chances of successful propagation diminish. Monitoring these conditions is crucial, especially in early spring and late fall.
Signs Indicating Division is Necessary
If your calla lilies are densely clumped and flowering less vigorously, it might be time for division. Look for signs of overcrowding, such as smaller blooms or reduced growth. Dividing the rhizomes every two to three years not only promotes healthy growth but also encourages the spread of new plants in your garden.
Dividing Techniques
When dividing, carefully dig around the clump to avoid damaging the rhizomes. Gently lift the plant out of the ground and separate the offsets from the main rhizome. Each offset can develop into a new plant, enhancing the overall spread of your calla lilies. Be sure to replant them in nutrient-rich soil that fosters growth, ensuring these new plants can thrive and multiply.
By choosing the right time and techniques for propagation and division, you can effectively manage and encourage the spread of calla lilies in your garden.
Common Issues with Calla Lily Spread and Solutions
When it comes to encouraging the spread of calla lilies, several common issues can arise. Understanding these problems can help you maintain healthy plants and ensure they thrive in your garden.
Pests
Calla lilies can attract pests like aphids, spider mites, and mealybugs. These pests can hinder the plant’s ability to spread effectively by draining its nutrients.
- Solution: Regularly inspect your plants for signs of pests. If you notice any, you can wash them off with a strong stream of water or use insecticidal soap. Natural predators, like ladybugs, can also help manage pest populations without harming your calla lilies.
Diseases
Fungal diseases, such as root rot and leaf spot, can be detrimental to calla lilies, especially if they are spreading rapidly through rhizomes and offsets. Poor soil drainage often exacerbates these issues.
- Solution: Ensure that your calla lilies are planted in well-draining soil to prevent root rot. If you notice any signs of disease, such as yellowing leaves or mushy roots, remove the affected parts immediately and apply a fungicide if necessary.
Overcrowding
While calla lilies naturally spread through offsets, overcrowded rhizomes can lead to smaller flowers and reduced vigor. This can occur if you don’t divide the plants at the right time.
- Solution: To maintain healthy growth and encourage spreading, divide your calla lilies every 2-3 years. This helps prevent overcrowding and allows each rhizome to thrive, resulting in more robust plants and a more vibrant display.
Nutrient Deficiencies
Calla lilies require nutrient-rich soil to support their growth and propagation. If the soil lacks essential nutrients, the plants may struggle to spread.
- Solution: Regularly amend your soil with organic matter, such as compost, to boost nutrient levels. A balanced fertilizer can also support healthy growth and encourage the formation of new offsets.
Environmental Factors
Conditions like drought or excessive moisture can negatively impact the spread of calla lilies. These plants thrive in consistent moisture levels but do not tolerate waterlogged soil.
- Solution: Monitor soil moisture and provide regular watering during dry spells. Use mulch to help retain soil moisture while preventing excess water accumulation, ensuring your calla lilies have a stable environment for spreading.
By addressing these common issues, you can create a thriving environment for your calla lilies to spread and flourish in your garden.