Rejuvenation pruning restores overgrown orchard trees by removing old, dense branches to promote healthy growth, improved sunlight, and airflow. Proper timing, technique, and aftercare are essential for success. This guide shares proven strategies to revitalize your trees, enhance fruit production, and maintain manageable, healthy orchards over time.
In my experience, orchard trees tend to become overgrown for numerous reasons—neglect, aging, improper maintenance—and if left unchecked, their canopies become so dense that sunlight can’t penetrate, and air doesn’t circulate well. I’ve learned that this environment invites pests and diseases, which further weaken the tree. That’s where rejuvenation pruning steps in. It’s a chance to restore vitality, boost fruit yields, and keep the trees manageable. Honestly, I always remind myself that patience is key—restoring a tree with this method can take a couple of seasons, but the results are worth it.
One thing I always stress is getting the approach right. Every tree is unique—species, age, health—each requires a tailored touch. When I first started, I wish I’d known how critical timing is. In my early days, I pruned at the wrong time, and it set me back. Now, I always assess each tree individually and aim to prune in late winter or early spring—dormant season—because it minimizes stress and jumpstarts healthy regrowth.
The Importance of Rejuvenation Pruning
I always remind myself of the multiple benefits of this practice. It’s not just about cutting; it’s about revitalizing. Here’s what I focus on:
- Better Light: Opening up the canopy so sunlight reaches even the deepest branches—this always results in sweeter, better-quality fruit.
- Better Airflow: I’ve noticed that when air circulates freely, pest and disease issues drop dramatically.
- New Growth: Cutting old wood encourages fresh shoots—I swear, it feels like giving my trees a second wind.
- Size Control: Managing the height makes harvesting so much easier, which is a huge plus in my book.
Over time, I’ve seen how rejuvenation pruning extends a tree’s productive life, turning old, overgrown giants into healthy, fruitful trees again.

Pro-Tips: Common Mistakes I’ve Learned to Avoid
When I first started rejuvenation pruning, I made a few mistakes that set me back. Over-pruning was my biggest pitfall—I once removed more than half of a tree’s canopy, which stressed the plant and slowed recovery. Now, I make sure to limit removing no more than 30% at a time. Patience is essential; rushing the process can do more harm than good.
Another mistake I made early on was pruning at the wrong time. I used to prune in late summer or fall, which caused unnecessary stress and increased vulnerability to pests. I’ve learned that late winter or early spring, during dormancy, is the best window—this minimizes stress and promotes healthy shoot growth.
Using dull or unsterilized tools was also a rookie error. Tearing bark or introducing infections was common until I started sharpening my tools regularly and sterilizing them between cuts. Clean tools mean cleaner cuts and less risk of disease.
I also used to prune without assessing each tree’s unique needs, leading to unnecessary removal of healthy branches. Now, I always spend time evaluating the tree’s structure and identifying dead, diseased, or crossing branches before making cuts. This tailored approach results in healthier, more resilient trees.
Lastly, I once ignored the importance of proper aftercare. Neglecting watering, fertilization, or pest control immediately after pruning hampered recovery. Now, I follow a strict routine of care to ensure my trees recover vigorously and stay healthy in the long run.
When Do I Prune?
This was a big question for me because timing can make or break your results. I always try to prune during late winter or early spring, while the trees are dormant. I’ve learned from experience that this minimizes stress and sets a strong foundation for the growing season ahead.
That said, I’ve noticed different trees have different needs—peaches, for example, benefit from late winter pruning, whereas apples can often handle early spring. I always check with local experts or extension services because regional climate makes a difference—I don’t want to risk damaging my trees with poorly timed cuts.

My Step-by-Step Rejuvenation Pruning Process
From my experience, breaking the process into clear steps helps keep me focused and reduces mistakes:
- Assessment: First, I always inspect the tree thoroughly, looking for dead, diseased, or damaged branches—these need to go.
- Selective Pruning: I remove about 20-30% of the canopy, starting with the oldest wood. I find that trimming the less-productive branches encourages fresh, healthy growth.
- Crown Opening: I focus on removing branches that cross or touch, aiming to shape an open center that lets light and air in.
- Height Management: If needed, I gently reduce the overall height. This makes future harvests and maintenance easier.
- Healthy Cuts: I always use sharp tools to make clean cuts, avoiding tearing bark, which could invite trouble later.
I’ve learned that patience is critical—these trees don’t bounce back overnight. Sometimes, I need to give them a season or two to recover fully and start producing really good fruit again.
Lessons Learned: Common Mistakes and How to Avoid Them
When I first started, I made some rookie mistakes. Over-pruning was one—removing too much foliage stressed the tree and delayed recovery. I also pruned at inopportune times, which increased sap loss and vulnerability to pests. Using dull tools was another classic mistake—torn bark and infections were all too familiar in those days.
Now, I always keep my tools sharp and sterilized, prune during dormancy, and avoid removing more than 30% of the canopy at once. These small changes made a huge difference in my results.
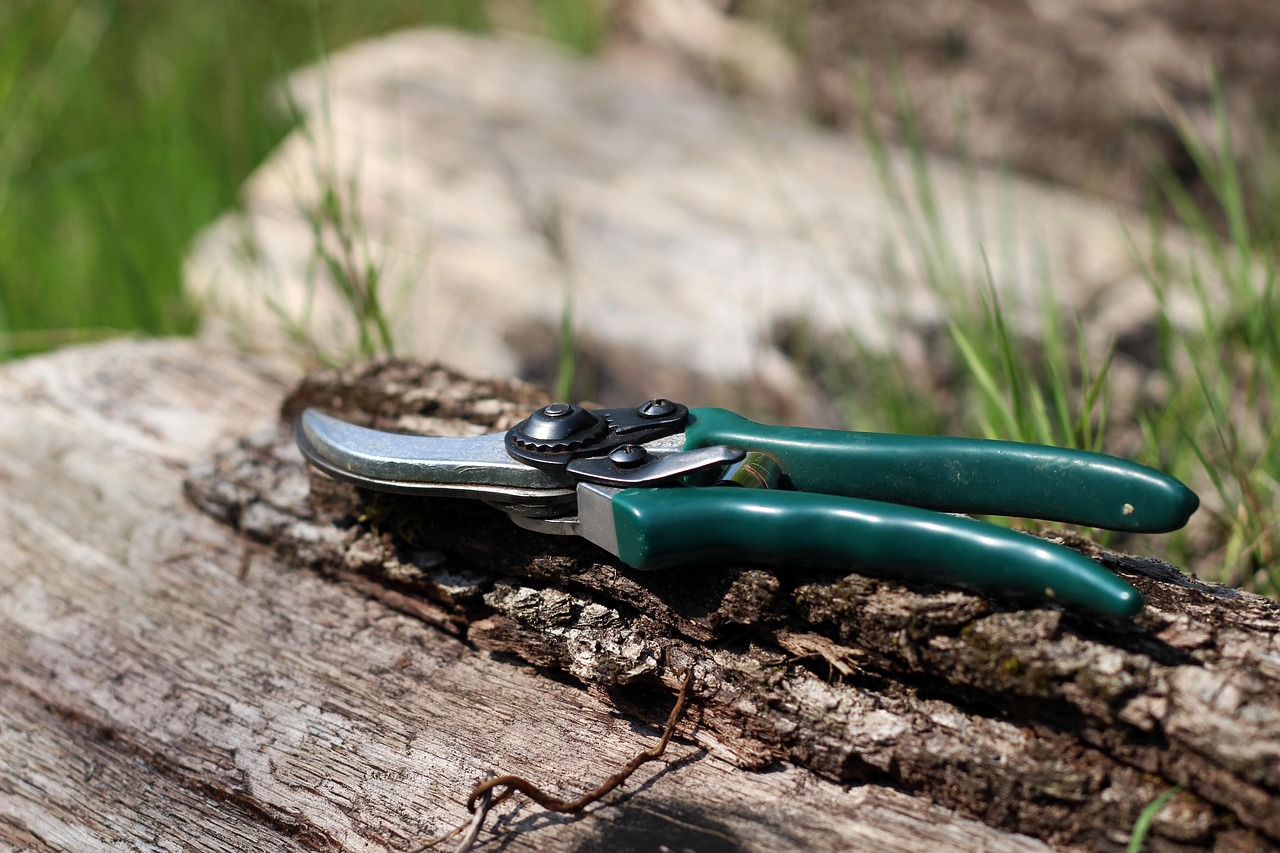
Tools That Make My Life Easier
I always invest in good tools because they’re the backbone of effective pruning. From my experience:
- Hand Pruners: Perfect for detailed cuts on smaller branches, I keep mine sharp and clean.
- Loppers: These give me leverage for thicker stems, making tough cuts easier.
- Pruning Saw: For large limbs, nothing beats a good saw—I’ve learned the hard way that a dull one causes more damage.
- Pole Pruner: Extends my reach without a ladder, which I find safer and more efficient.
- Safety Gear: Gloves, safety glasses, and long sleeves are non-negotiable—I always protect myself.
For me, ensuring tools are clean and sharp prevents infection and makes cuts look neat. It’s a small detail but makes all the difference.
Understanding Tree Structure
Getting to know the tree’s architecture has been a game-changer. I focus on the main trunk—keeping it strong—and assess the branches carefully. I look for older, less productive wood, and aim to shape the canopy to be open and airy. Recognizing which branches to remove helps me avoid over-pruning while still opening up the structure.
Pruning Techniques I’ve Used
Over the years, I’ve employed techniques like:
- Thinning: Removing some branches to reduce density—this always improves light and air.
- Heading Back: Cutting back branch tips to stimulate bushier growth.
- Crown Reduction: Lowering the height when trees get too tall.
- Renewal Pruning: Removing older, less productive wood to make space for new shoots.
For me, combining these techniques based on each tree’s condition leads to the best results. It’s a balancing act, but I’ve seen it pay off with healthier, more productive trees.
What Does Success Look Like?
After pruning, I always keep an eye out for signs of good recovery. New shoots and leaves are the first indicators. Increased fruit production comes soon after, and a well-structured canopy feels so much lighter and more open. Pest issues tend to diminish when trees are healthier and better ventilated. When I see these signs, I know I did a good job—patience pays off.
Post-Pruning Care and Protection
I always stay vigilant after pruning. Pests and diseases are more likely to attack during stress periods. I inspect my trees regularly, applying organic sprays if I notice pests or fungi early on. Proper watering and fertilization also boost recovery. From my experience, a strong, healthy tree handles droughts and pests better, keeping my orchard productive in the long run.
Seasonal Checklist for Rejuvenated Trees
Spring
- Fertilize with a balanced, slow-release formula—this feeds the tree gradually.
- Apply mulch around the base—this keeps moisture in and weeds out.
- Ensure consistent watering, especially if it’s dry.
Summer
- Watch for new growth—some light pruning can help shape the canopy.
- Maintain deep watering—roots grow deeper when they reach for water.
- Stay alert for pests—early intervention keeps problems manageable.
Fall
- Apply a slow-release fertilizer early in fall to prepare for winter dormancy.
- Start reducing watering as temperatures fall, but don’t let trees dry out completely.
- Inspect for pests or diseases from the summer and address any issues.
Winter
- In colder areas, I protect young or sensitive trees with wraps or mulch.
- Regularly check for branch damage from ice or snow—careful removal prevents breakage.
- Even in winter, I keep an eye out for pests—early detection makes treatment easier.
This seasonal routine has helped my rejuvenated trees bounce back season after season, yielding delicious fruit and healthy growth.
Picking the Right Trees
In my orchard, I’ve found that certain trees respond better to rejuvenation pruning. Apples and pears are my favorites—they tolerate heavy cuts and bounce back faster. Peaches are more delicate but benefit from aggressive pruning. I always research each species carefully and pay attention to the ideal timing—late winter for peaches, early spring for apples. Consulting local experts has saved me from costly mistakes.
The Soil and Water Connection
I always remember that healthy soil feeds healthy trees. I try to keep my soil well-aerated and rich in nutrients, often testing to see what’s missing. Good soil structure and microbial life help roots recover and grow stronger after pruning.
Regarding water, I make sure I use clean, high-quality water—rainwater is my favorite because it’s naturally soft and free of chemicals. Drip irrigation helps deliver water directly to roots, which I’ve learned reduces waste and encourages deep rooting—crucial after a major prune.
Mulching and Ecosystem Support
Mulching has become my secret weapon. It keeps the moisture in, suppresses weeds, and regulates soil temperature. I usually use organic mulch like wood chips or straw—whatever’s available locally. As mulch decomposes, it enriches the soil, creating a cozy environment for roots and beneficial microbes. I’ve noticed healthier, more resilient trees when I keep up this routine.
Community and Resources
I always try to connect with my local farming community—extension services, workshops, other orchardists. Sharing experiences and learning from experts has made a big difference. Online forums are also a goldmine for tips and support when I hit a tricky spot.
Final Thoughts
Rejuvenation pruning has become a favorite part